On Monday I shared my spring inspired buffet decor which included the sweet and so-simple-to-make bunny and chick eggs! Today I’d like to share how easy it is to make these little guys! And the best part is that you can craft these cuties with your kids…only changing a couple steps to make them little-hands friendly! Maybe a cute classroom idea for spring? So get your “egghead” on, get inspired, and think Easter! Let’s get right to it and…
start some spring crafting!
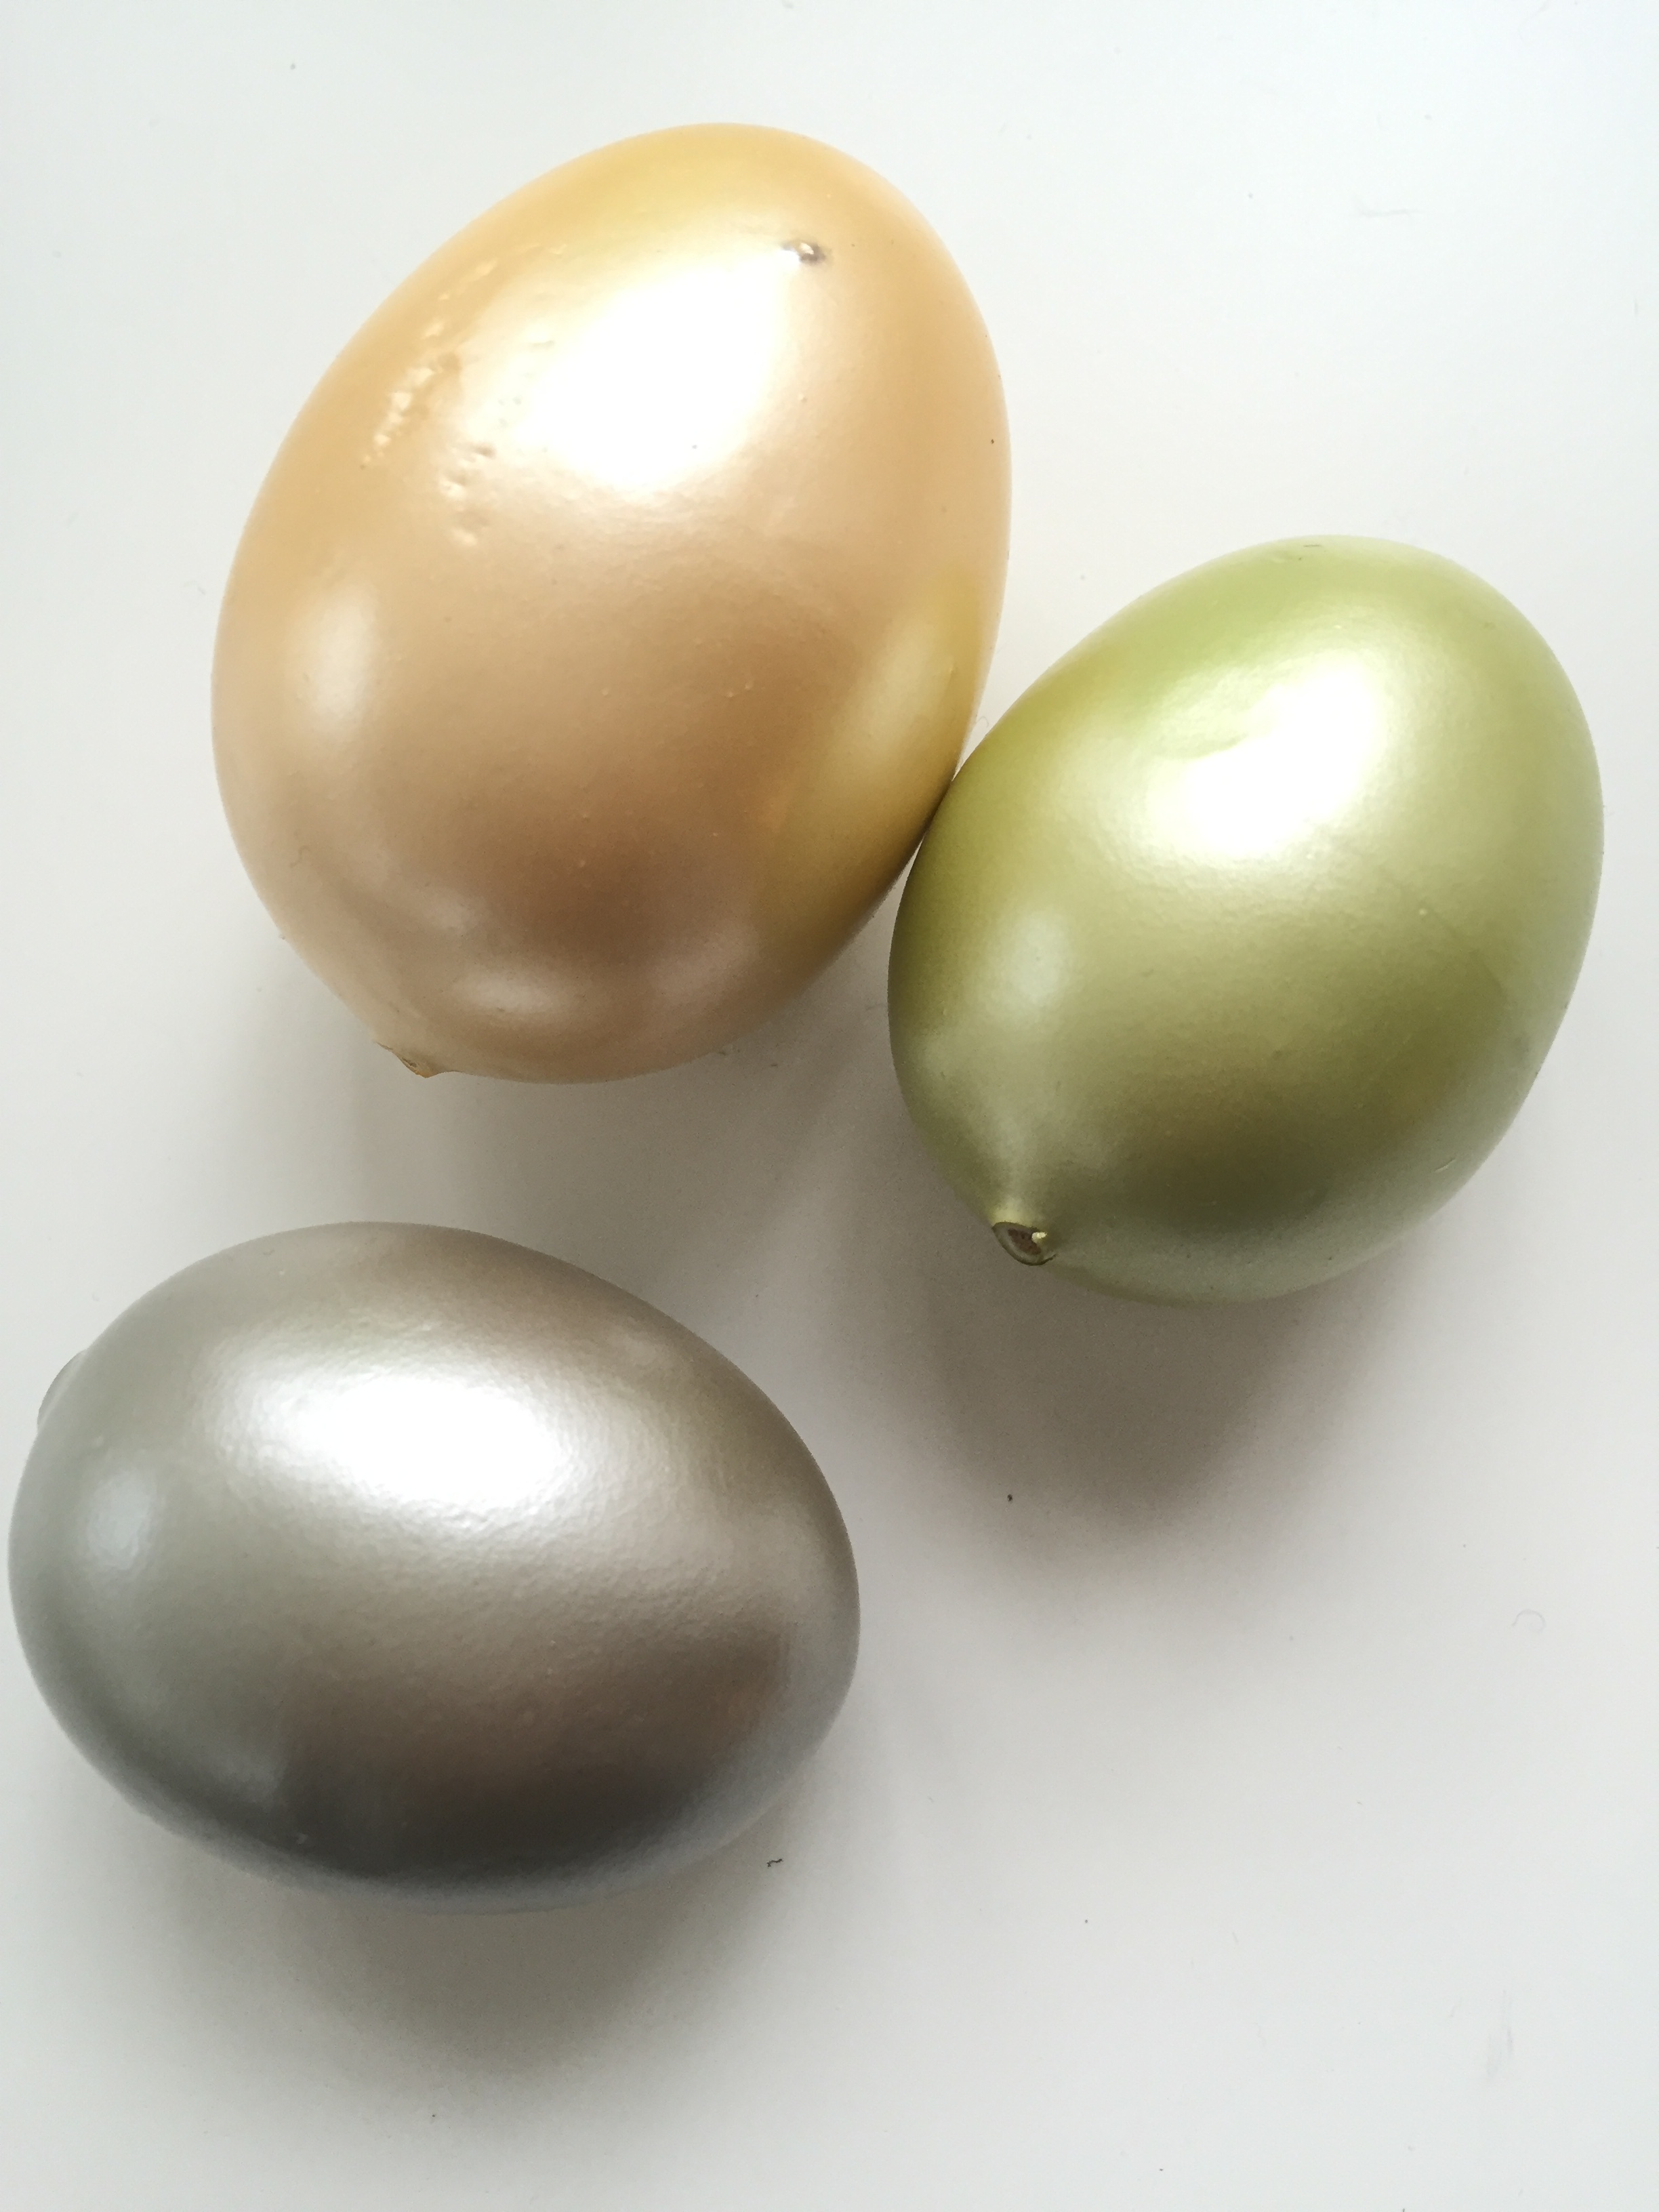
it’s so fun to have a project that is SO easy and turns out SO cute! all you need are some craft eggs of your choice. i loved the soft colors in this selection from Michaels stores to make my egg bunny and chick! (these eggs came in a bag of assorted sizes and shades of gold, gray and green)
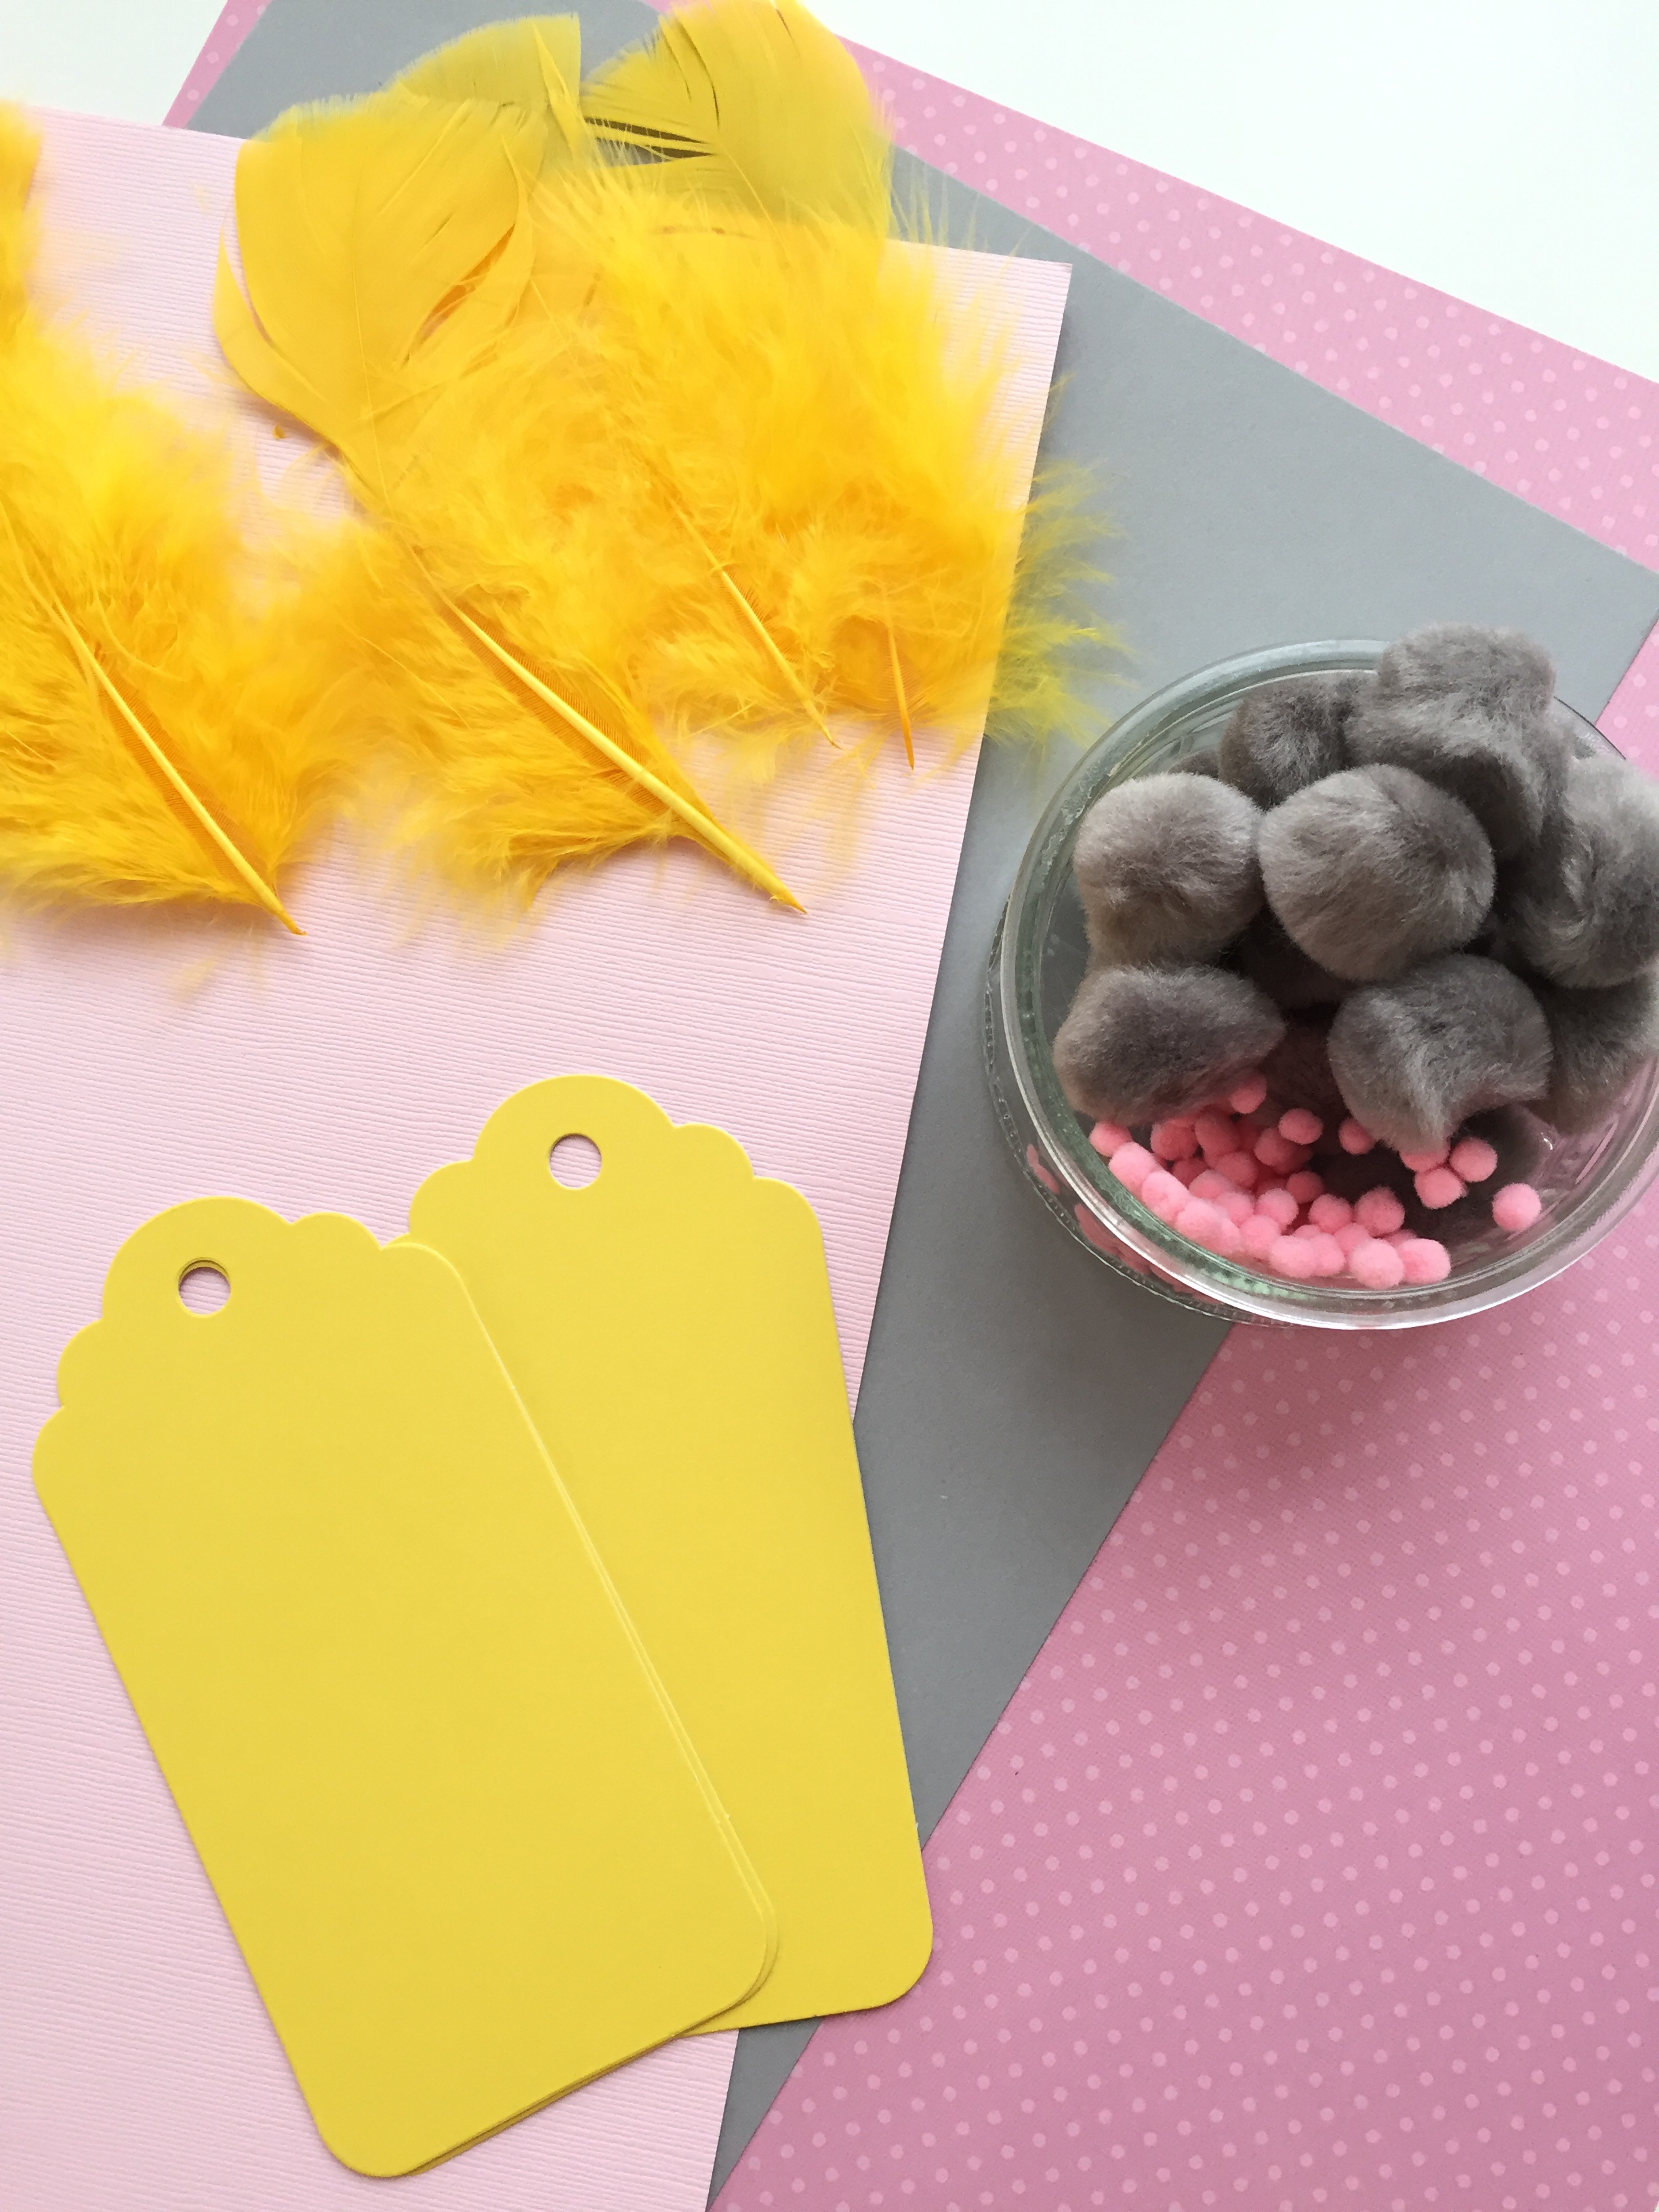
you’ll also need some paper, feathers and pompoms to make the identifying parts of the chick and bunny!
let’s start with the bunny…
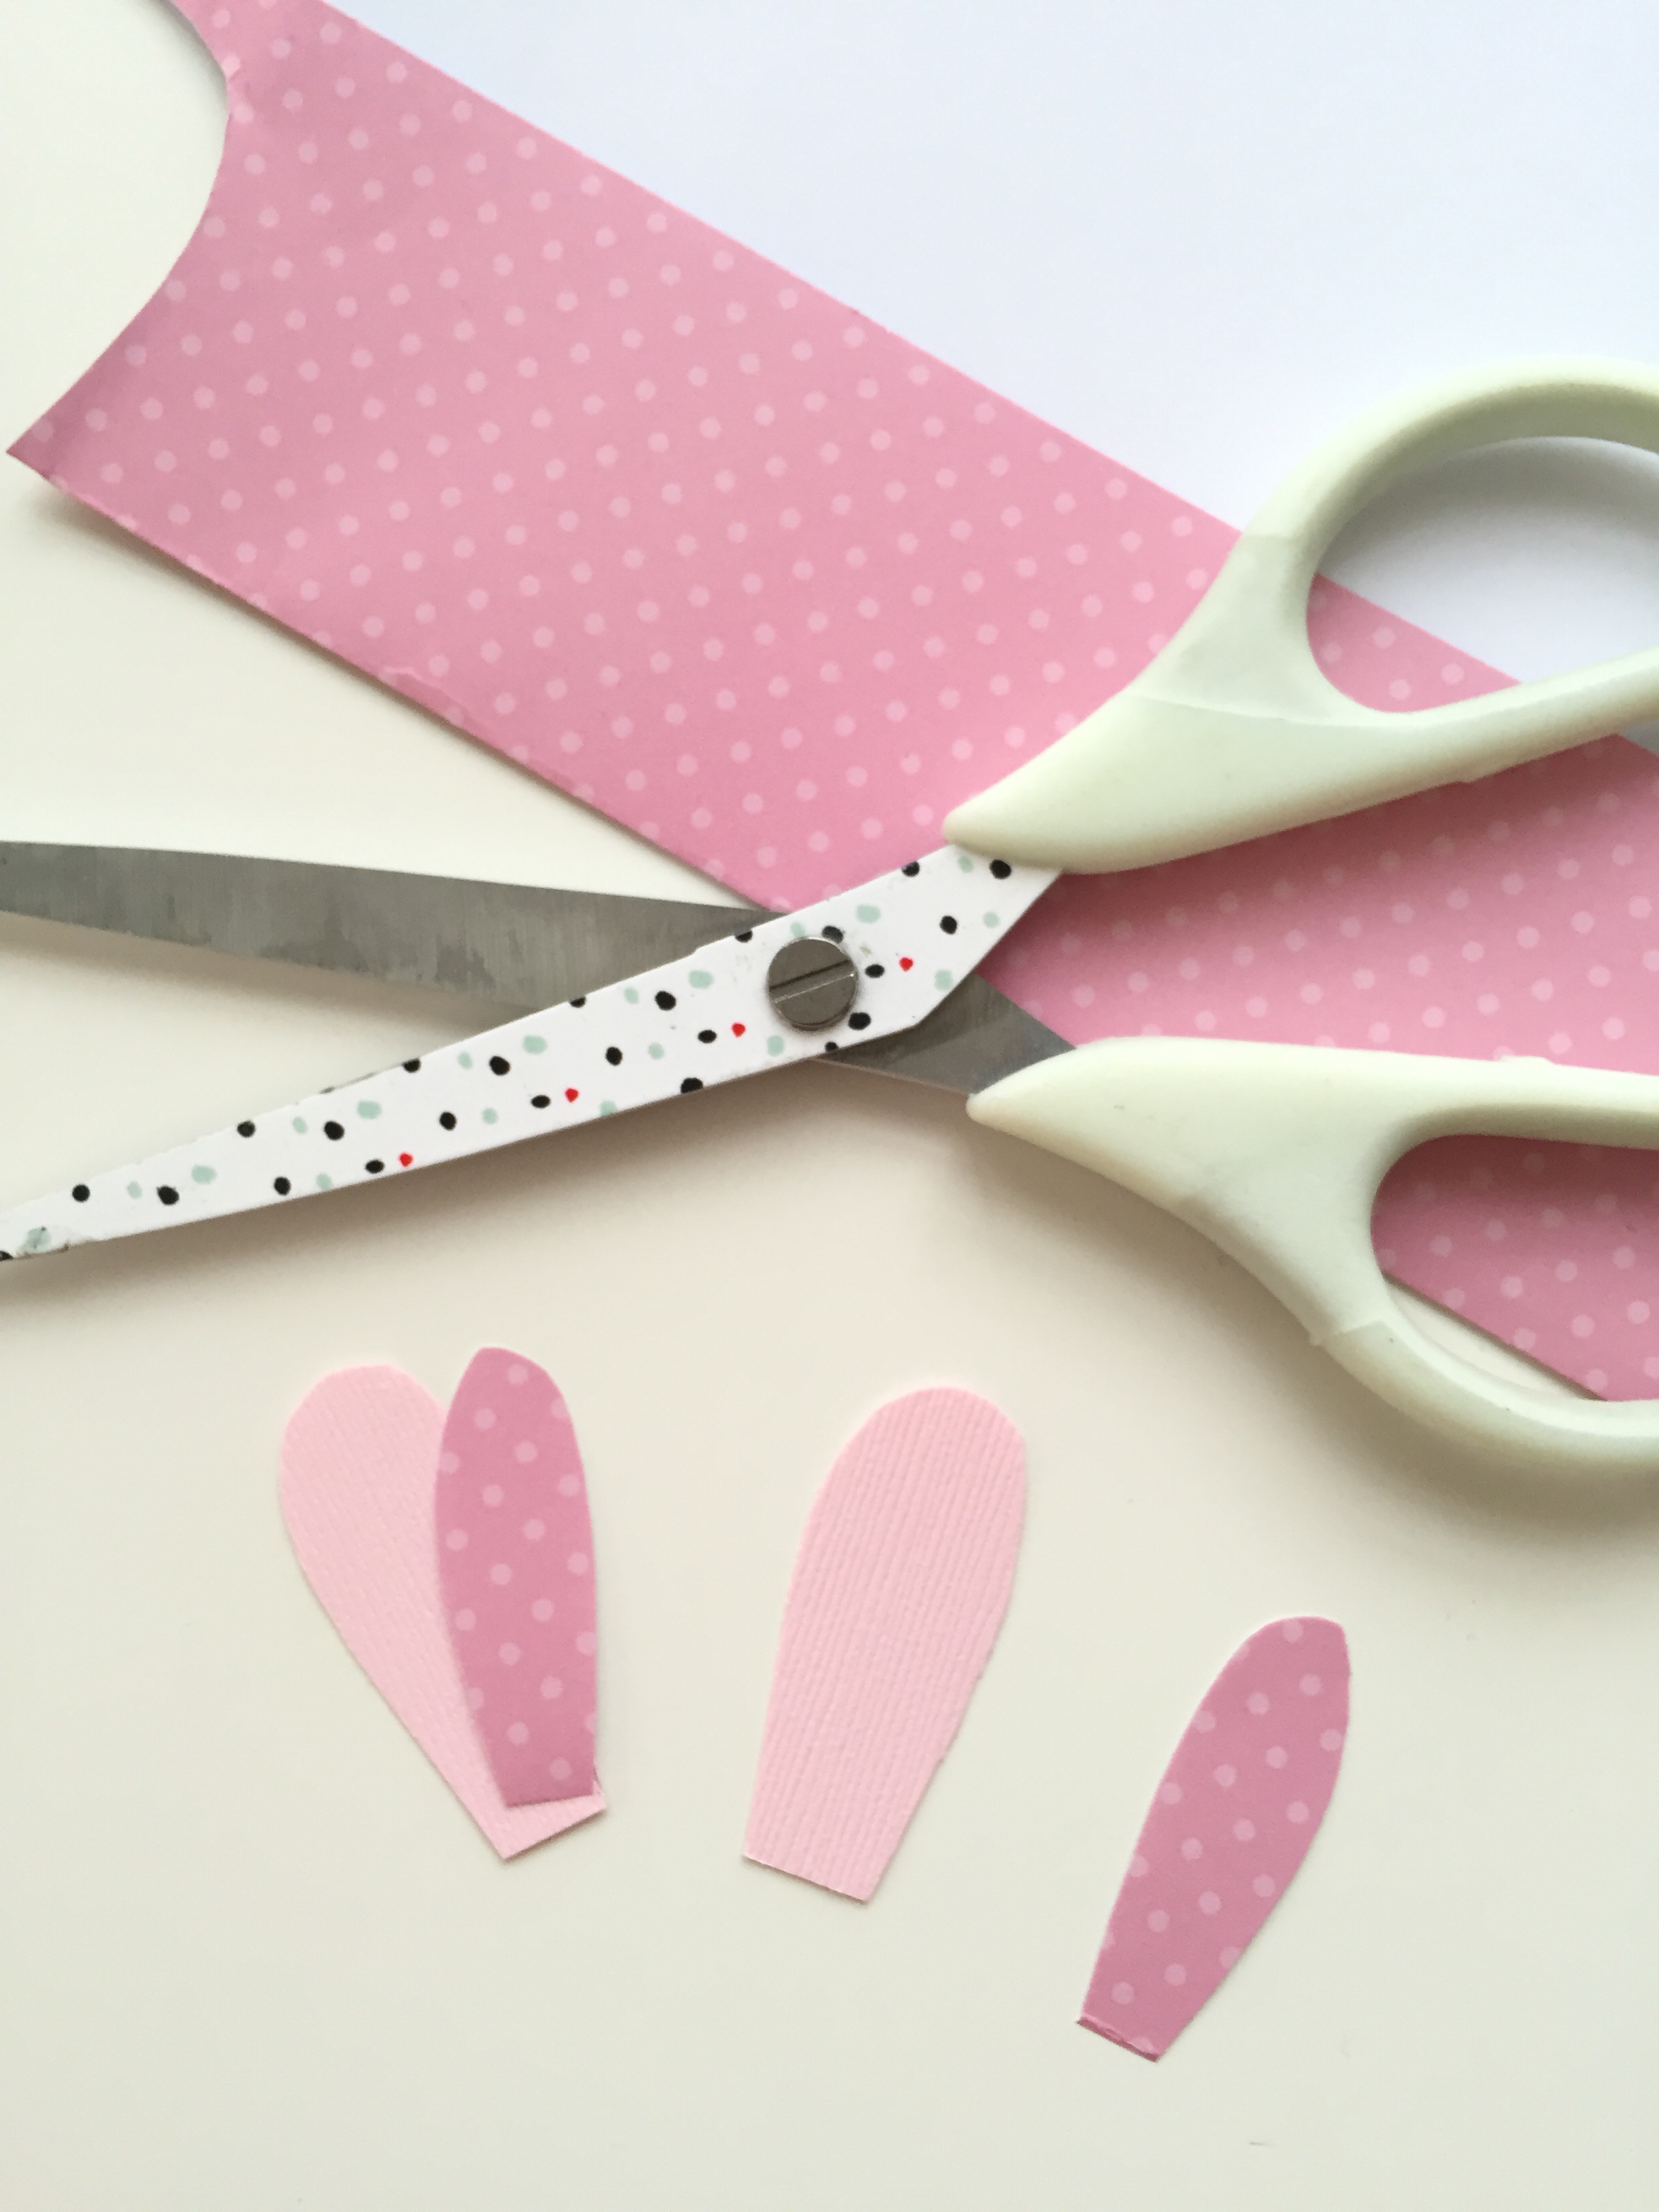
i love to free-hand simple shapes…especially with crafting! it doesn’t need to be perfect…and it will be ADORABLY imperfect if kids are helping so just go for it! cut out two “ears” in different shades of pink paper, one being slightly smaller than the other to make the darker, inside of the ear… then glue them with a simple glue stick!
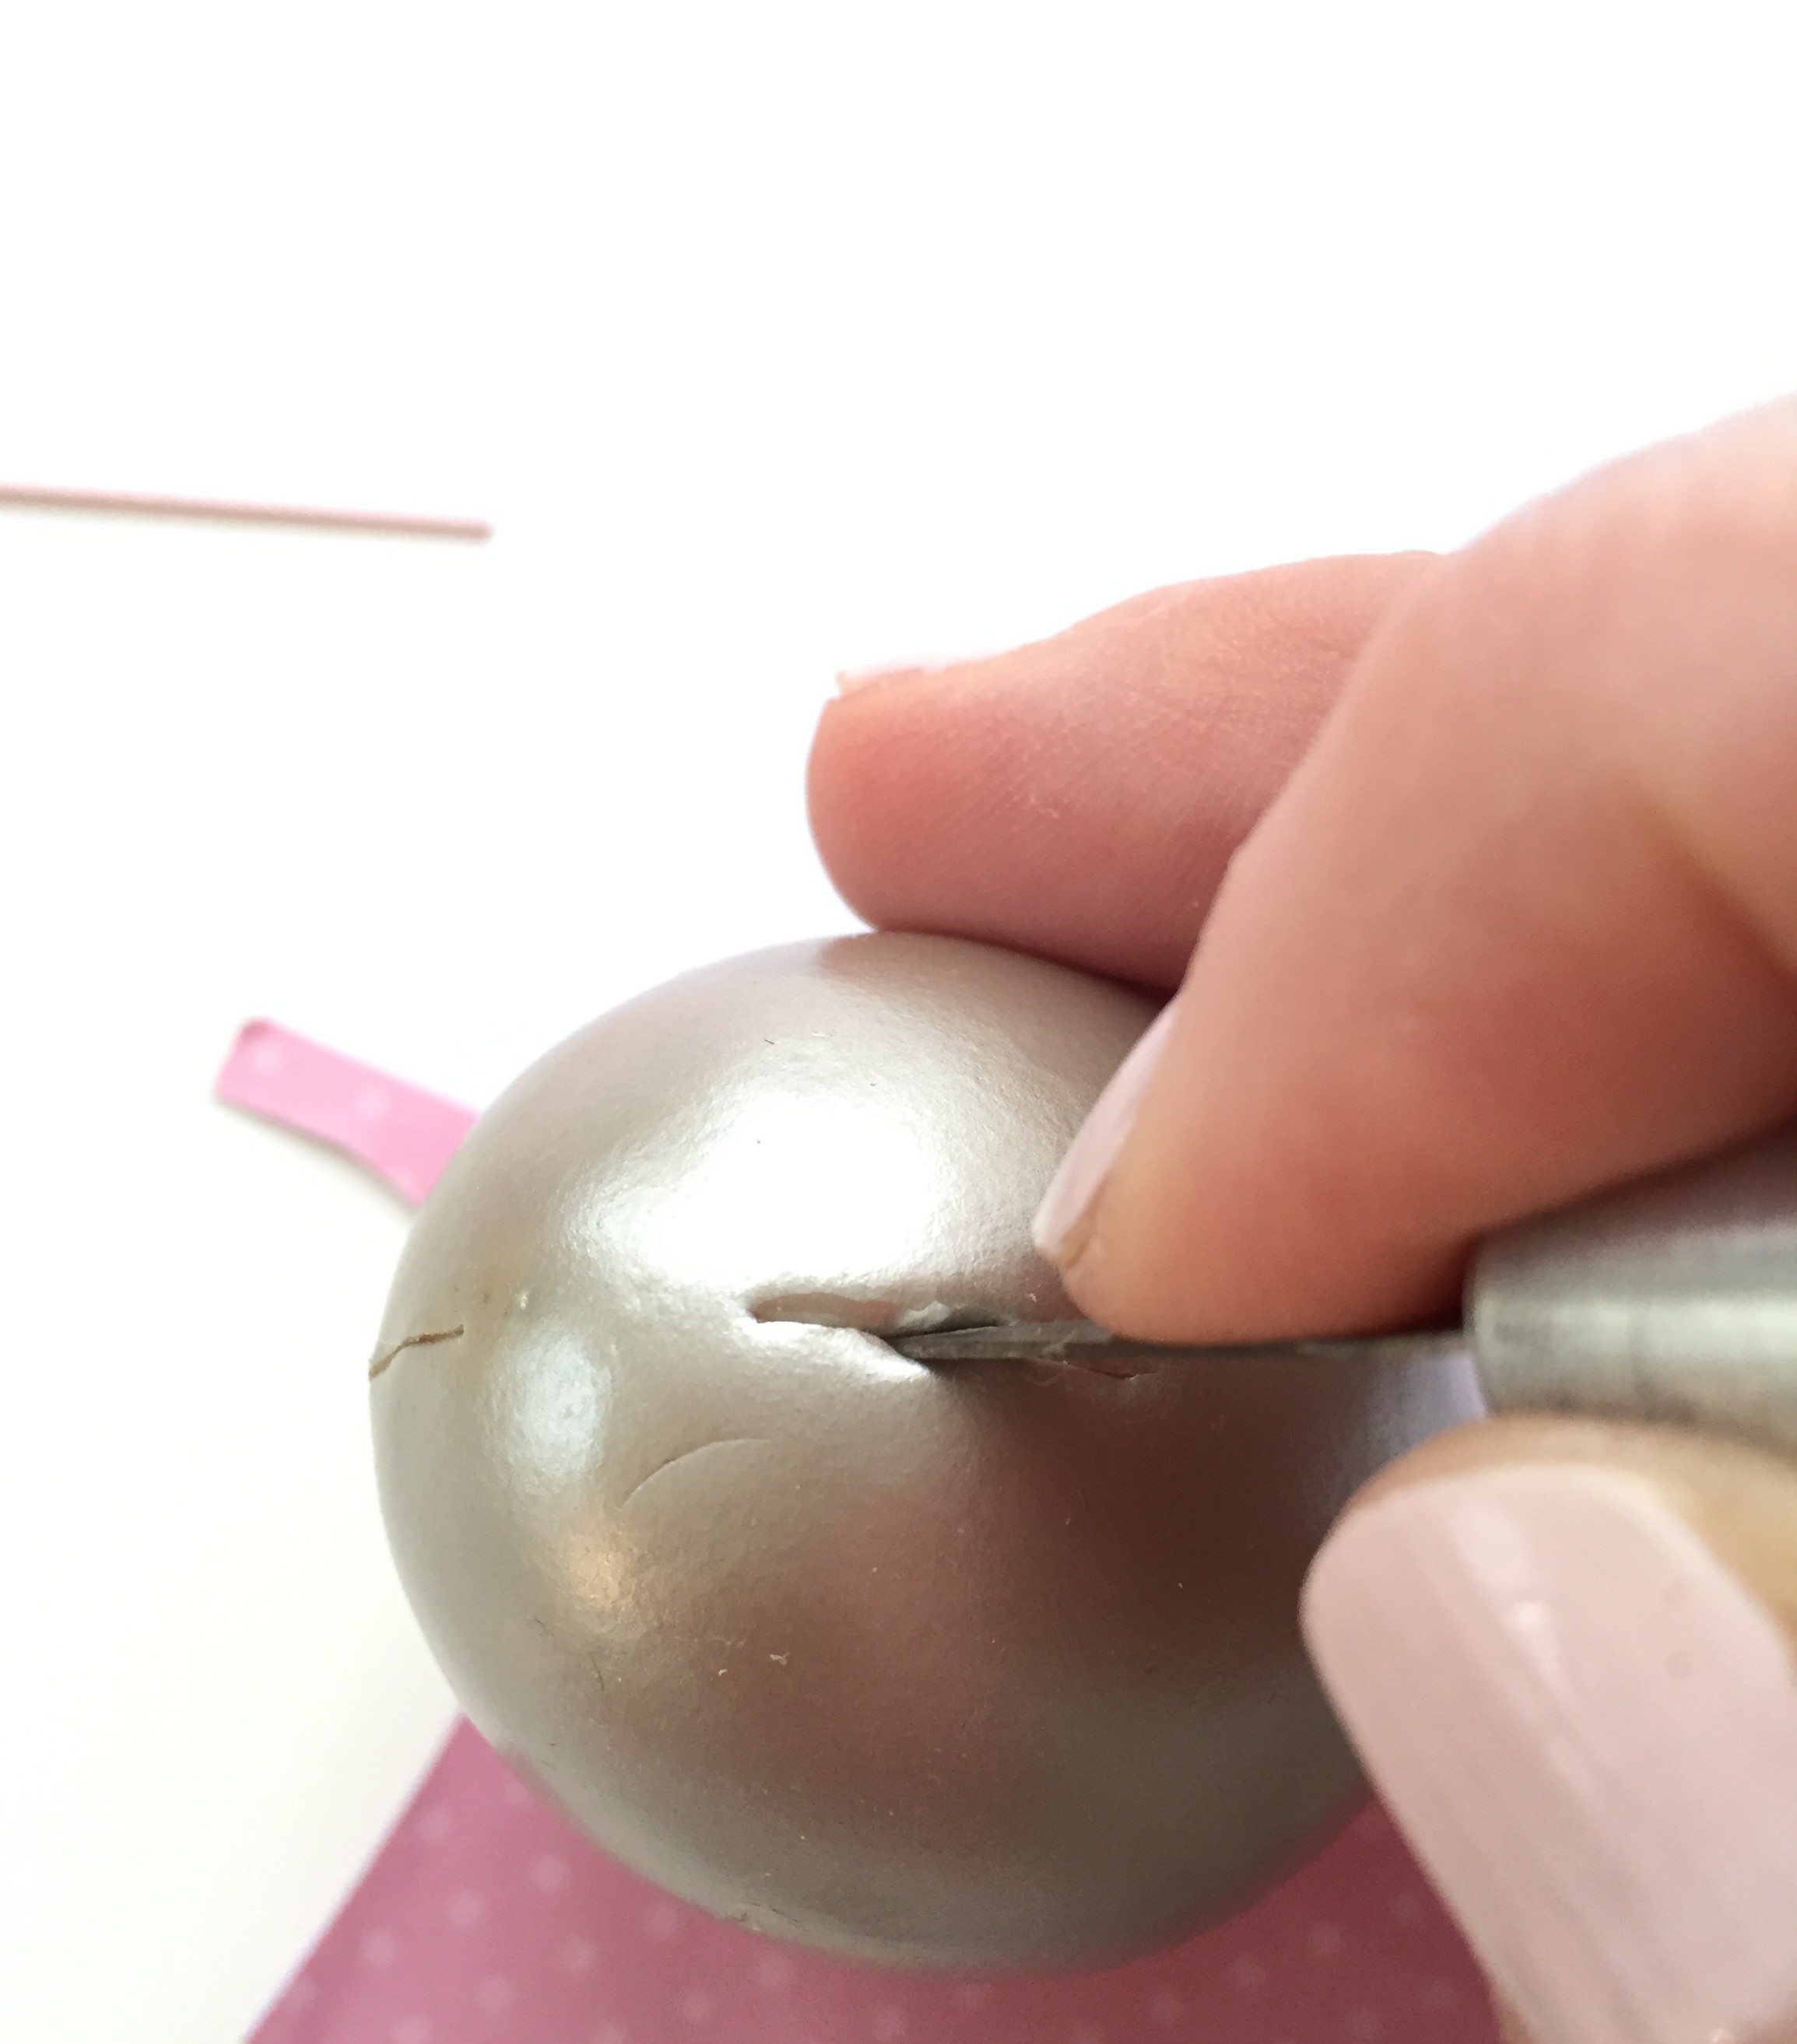
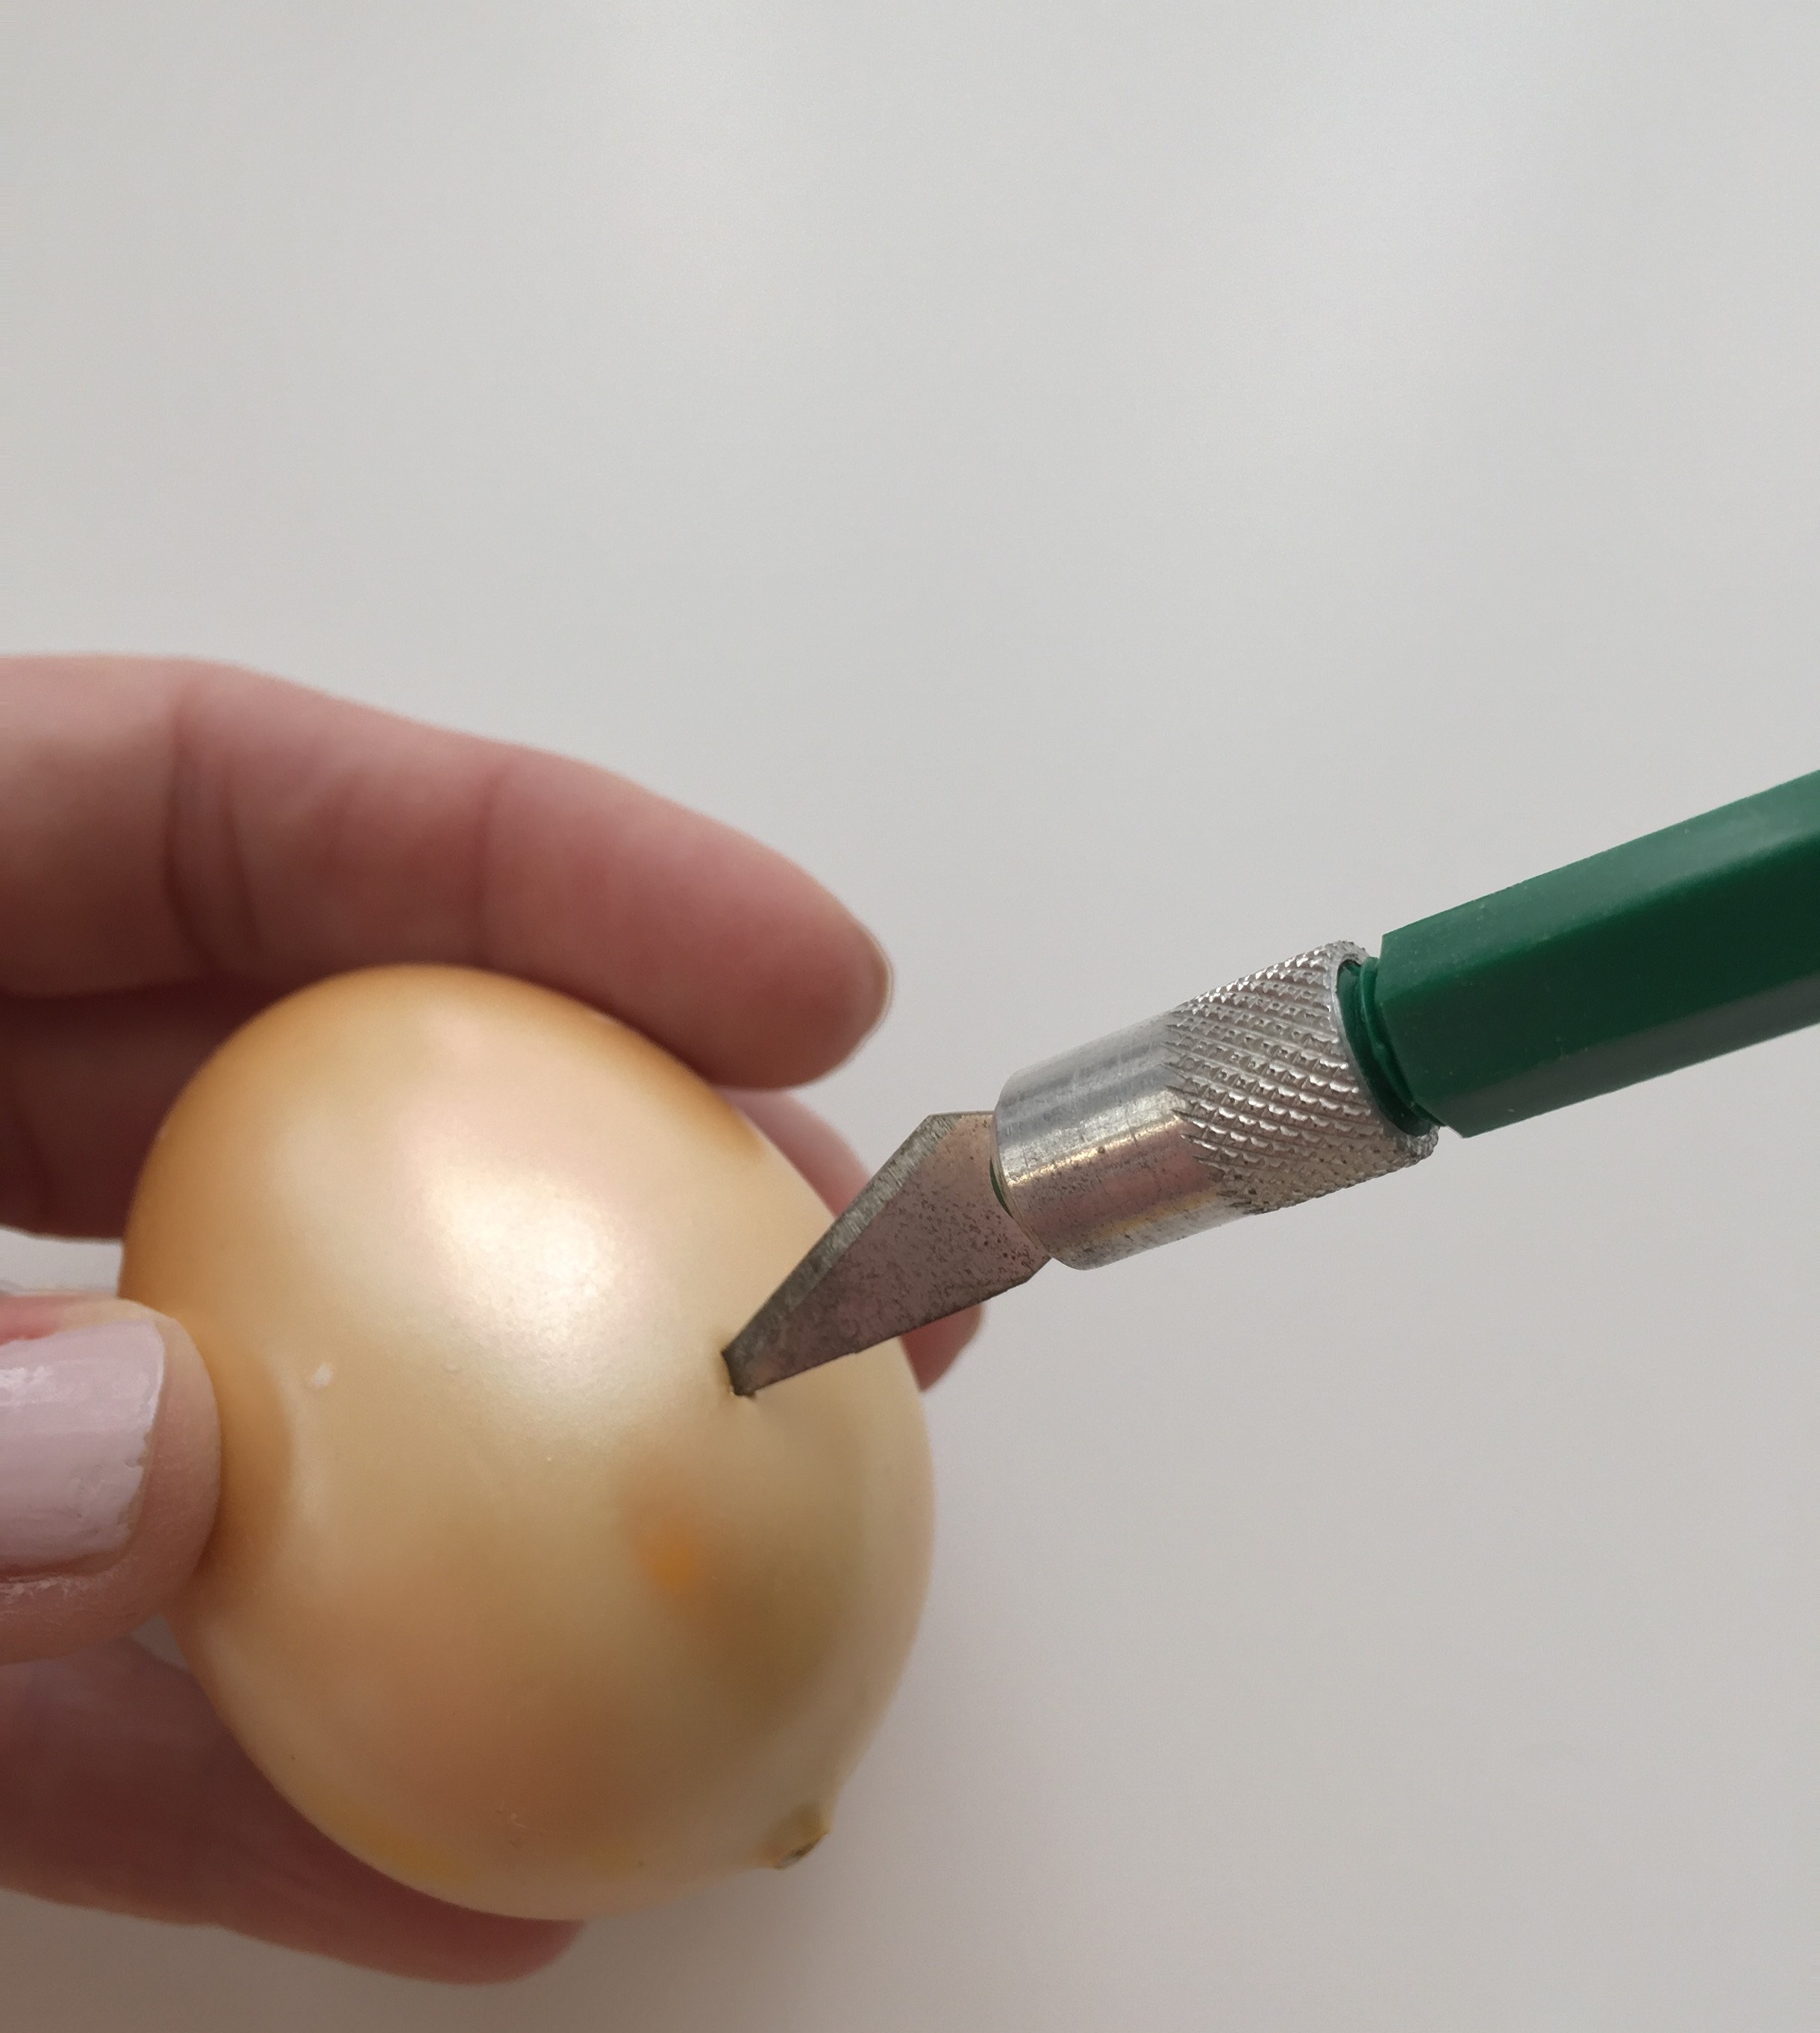
this is the step you may need to alter if you’re working with little ones…but i used an exacto knife to make two slits in the top of the egg where i would insert the ears. if you do the craft this way you’ll want to make sure you choose eggs that are soft enough to cut into…the kind you use for egg hunts and some craft eggs will be too hard. most floral picks with eggs on top will be soft enough to pierce, (in the Easter section) or choose a package of plastic decorator eggs…just squeeze ’em to make sure they’re soft. a paper maiche craft egg might work too.
once you have the slits made, simply insert the ears…
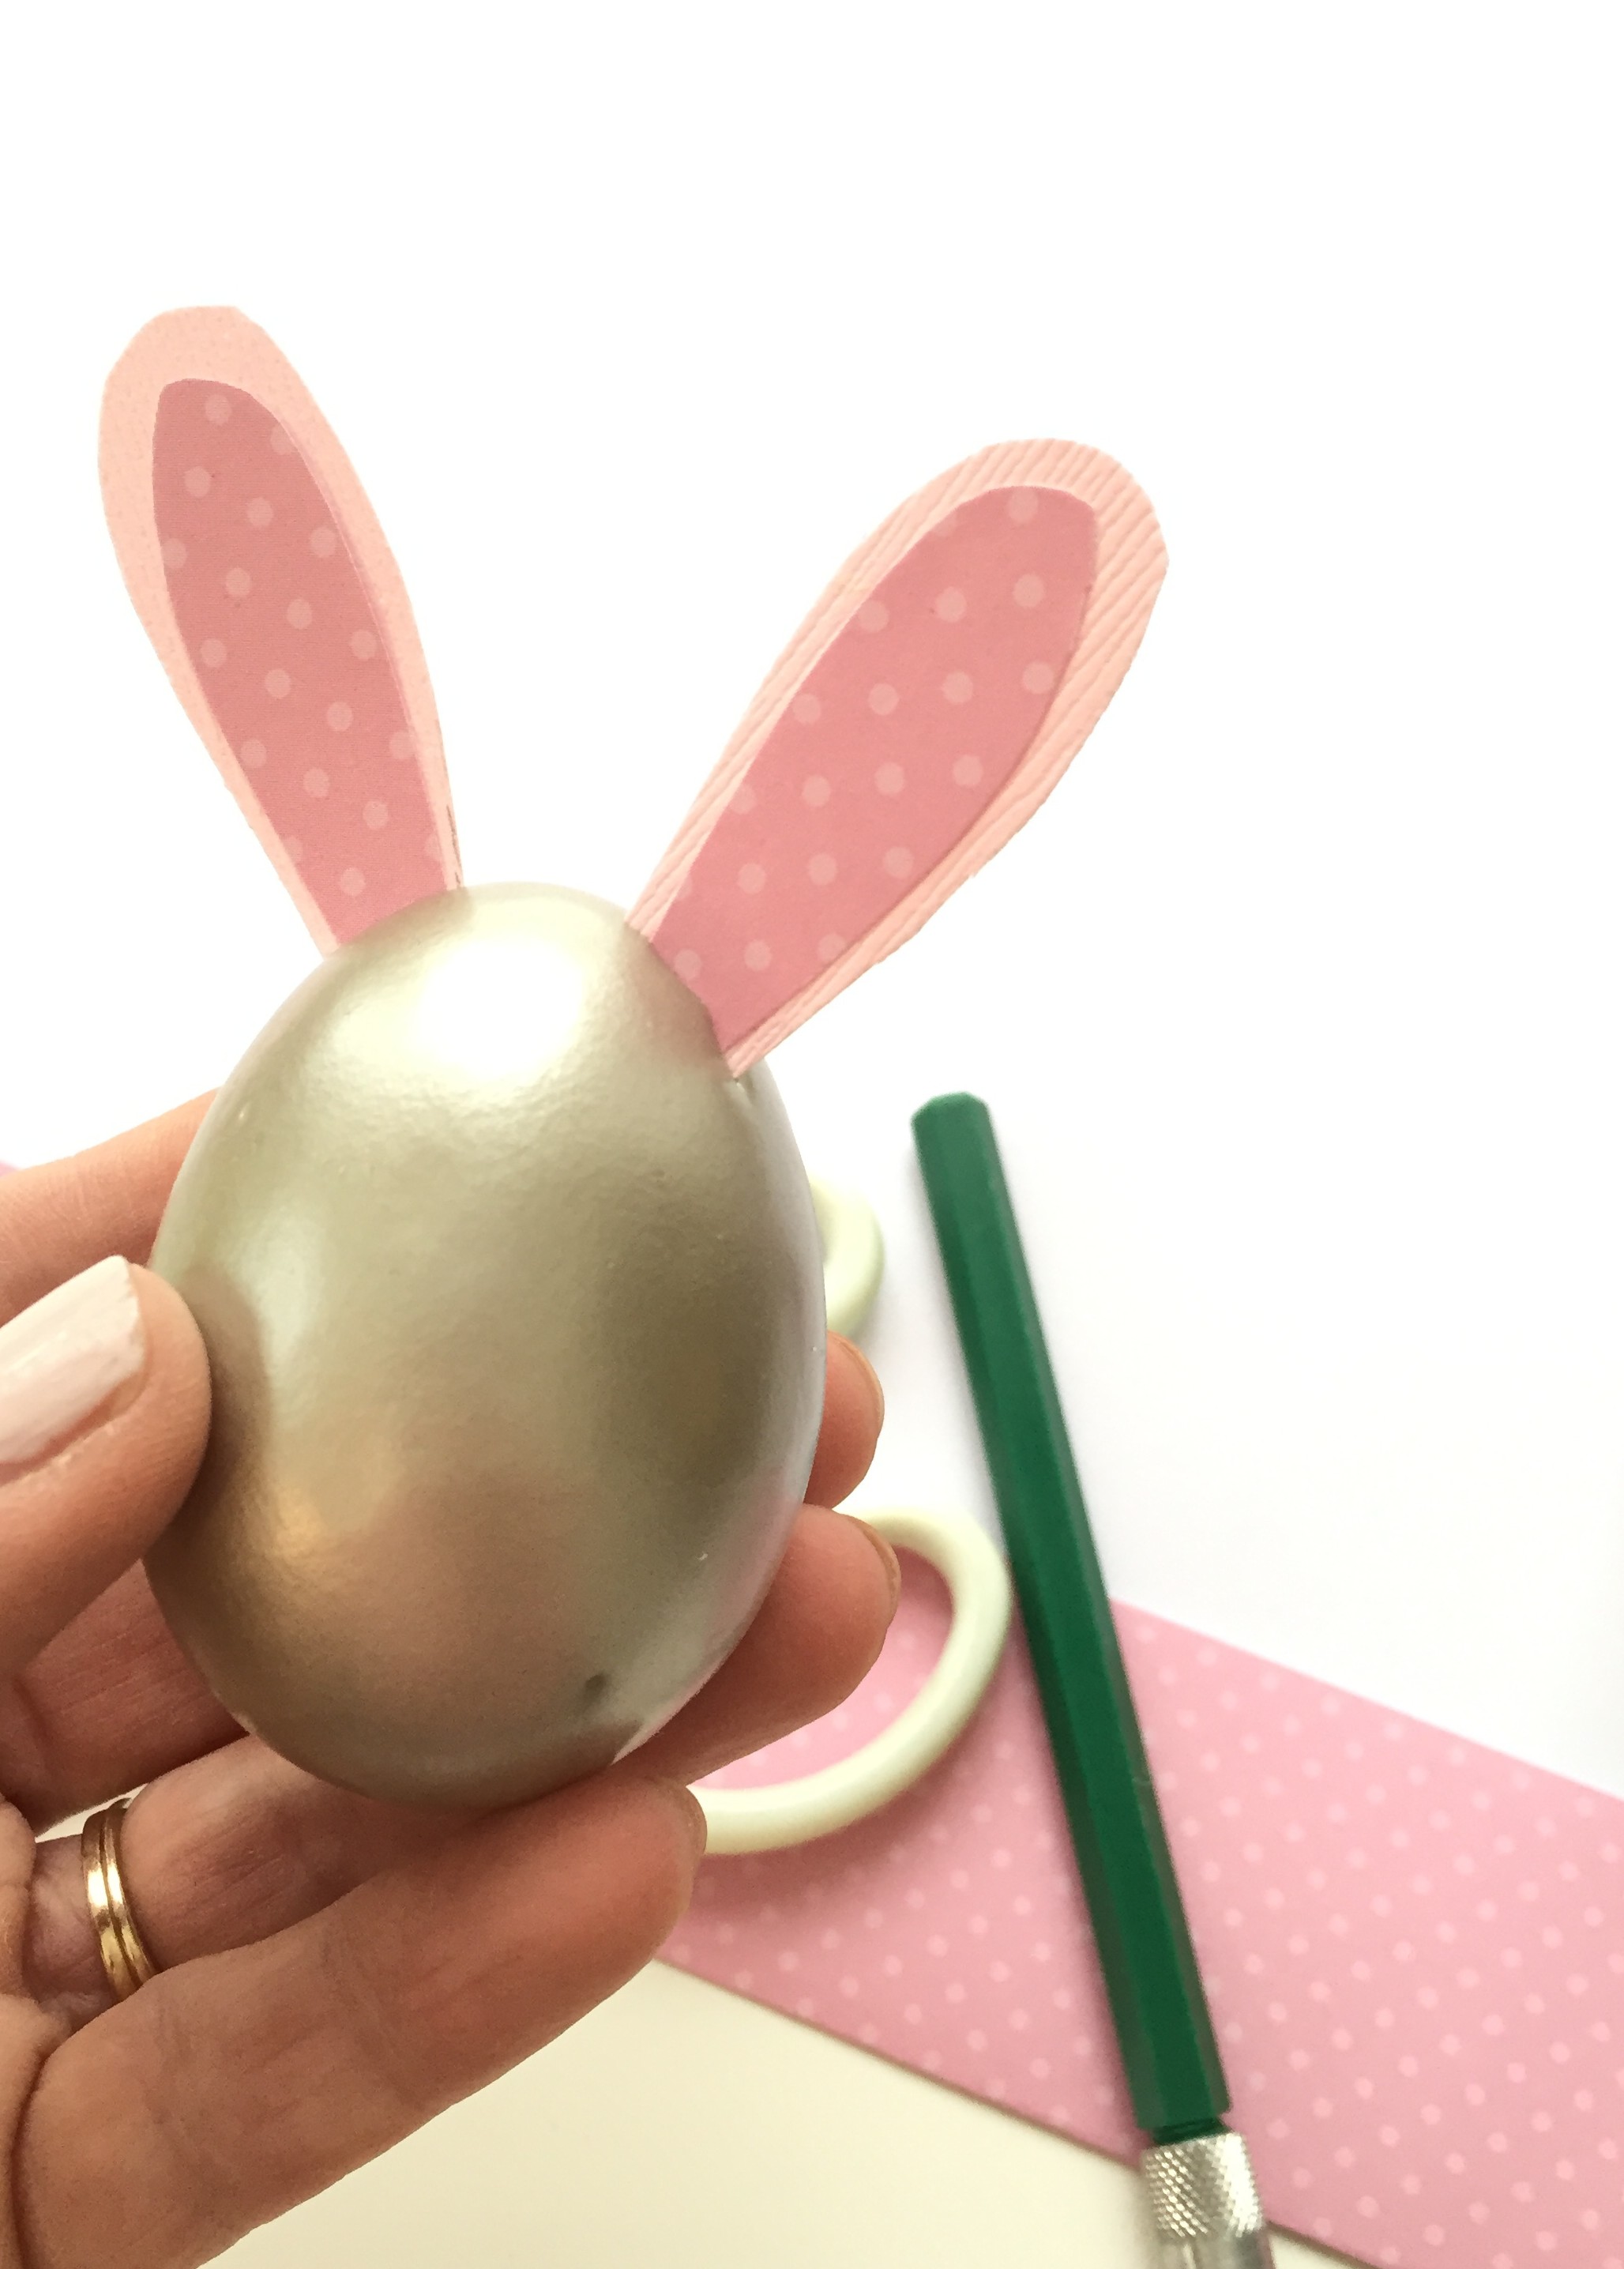
if you are crafting with little ones, i would suggest making the ears bigger and simply gluing them to the back of the egg. you can also add a pompom for a tail, and paper feet to the bottom so the egg will stand on its own. i knew i would use mine in egg cups so i didn’t add any feet shapes…but i did add a tail, you can sort of see it sticking out the back!
here, chick chick chick…
for the chick i used the yellow feathers and some yellow card stock to make the beak. i found these bright tags in a dollar bin–so i used one to craft with and saved the others for gifts! a simple diamond shape folded in half will make the beak…
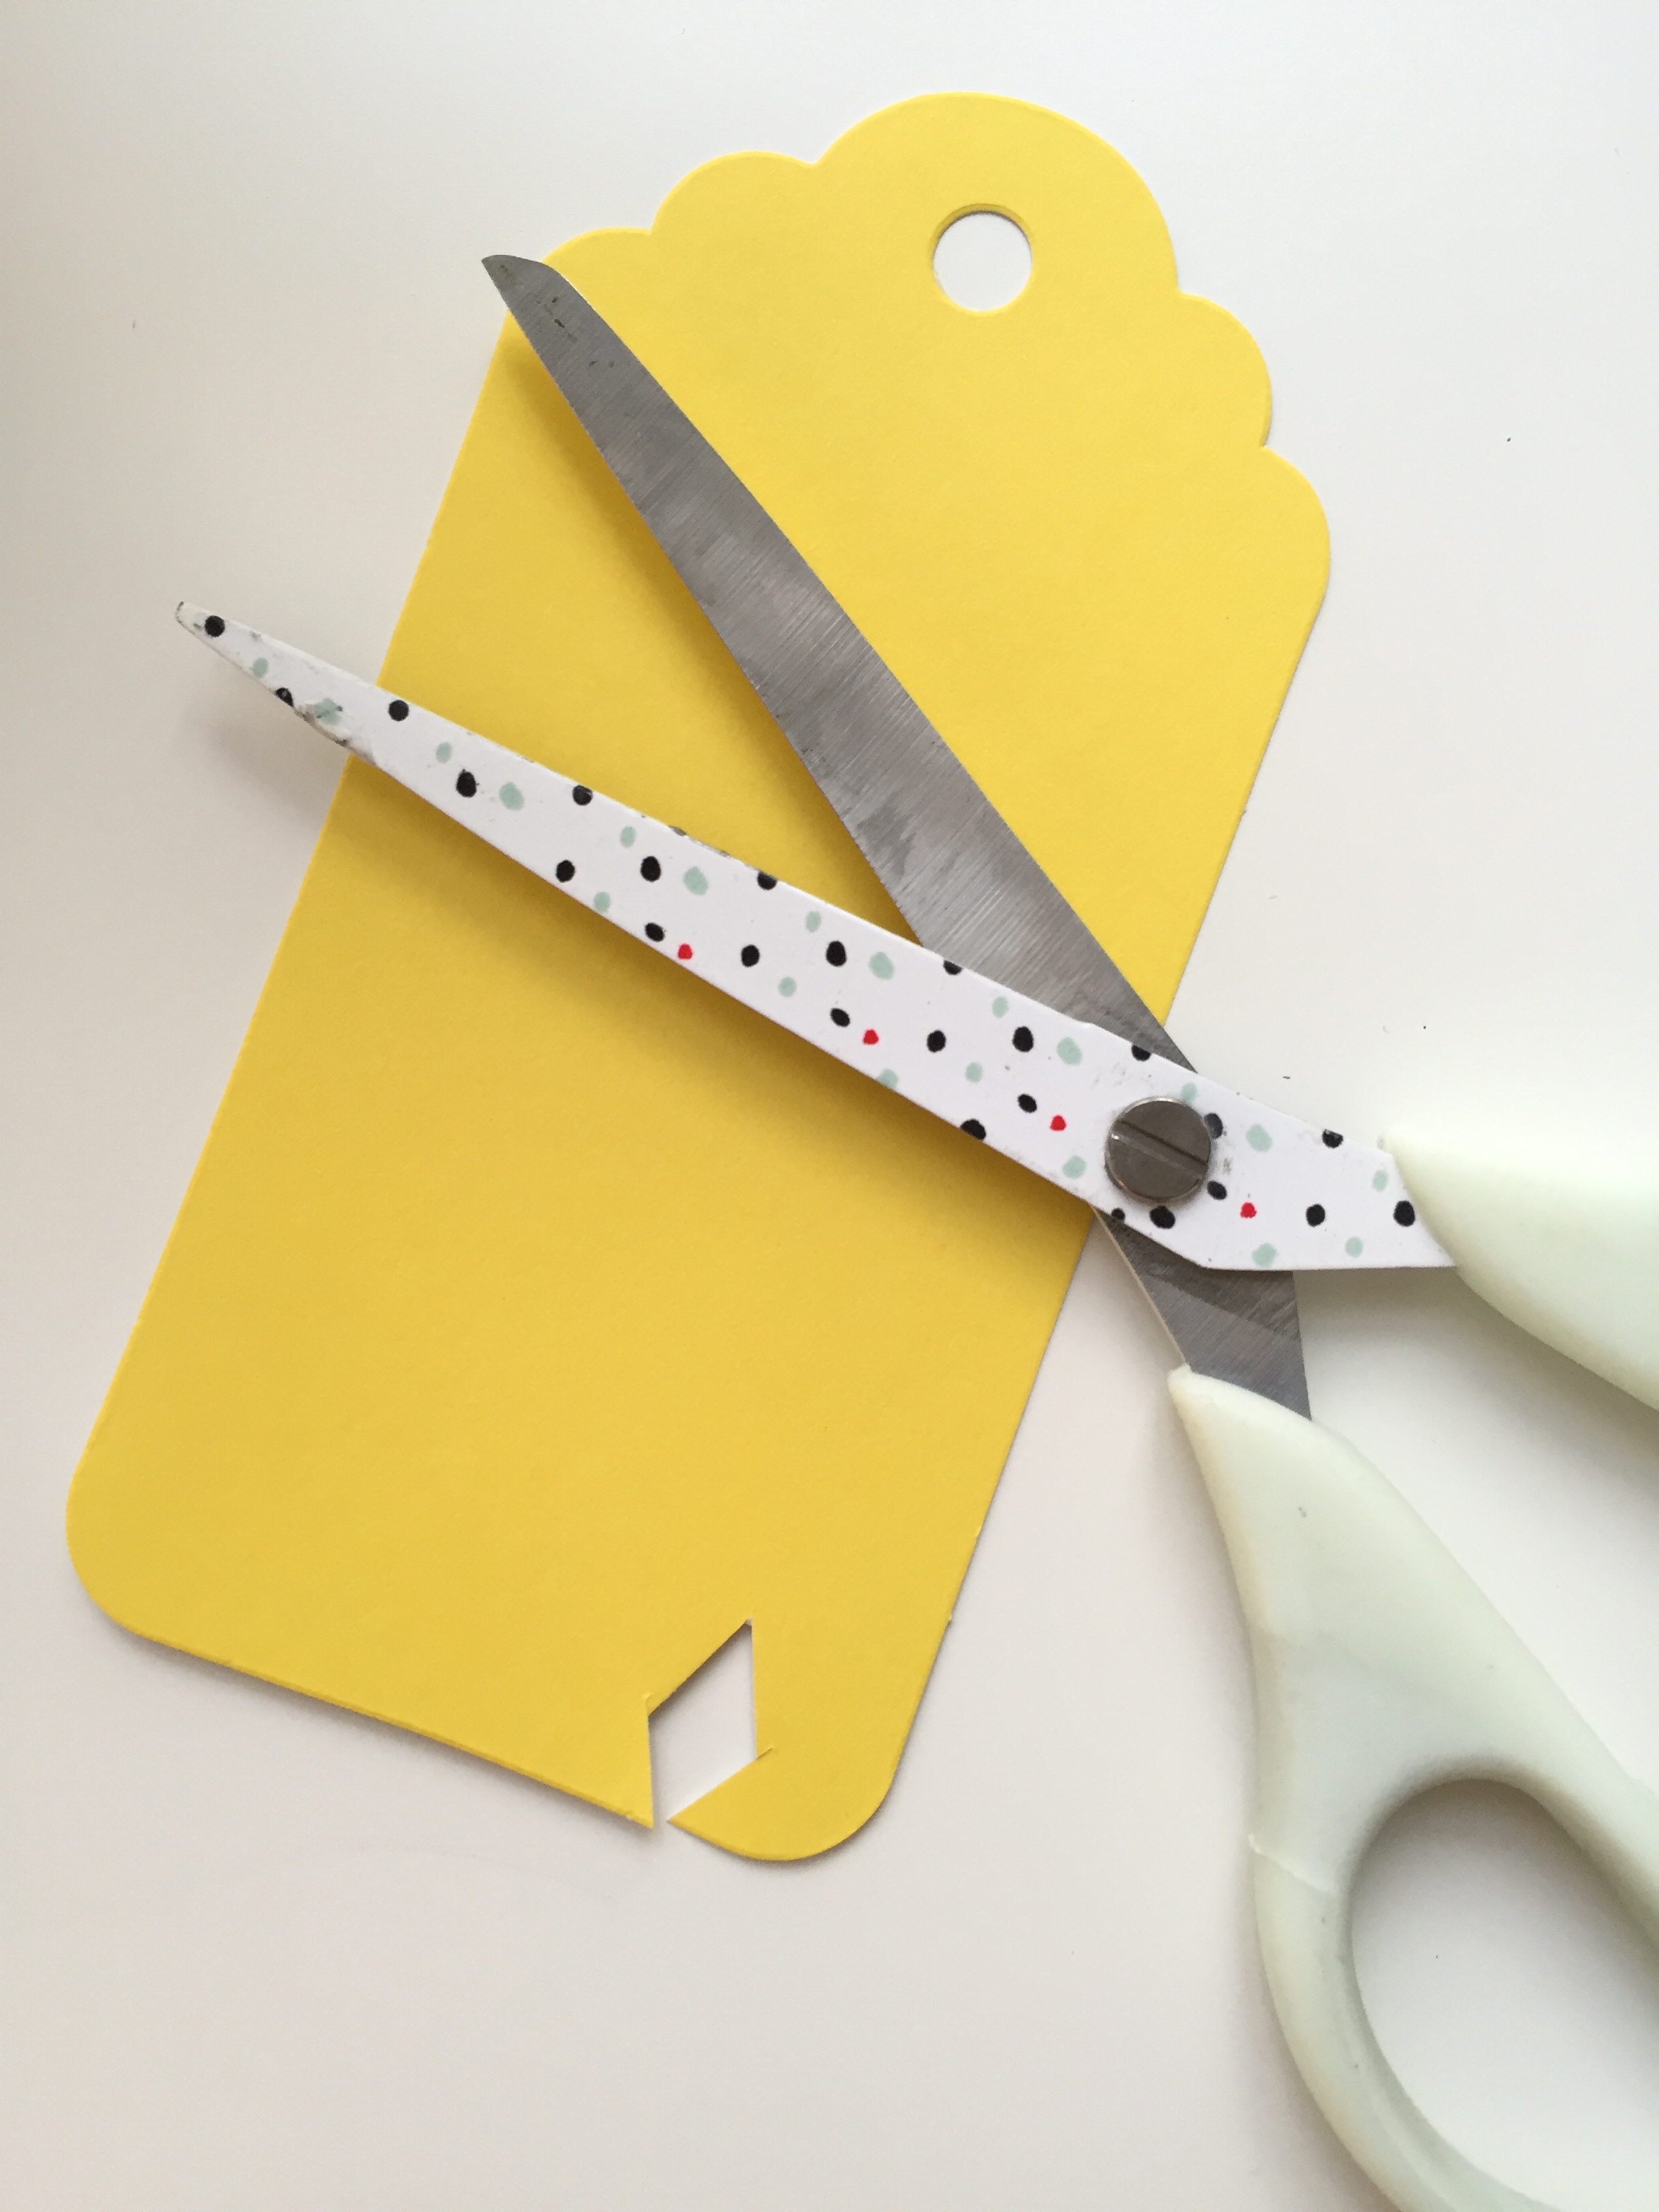
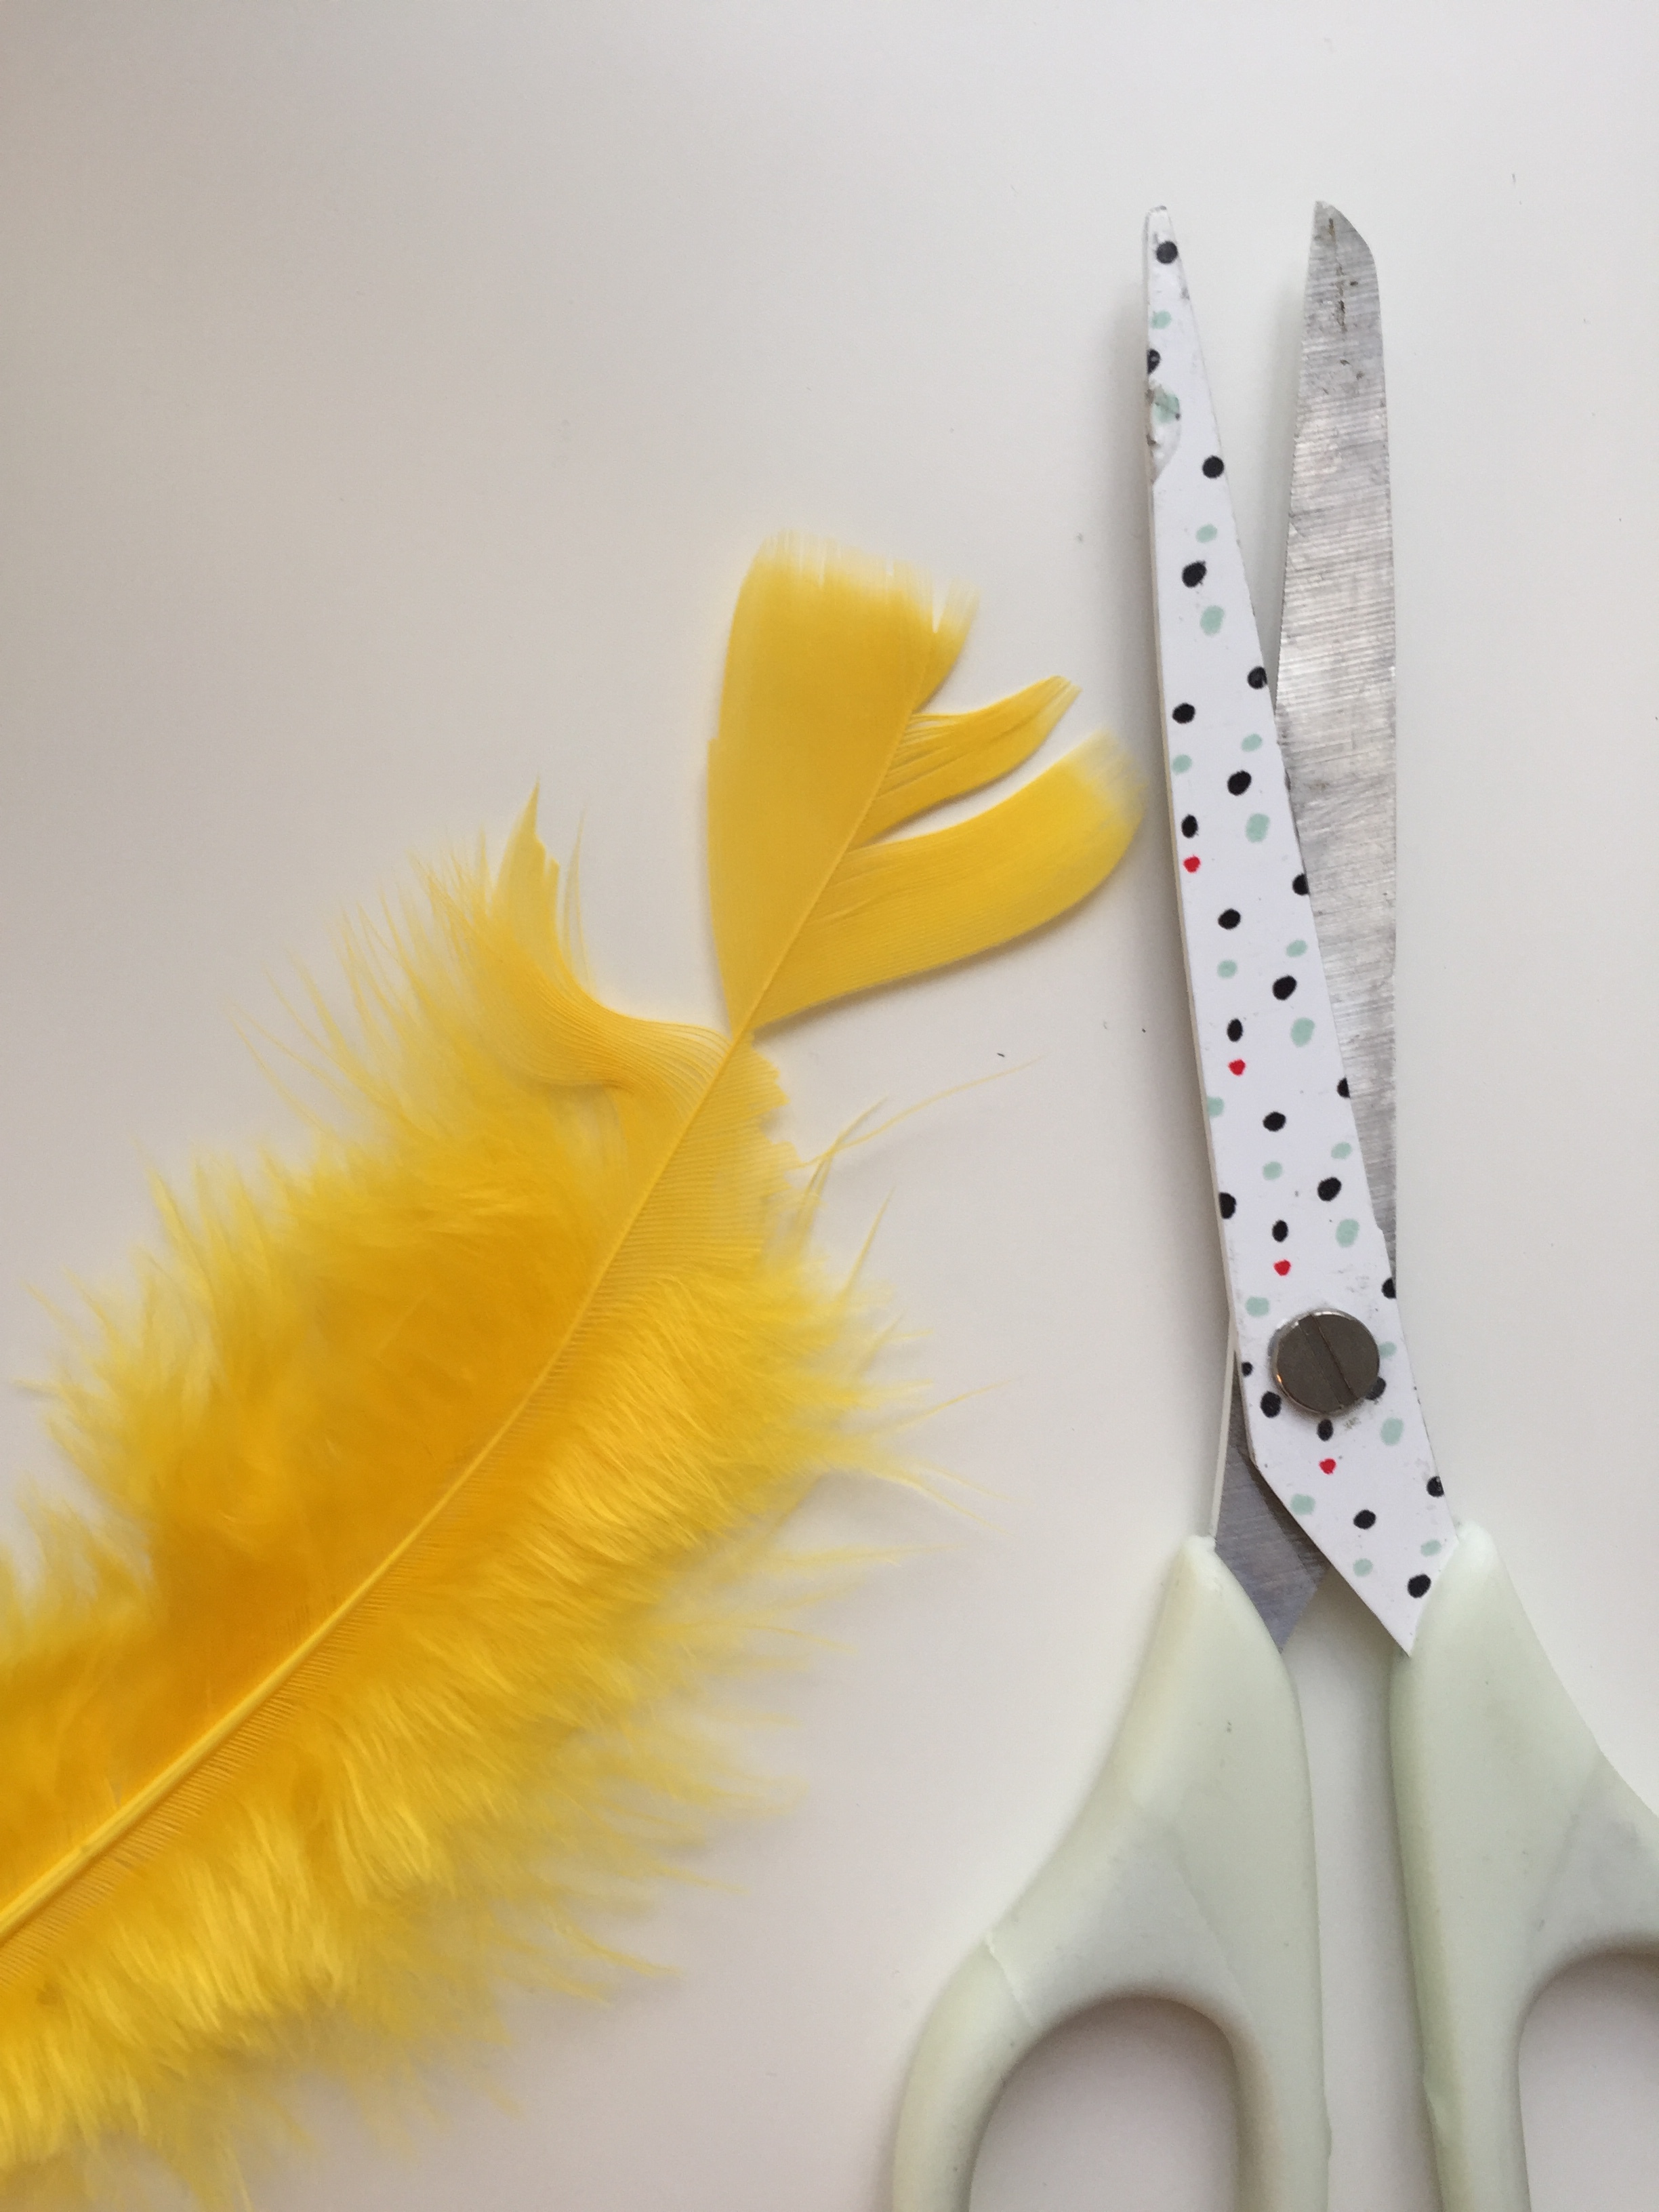
and the feathers i cut to size…some in half for the tail and i clipped a couple tips off of some to make the wings…
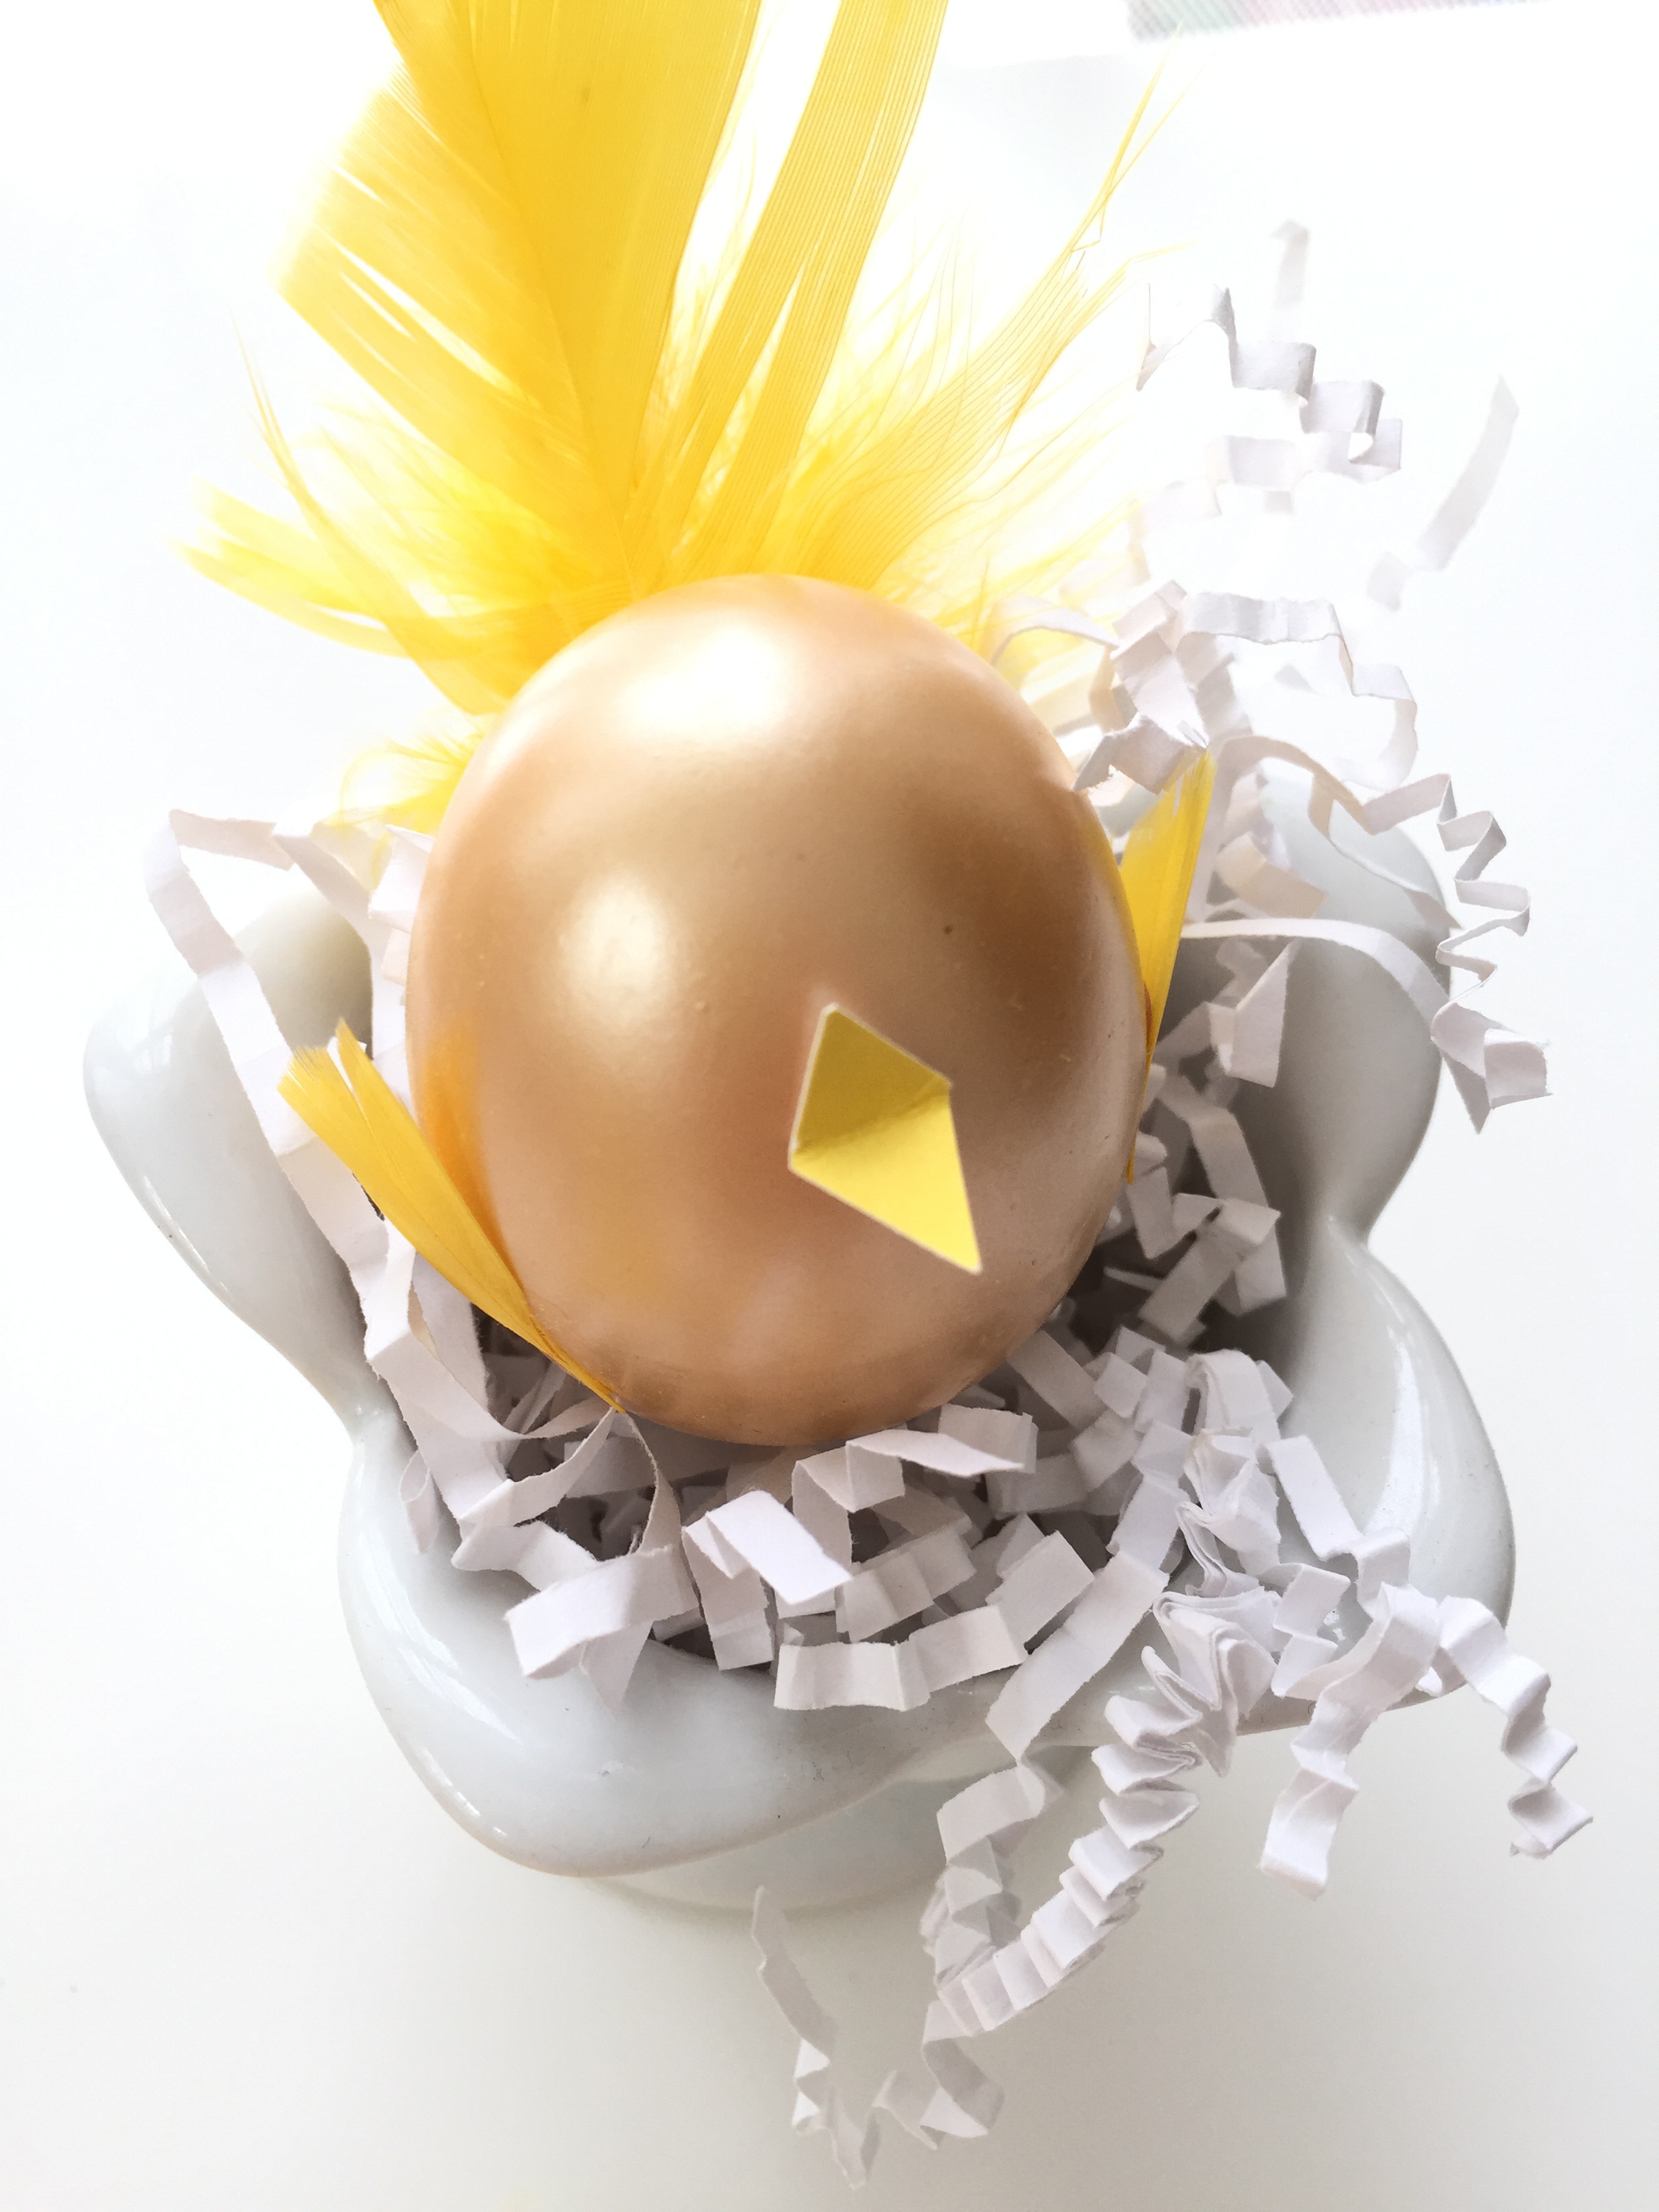
with the exacto knife and a gold egg this time, i just poked a hole in the back where the tail feathers would be and inserted two feathers, one a bit longer than the other. a little twisting and bending the feathers will make them angle up a bit rather than stick straight out the back of the egg. just play around a little and they’ll eventually look the way you want!
the tips of the other feathers were glued onto the side of the egg with the glue stick…along with the beak. if you work with kids i’d stick to gluing all the feathers…or let an adult makes the slits with the knife ahead of time. you could certainly add eyes to the critters or even a nose to the bunny…but i love the simplicity!
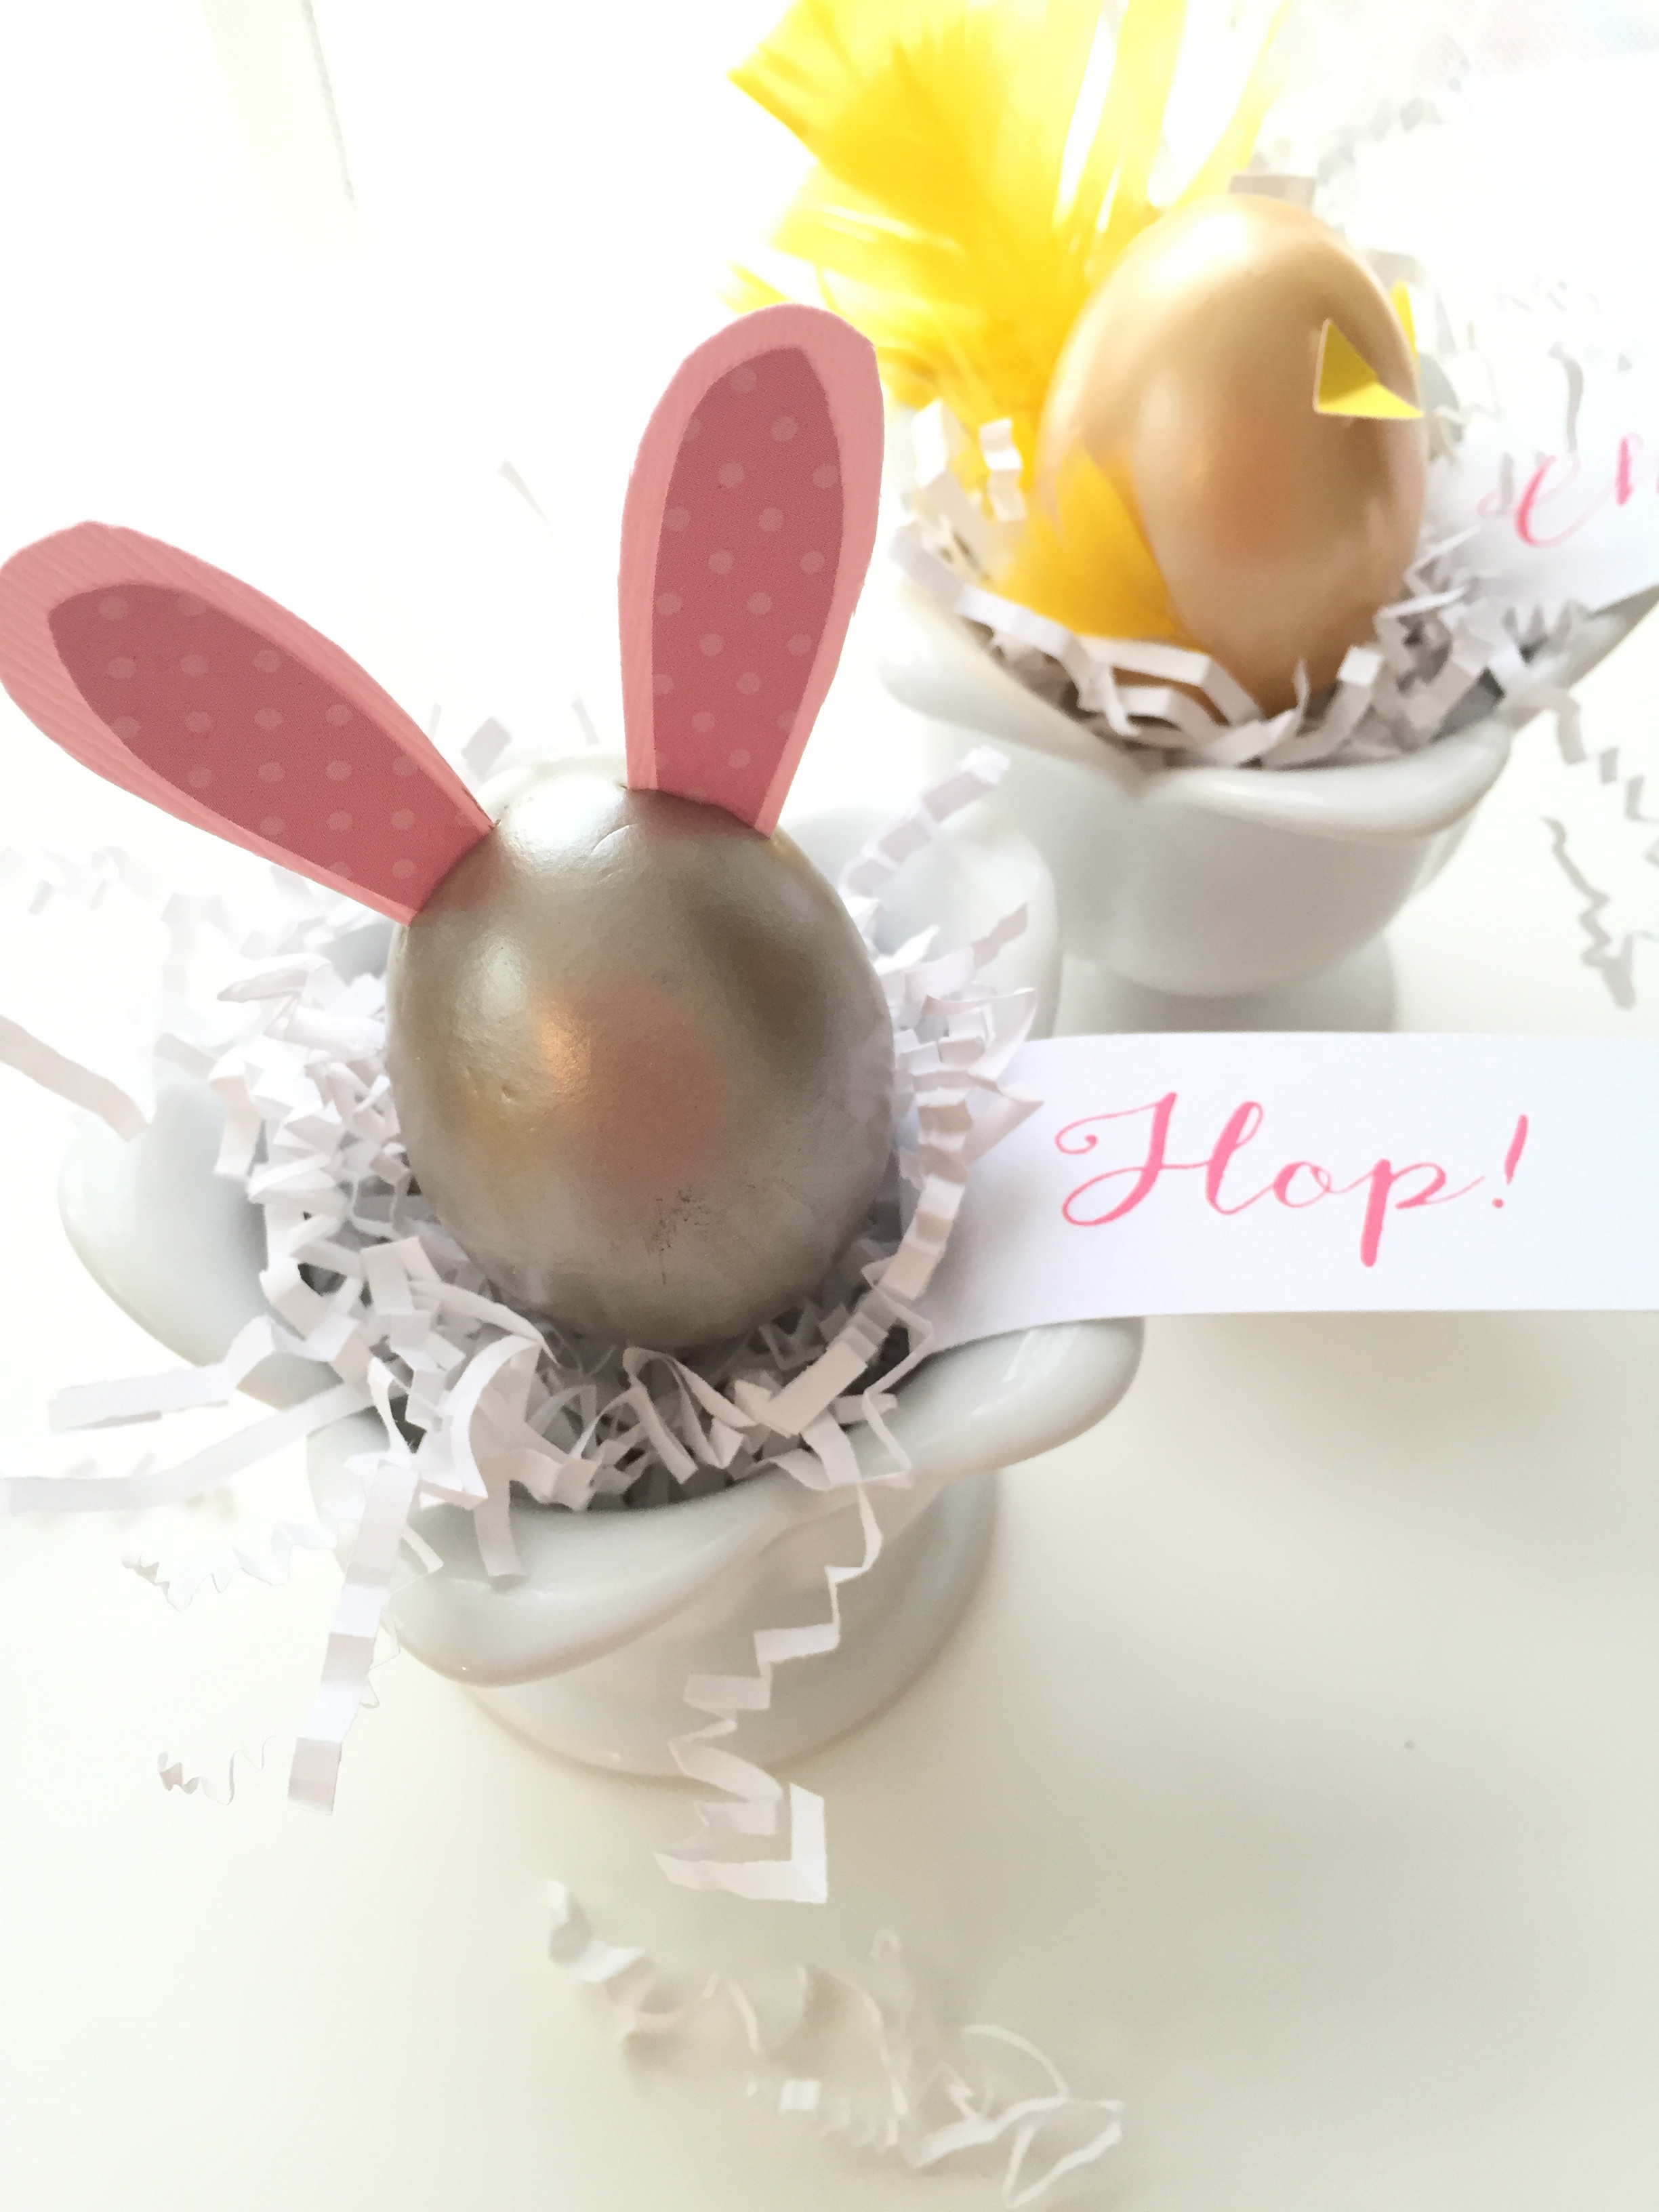
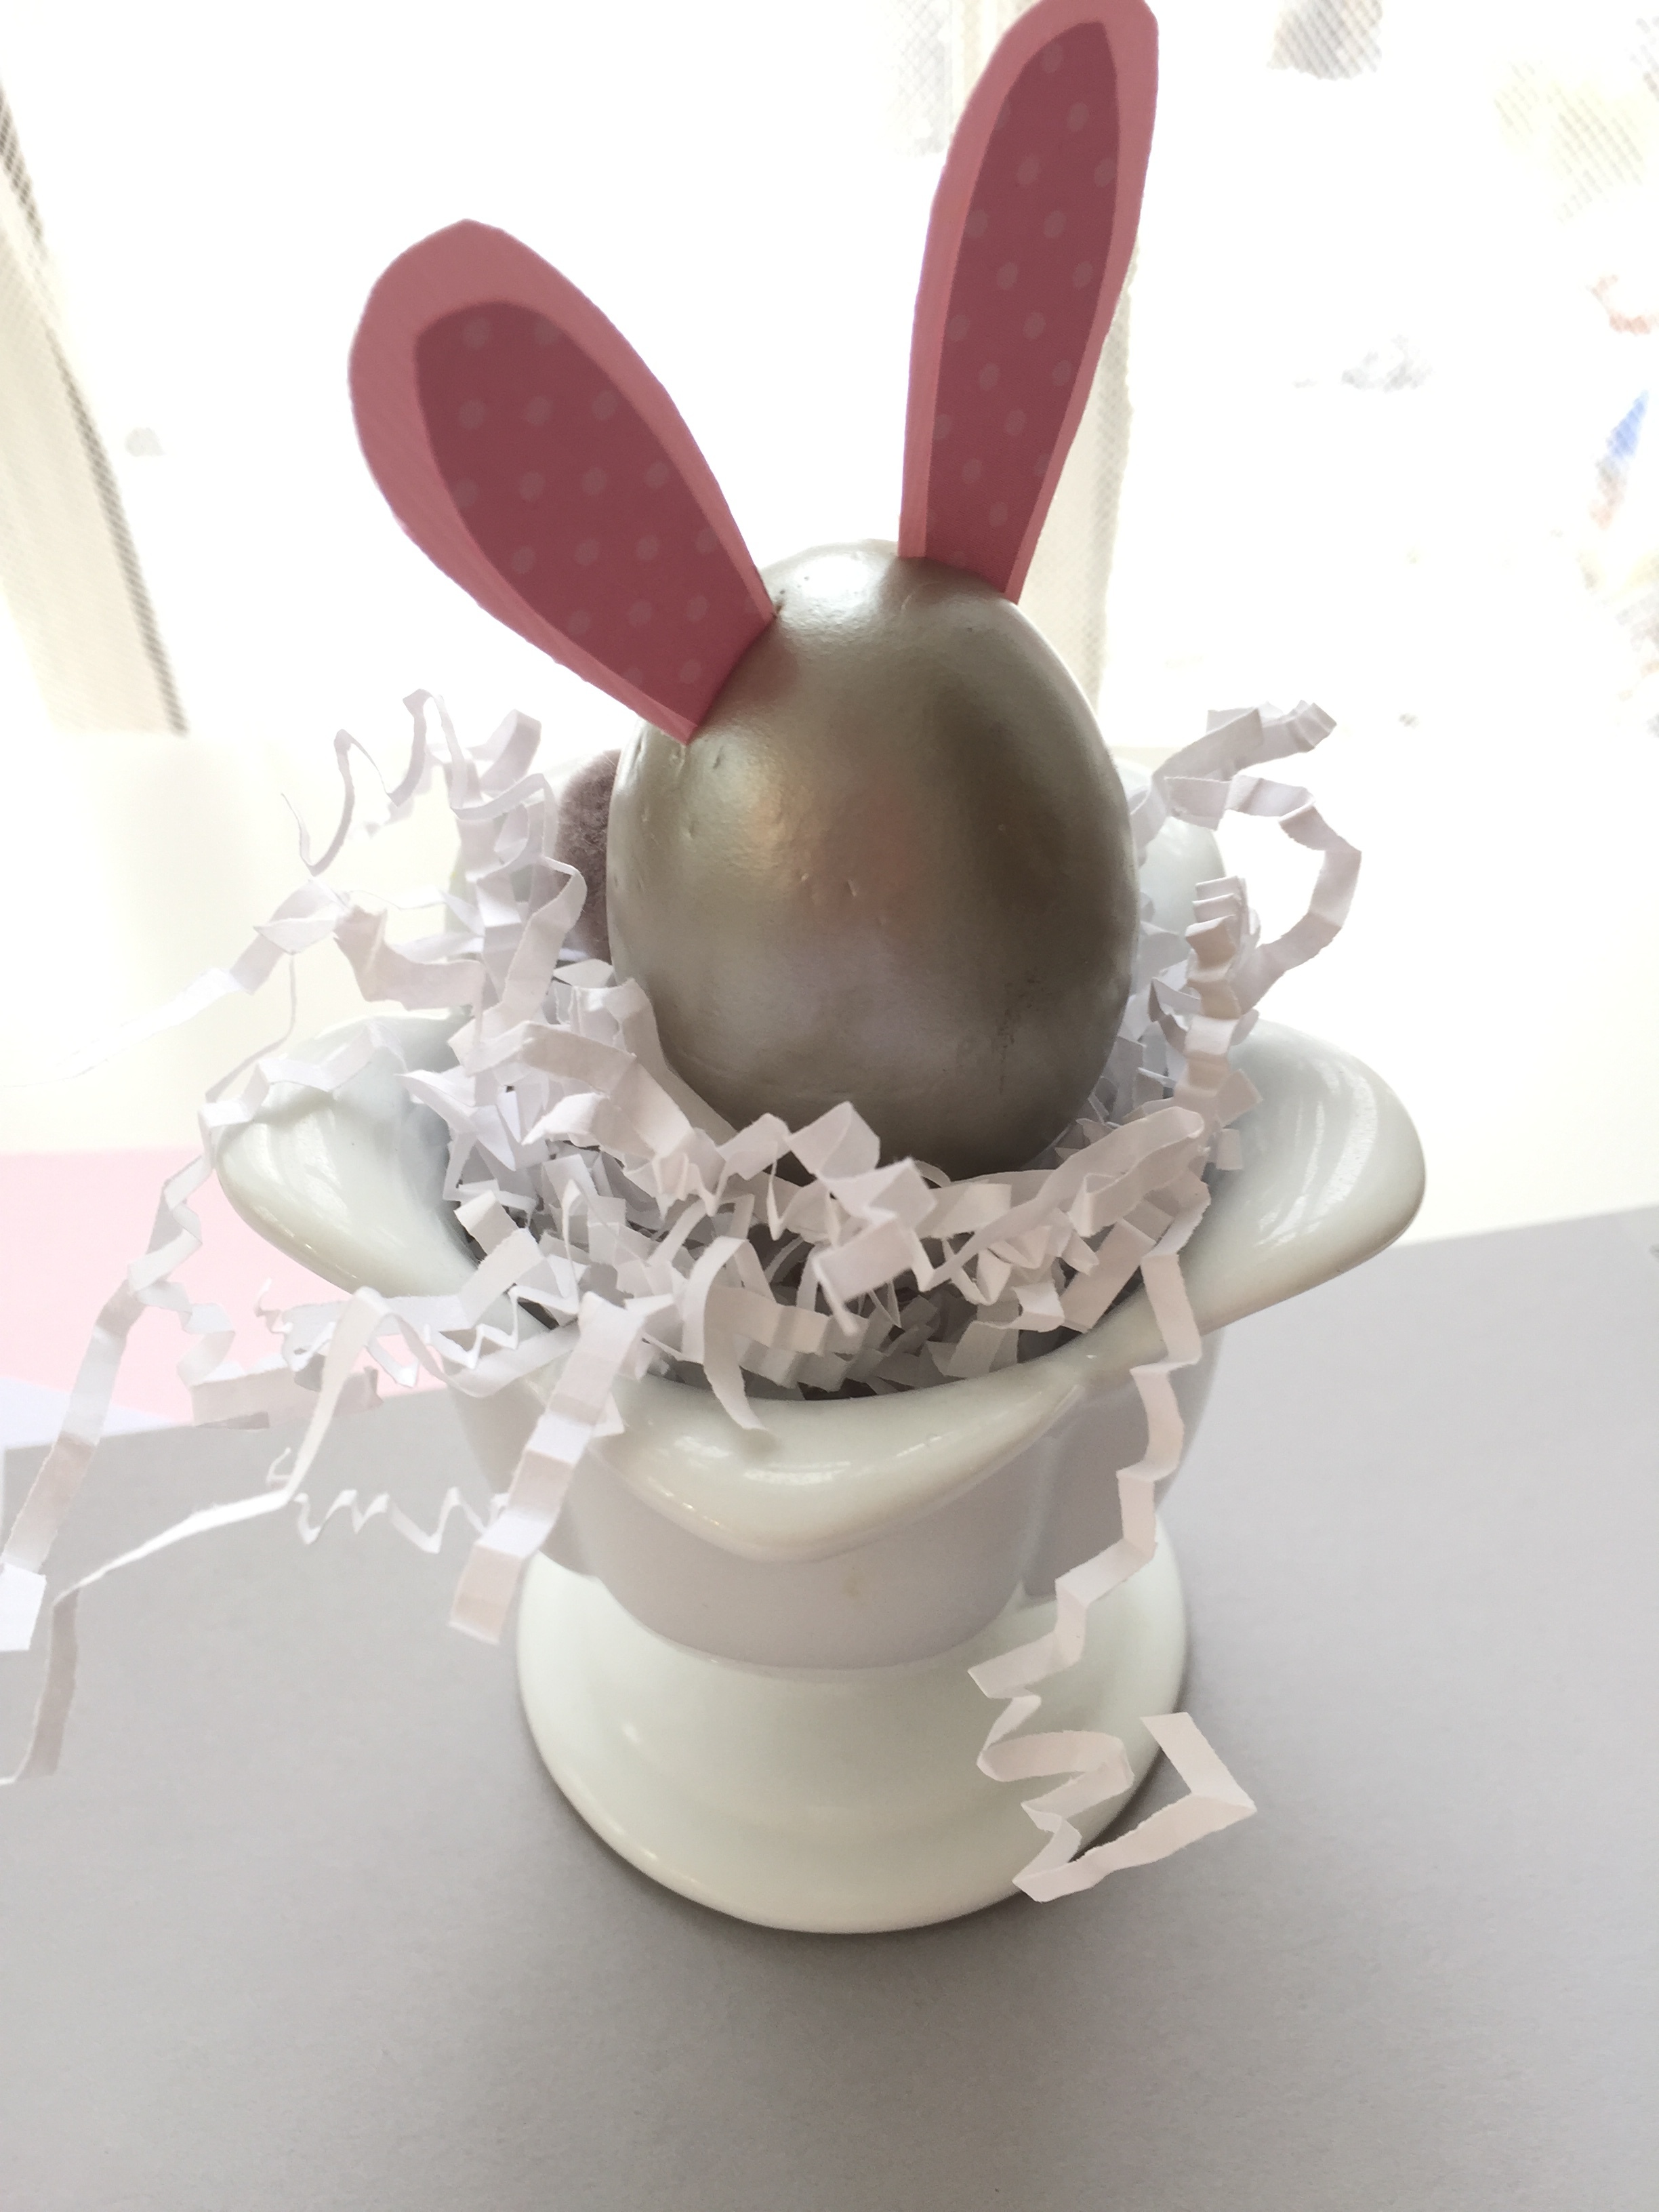
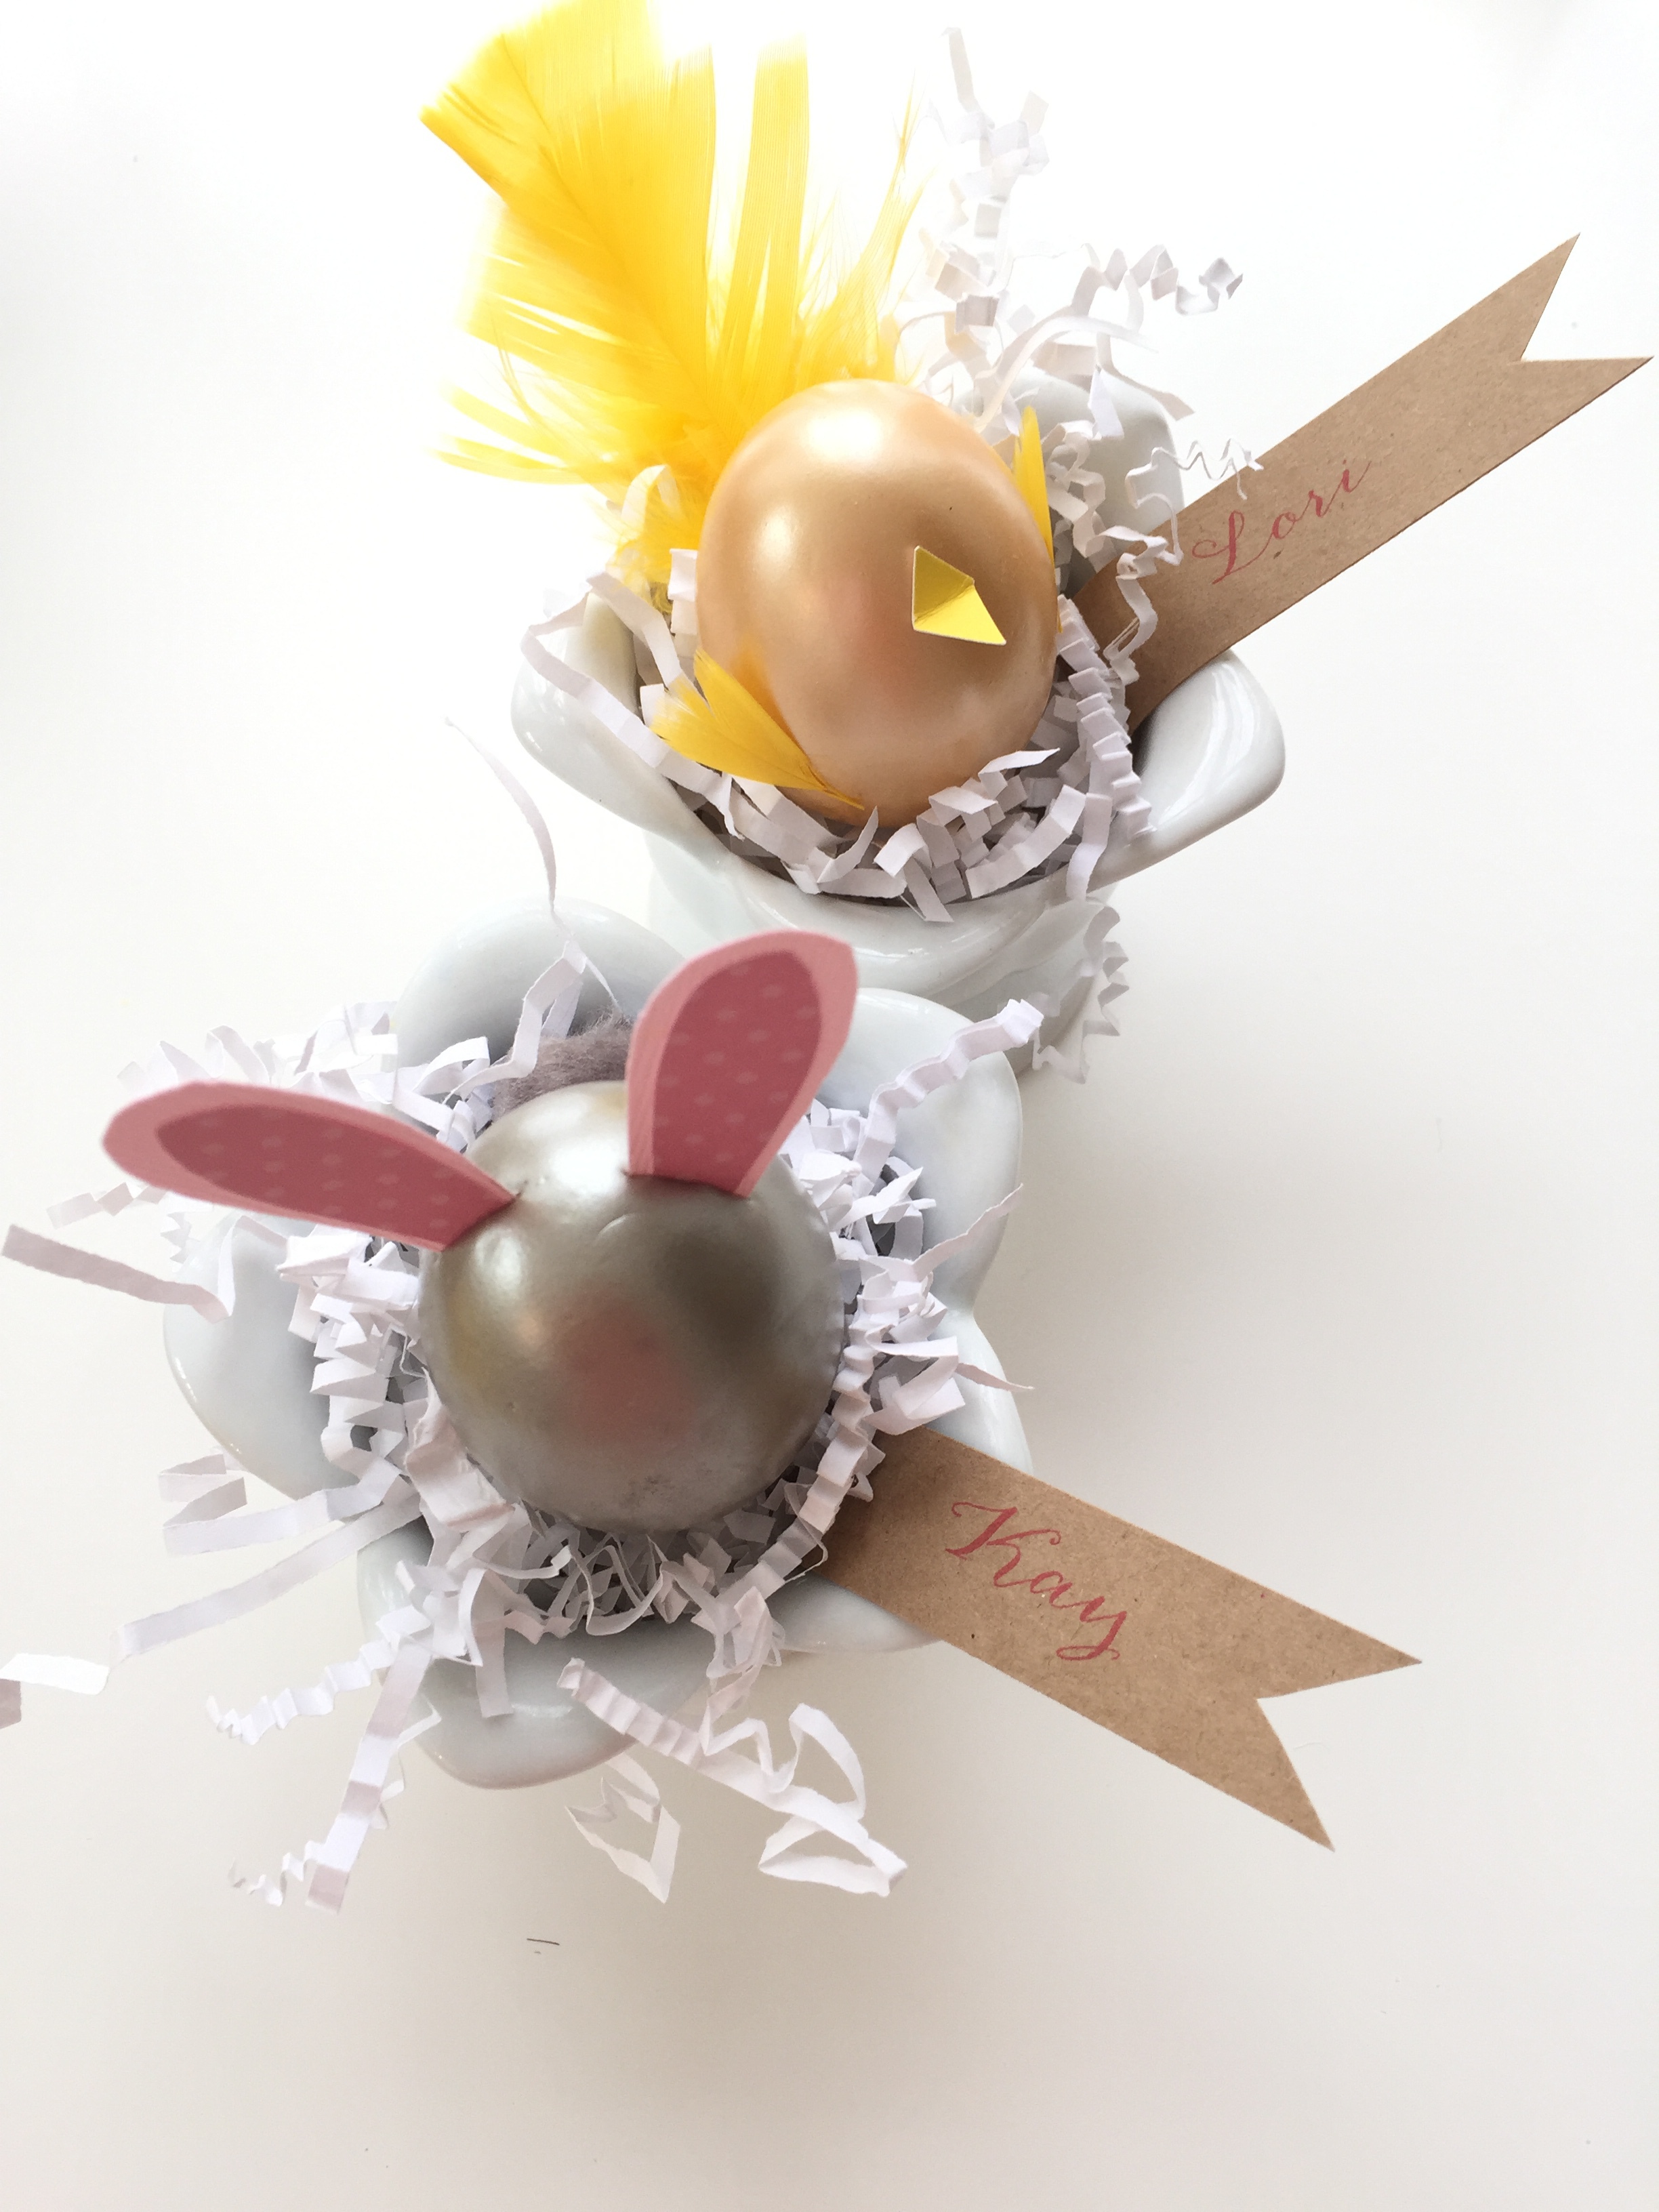
these little guys would make sweet place cards at a table. just print off your names…
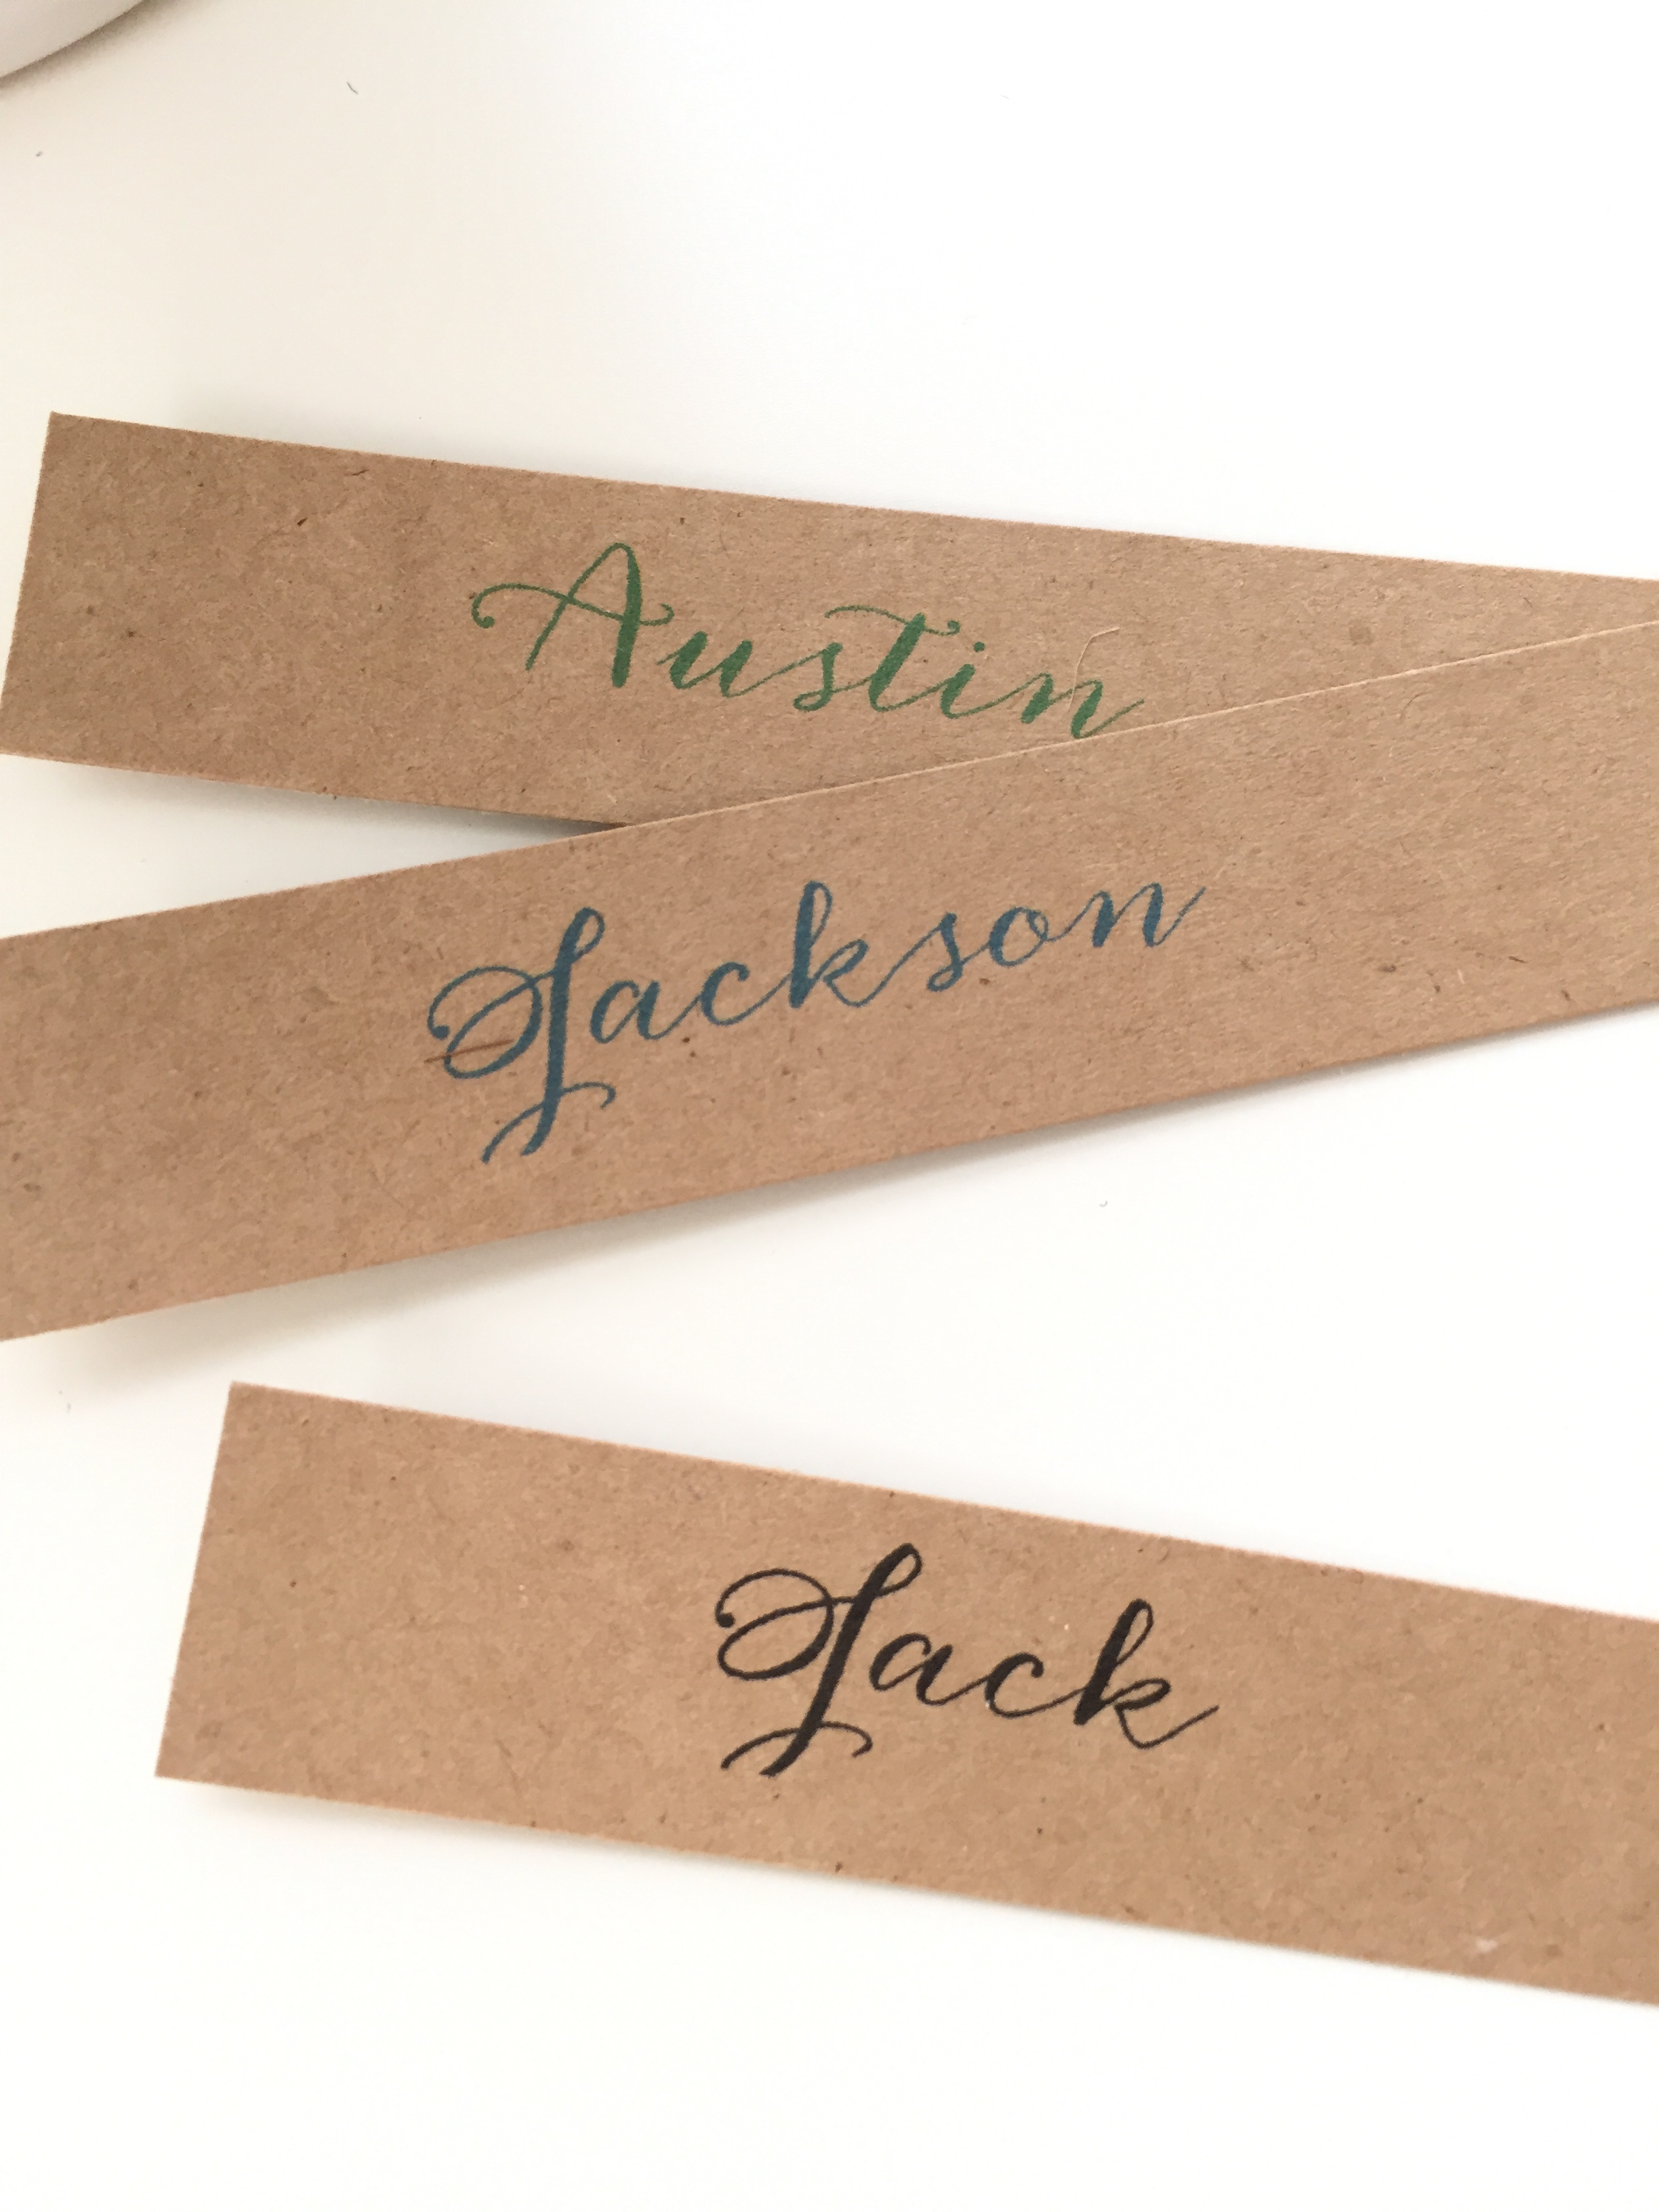
and pop them in the cup!
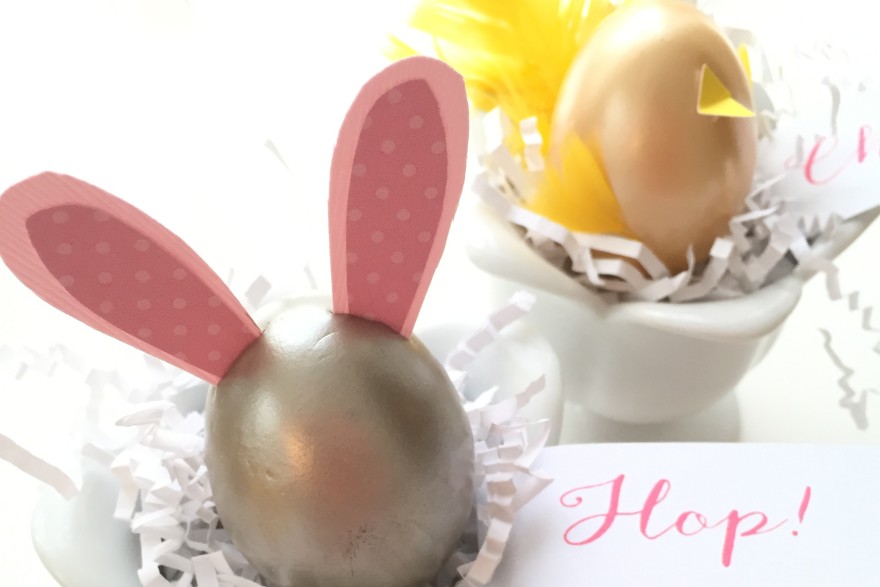
or just have fun with a simple message…
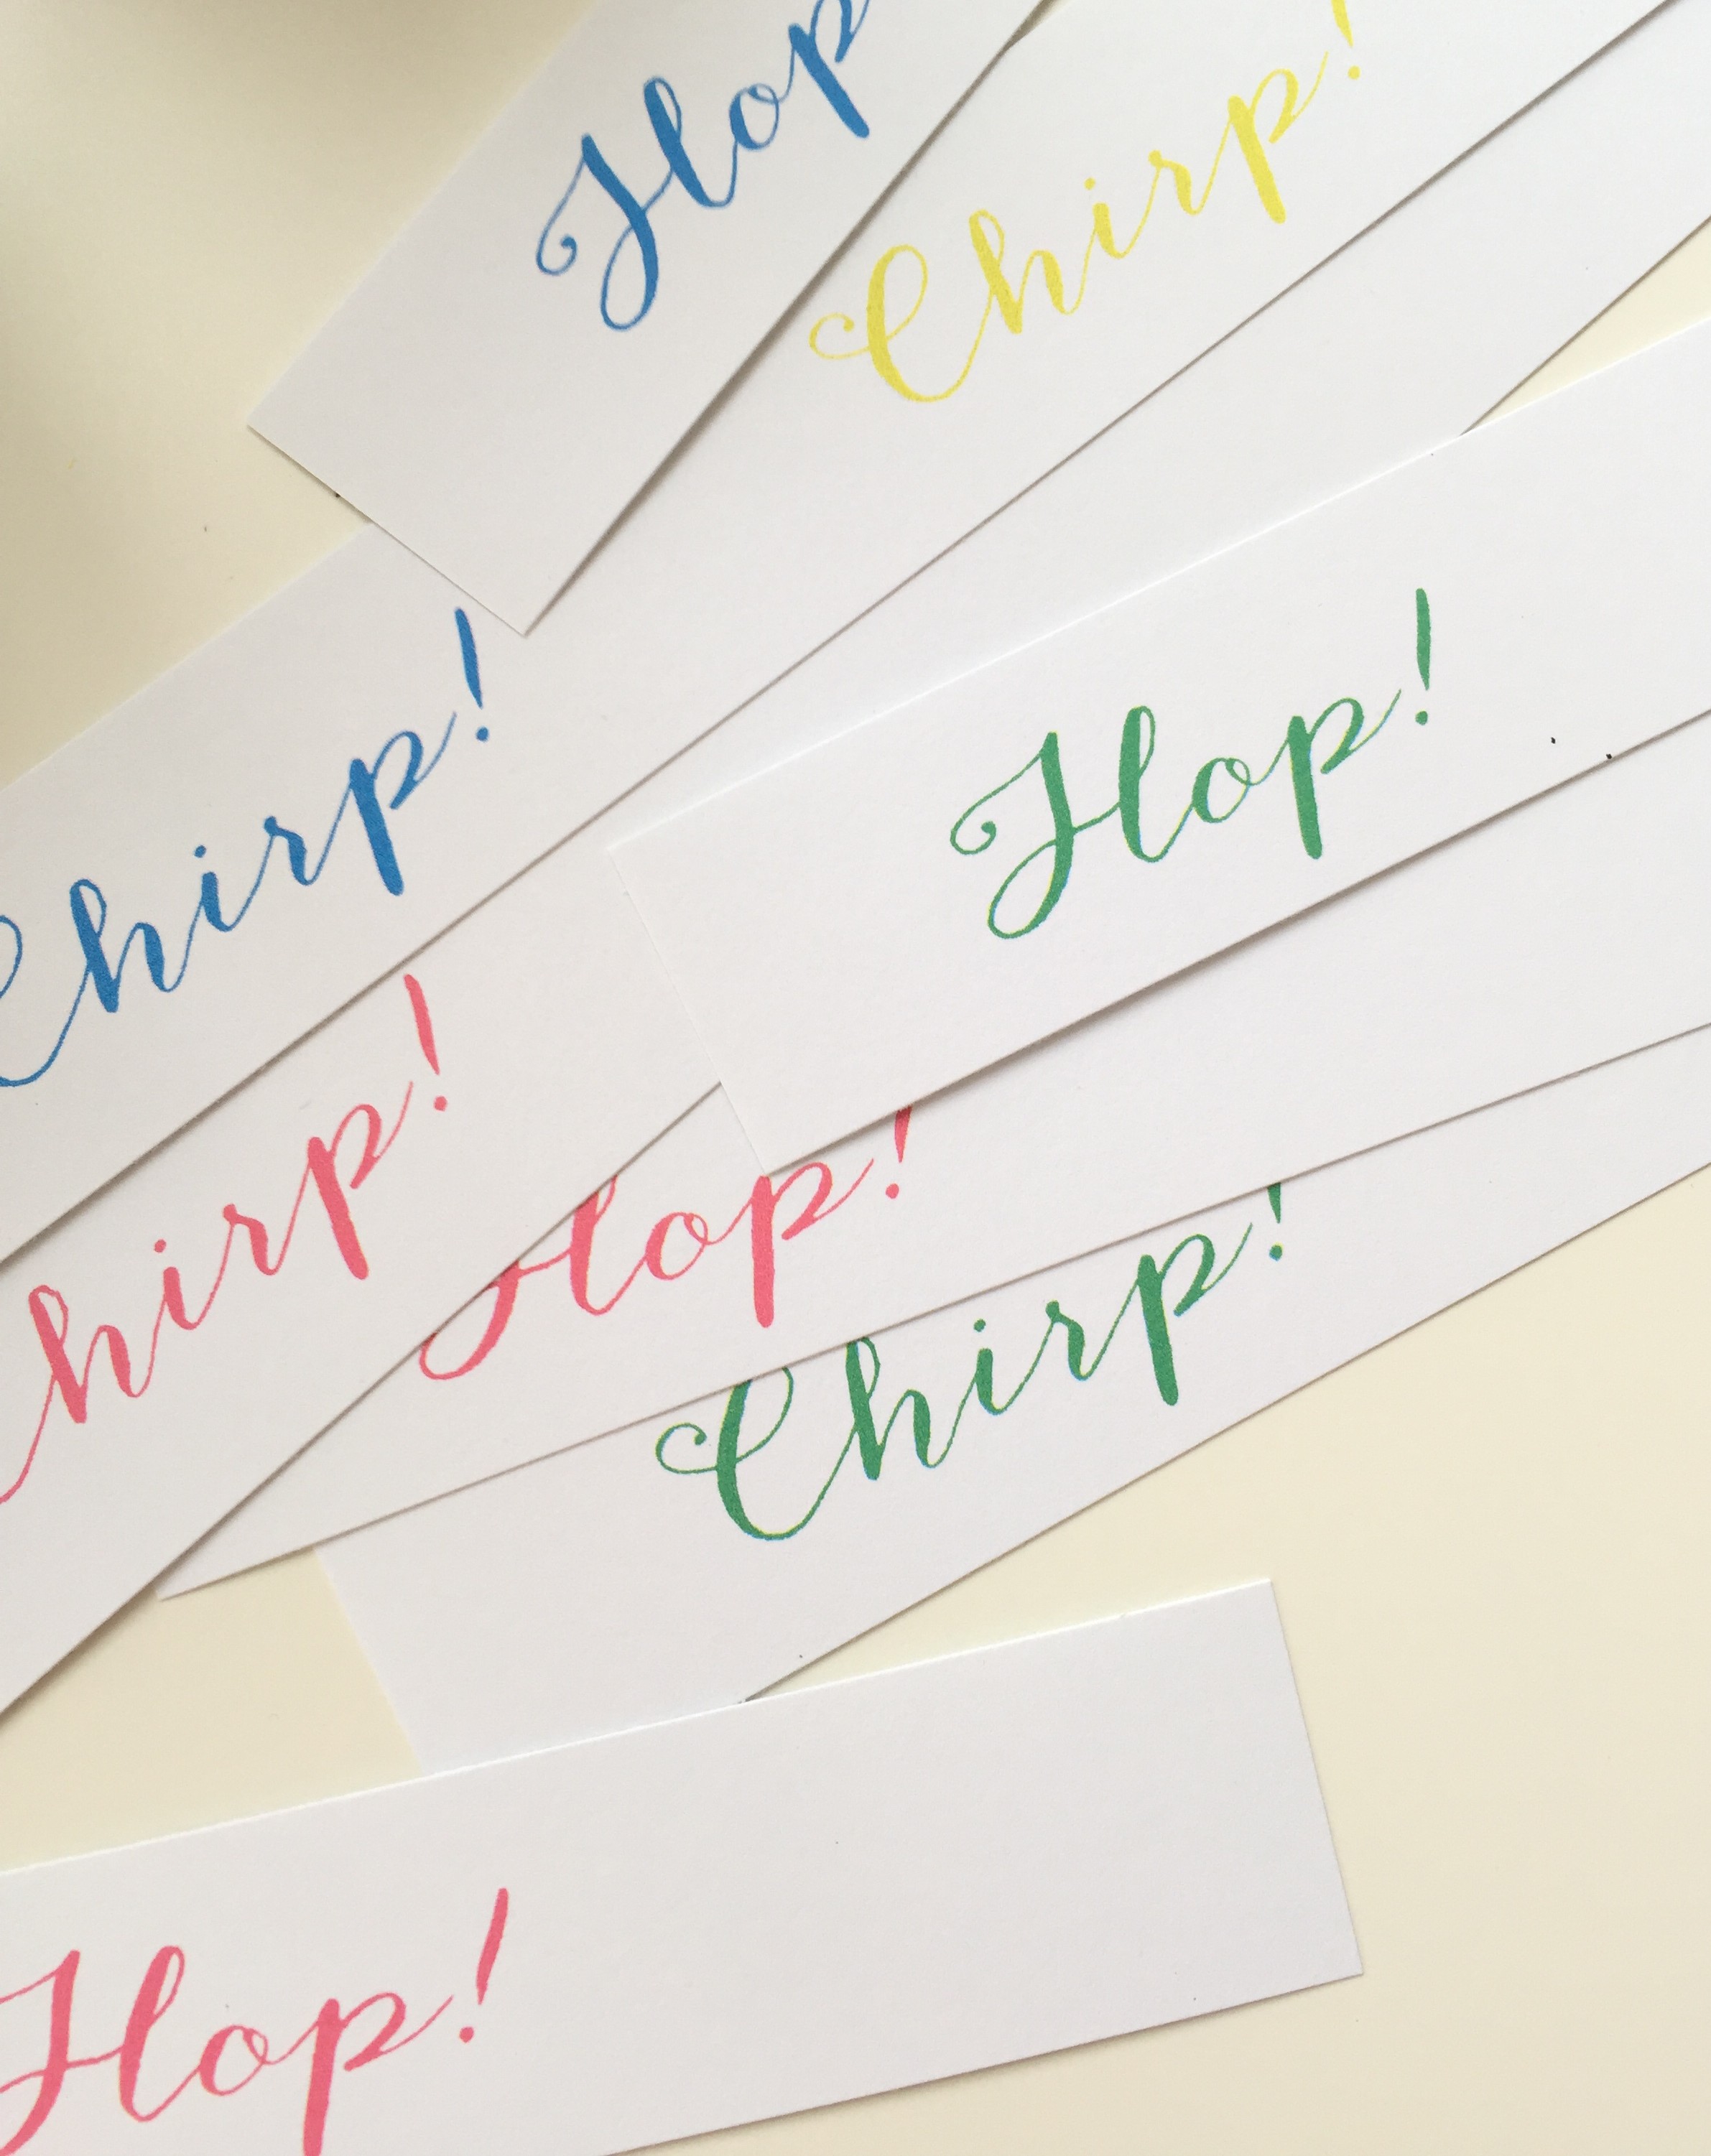
i think my fave is the chick…but it’s hard to choose!

they’re simply sweet!