
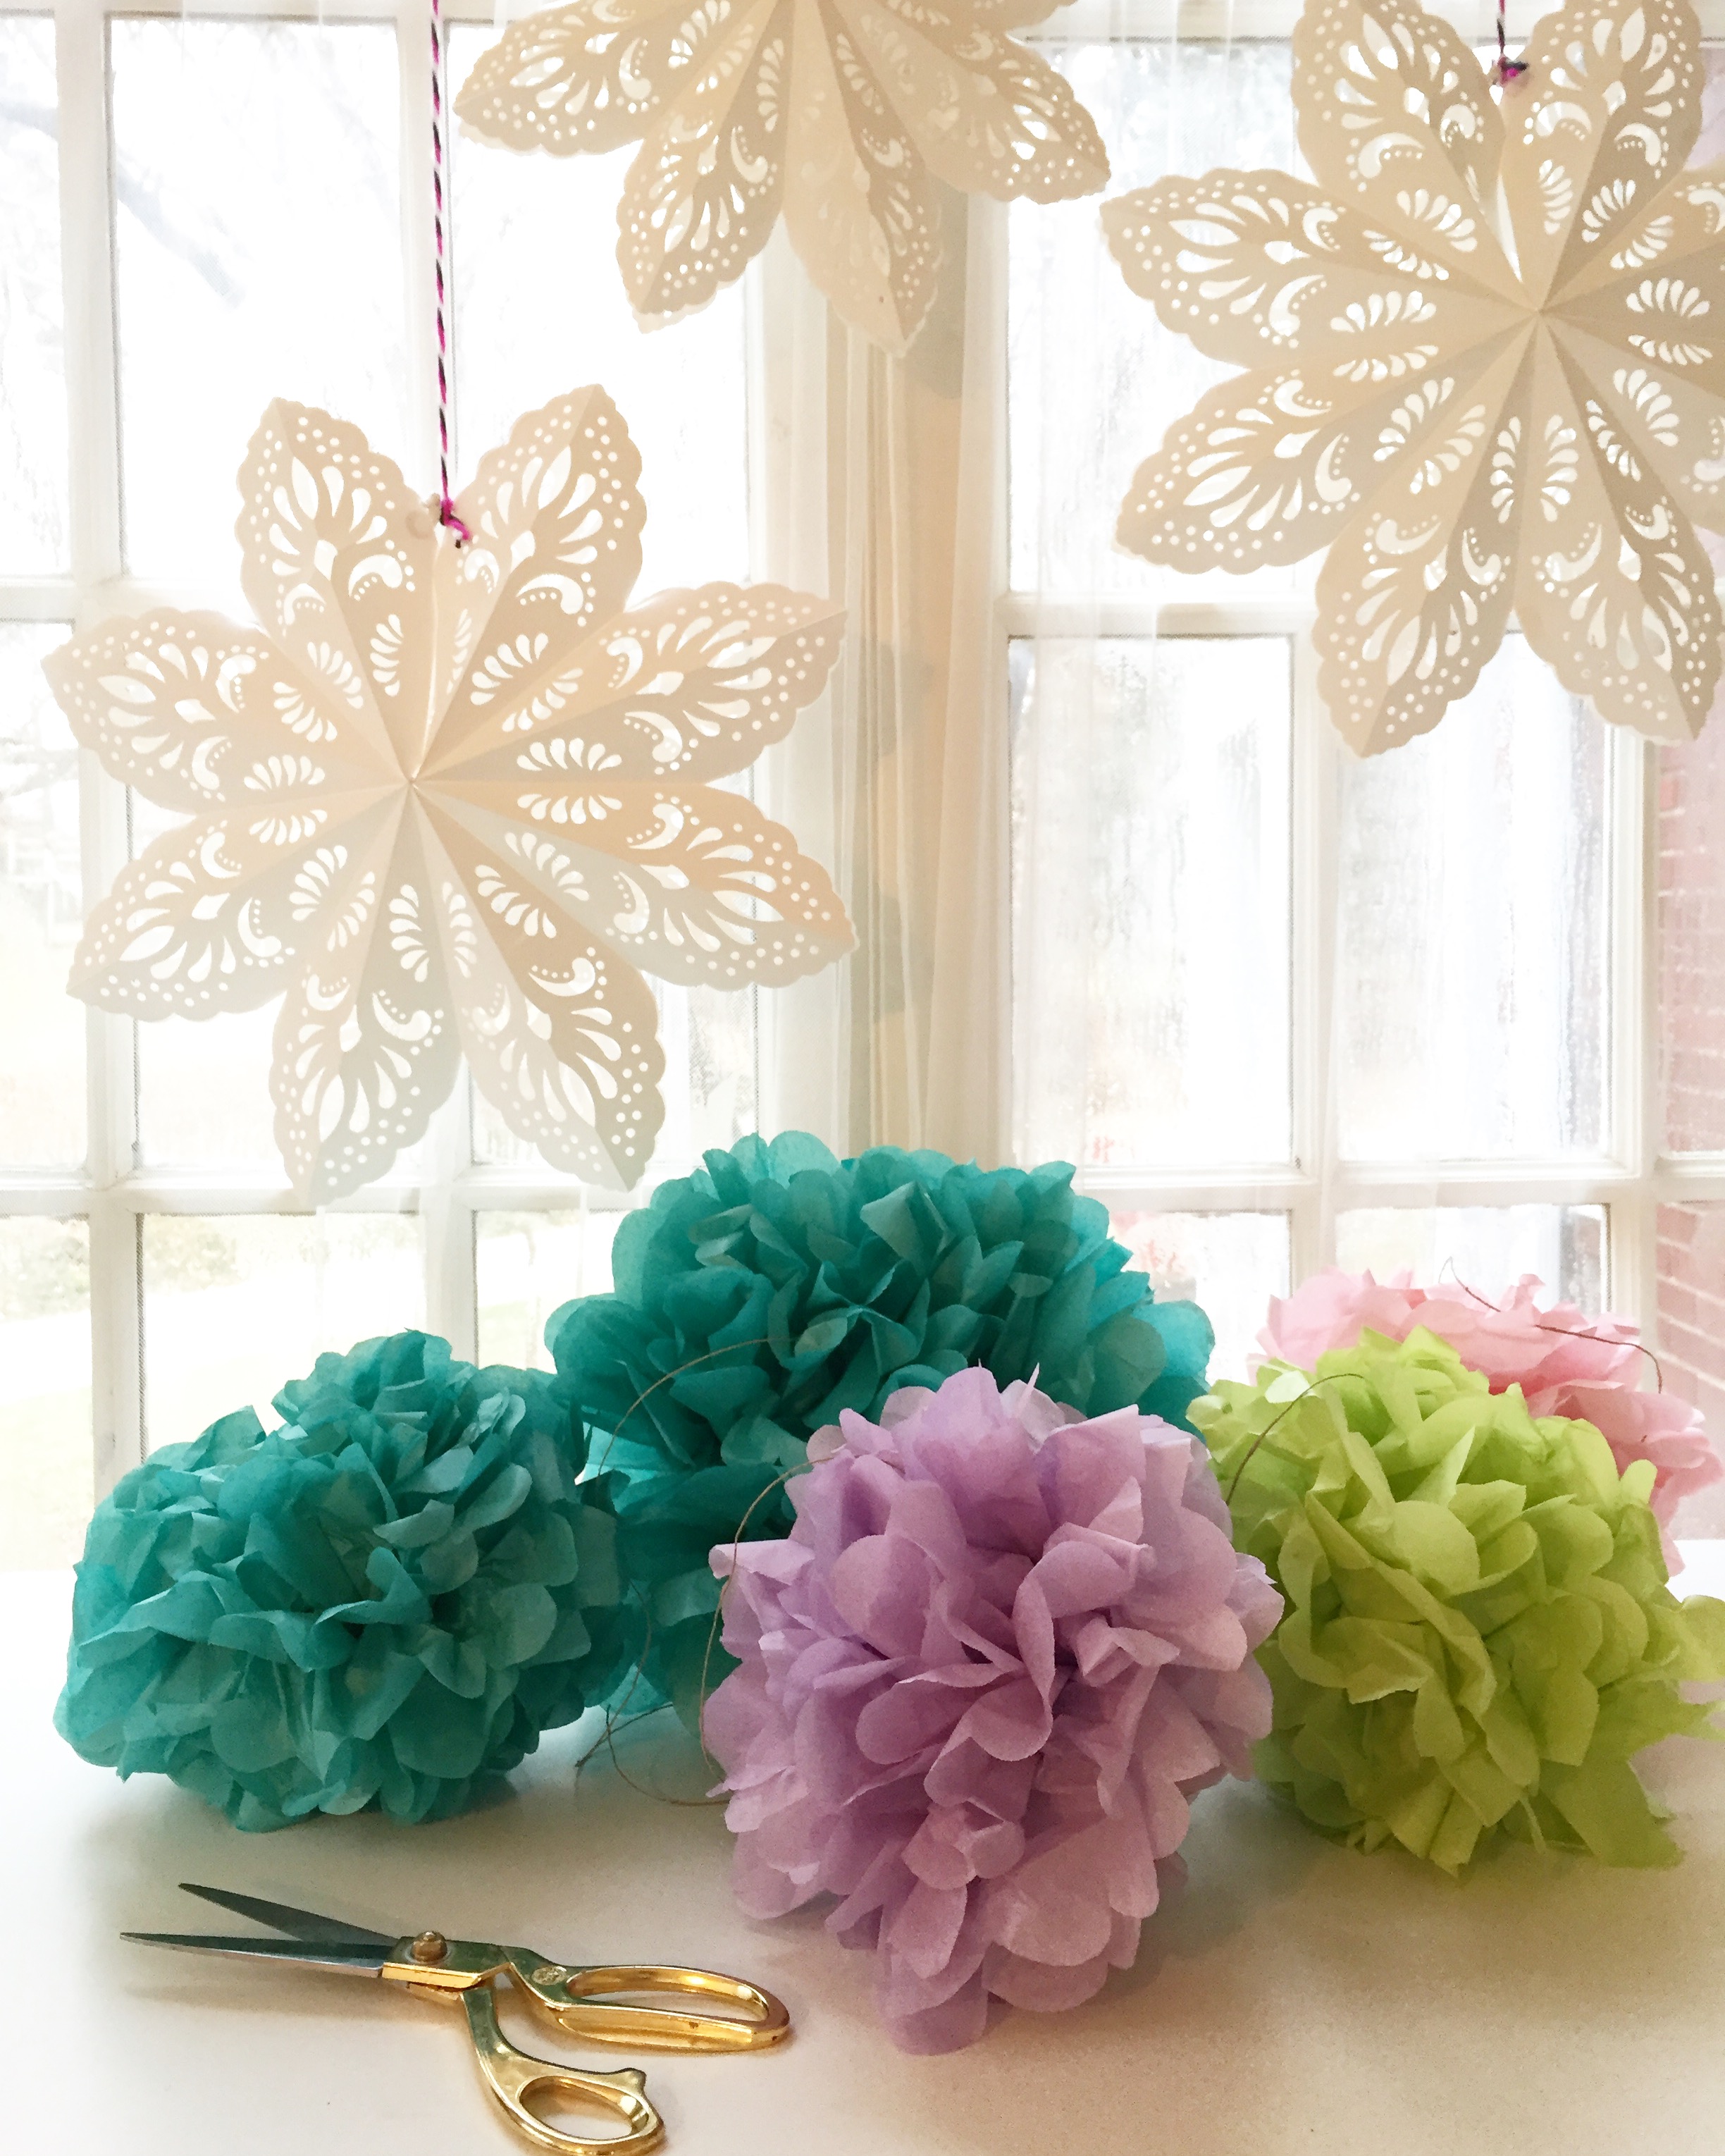
Not sure how you feel about decorating in January but after all the holiday celebrations are over, my house seems a little bare! And even though there’s a part of me that enjoys the new simplicity, I still can’t help but miss the festivity, the twinkle lights, and the pops of color! I’m so conflicted about how to make that transition from over-the-top to next-to-nothing…do I go all-out Valentine’s Day a titch early or stick with some seasonal snowflakes until the time seems right to invite cupid in? Seems a silly thing to get stressed over so I decided to fall back on one of my favorite decorating go-to items…pompoms! I often make a cluster or two of those happy, paper poms to hang around the house. If you make them yourself they can come in an endless array of colors making them perfect to brighten your spaces or make any party extra festive! I happen to use them whether I have a reason to get festive or not…they add a splash of color to my home and just simply make me happy! When I posted some pretty pastel poms on Instagram yesterday I got a couple of inquiries about how to make them. I know I’ve demonstrated in the past how I create my poms…but since friends were asking and I was making some anyway, I decided to give another quick and EASY tutorial on how to make these joyful little things! So in between the winter and spring holidays you might be seeing plenty of poms in my home! Let me share with you how I DIY…
easy-peasy pretty poms!
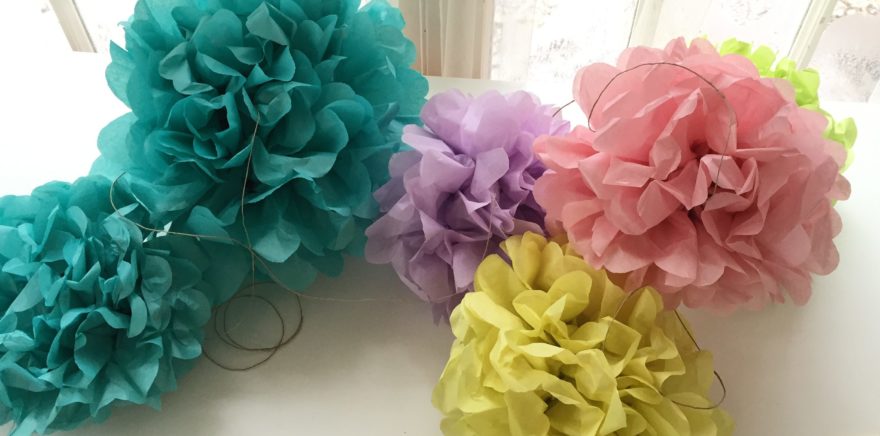
i love really simple projects that look fabulous. i love projects that are inexpensive. i also love projects that have a fair amount of forgiveness in them. tissue paper poms are ALL OF THAT! for less than $3.00, the cost of two small packages of tissue paper, i created 1 large & 5 medium poms (and i still have most of one package leftover!) these are what i made yesterday…
so let’s get started!
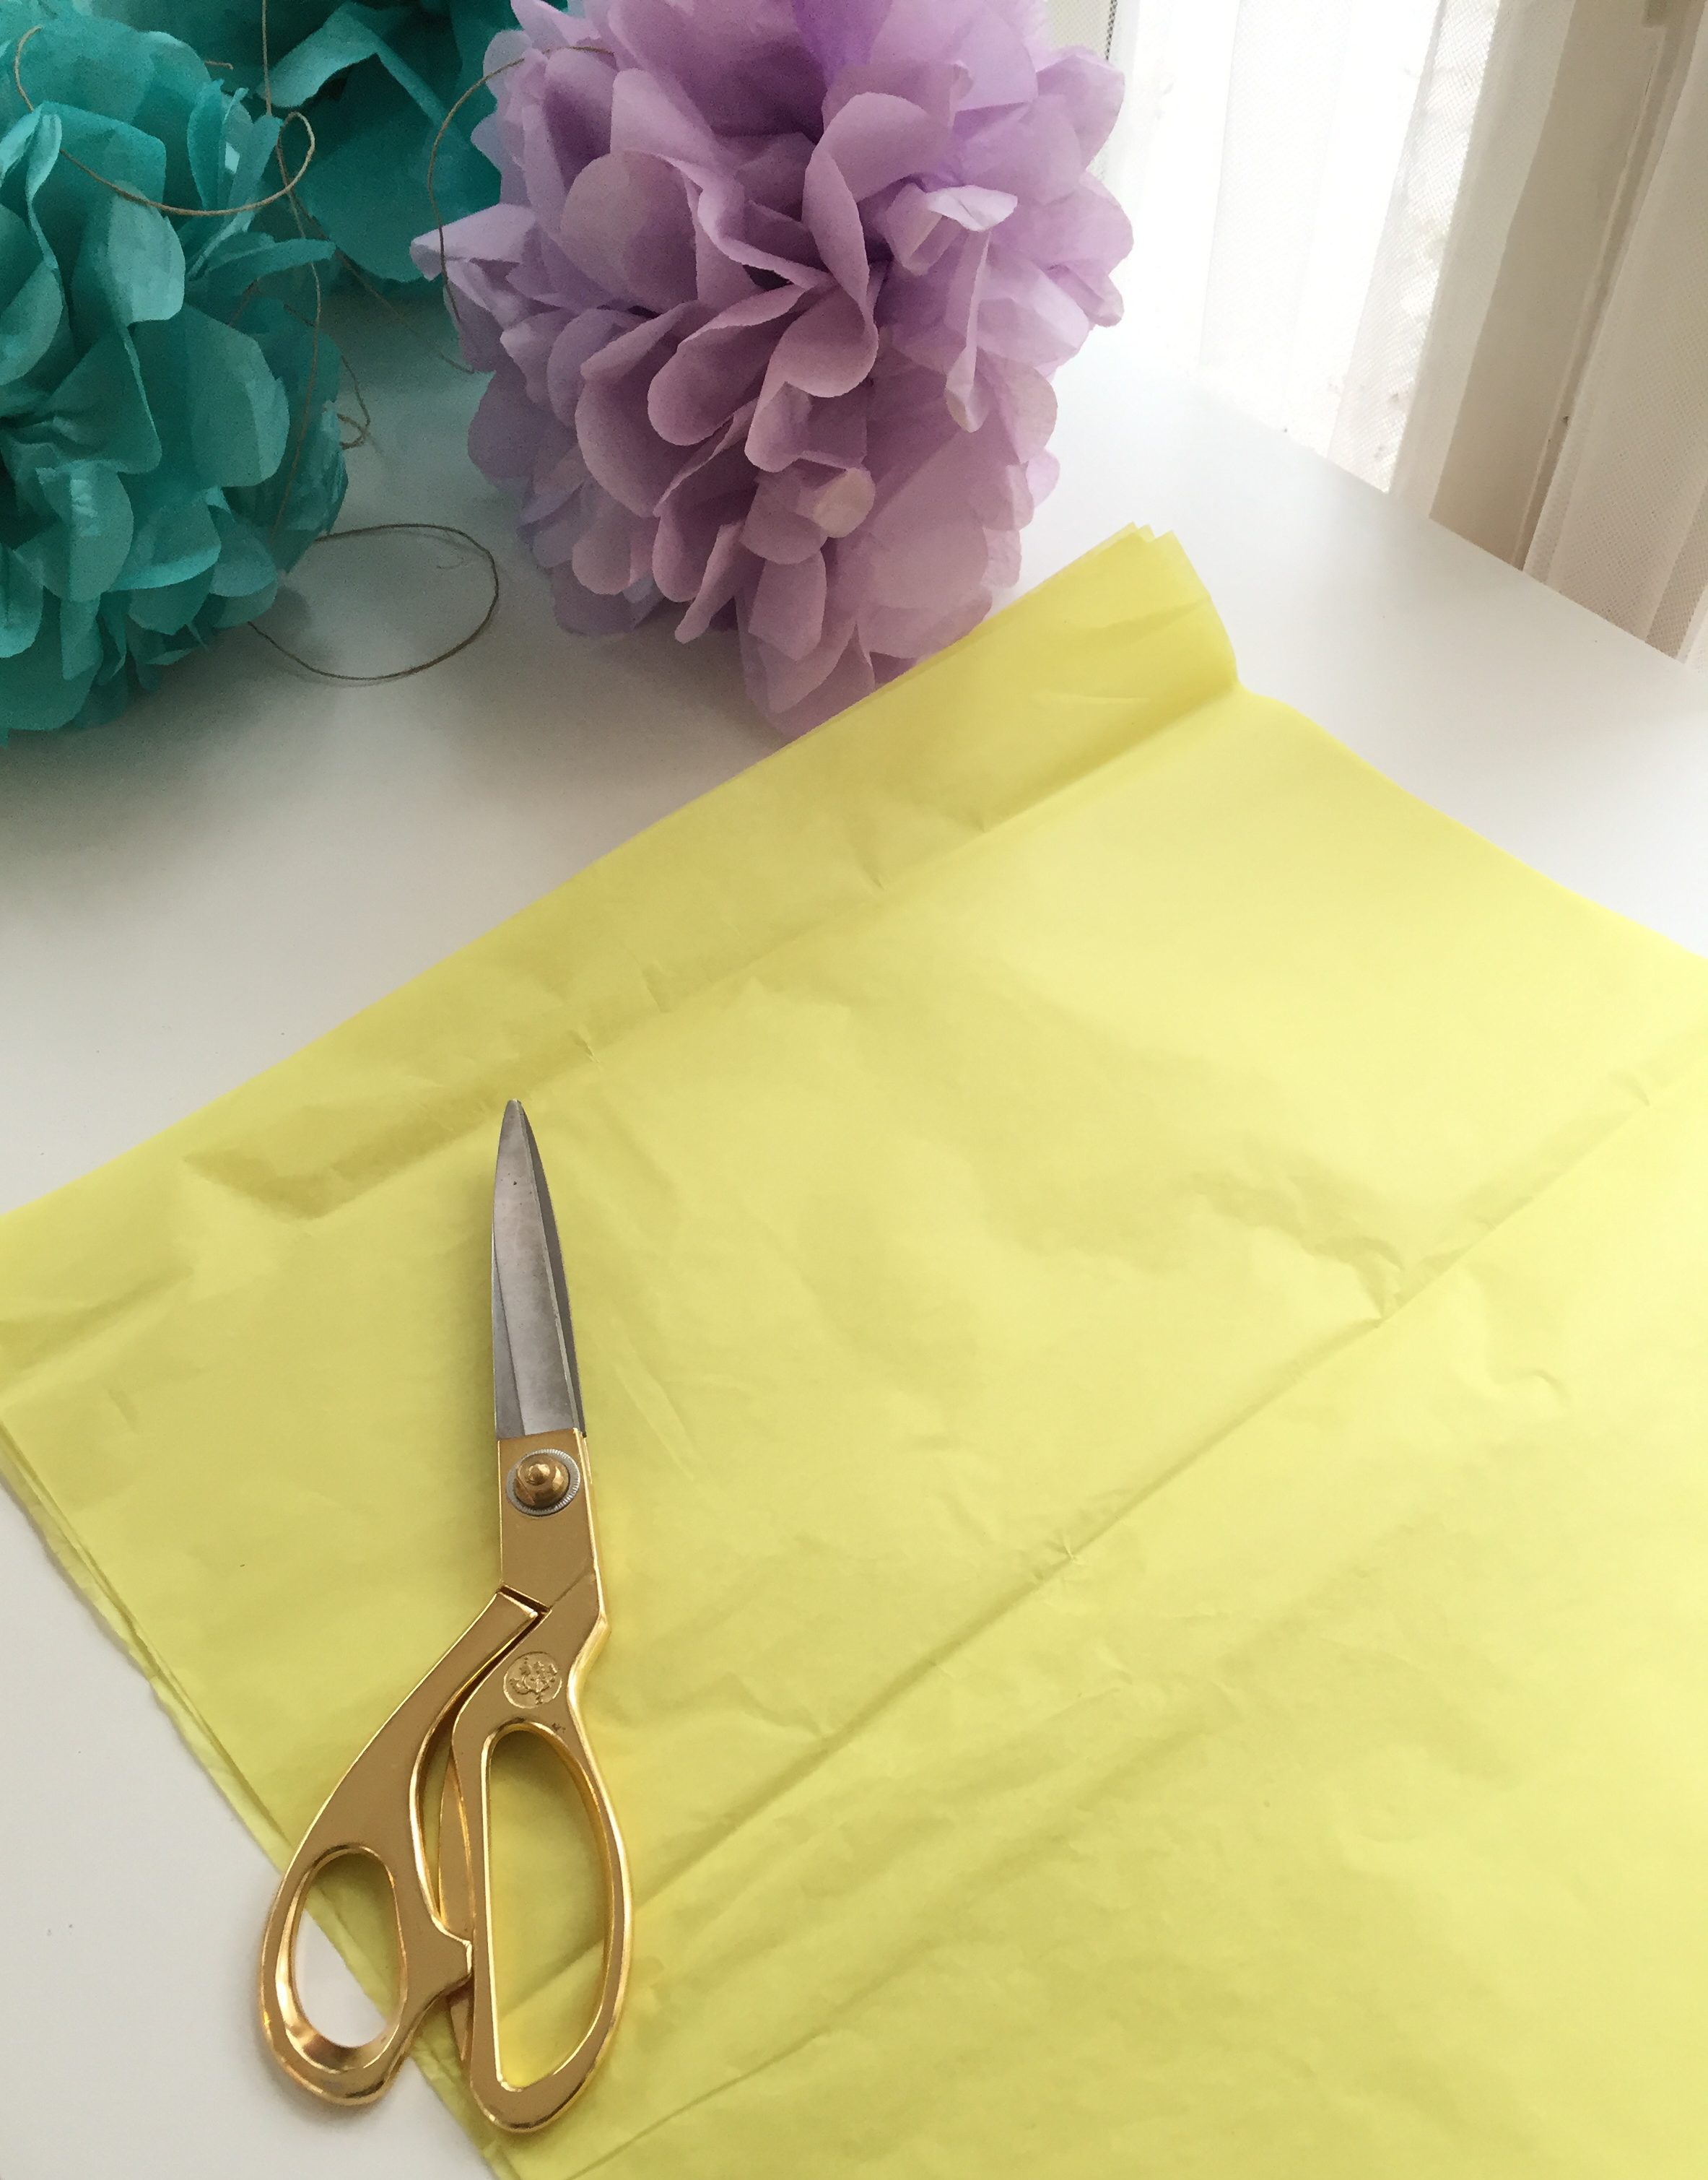
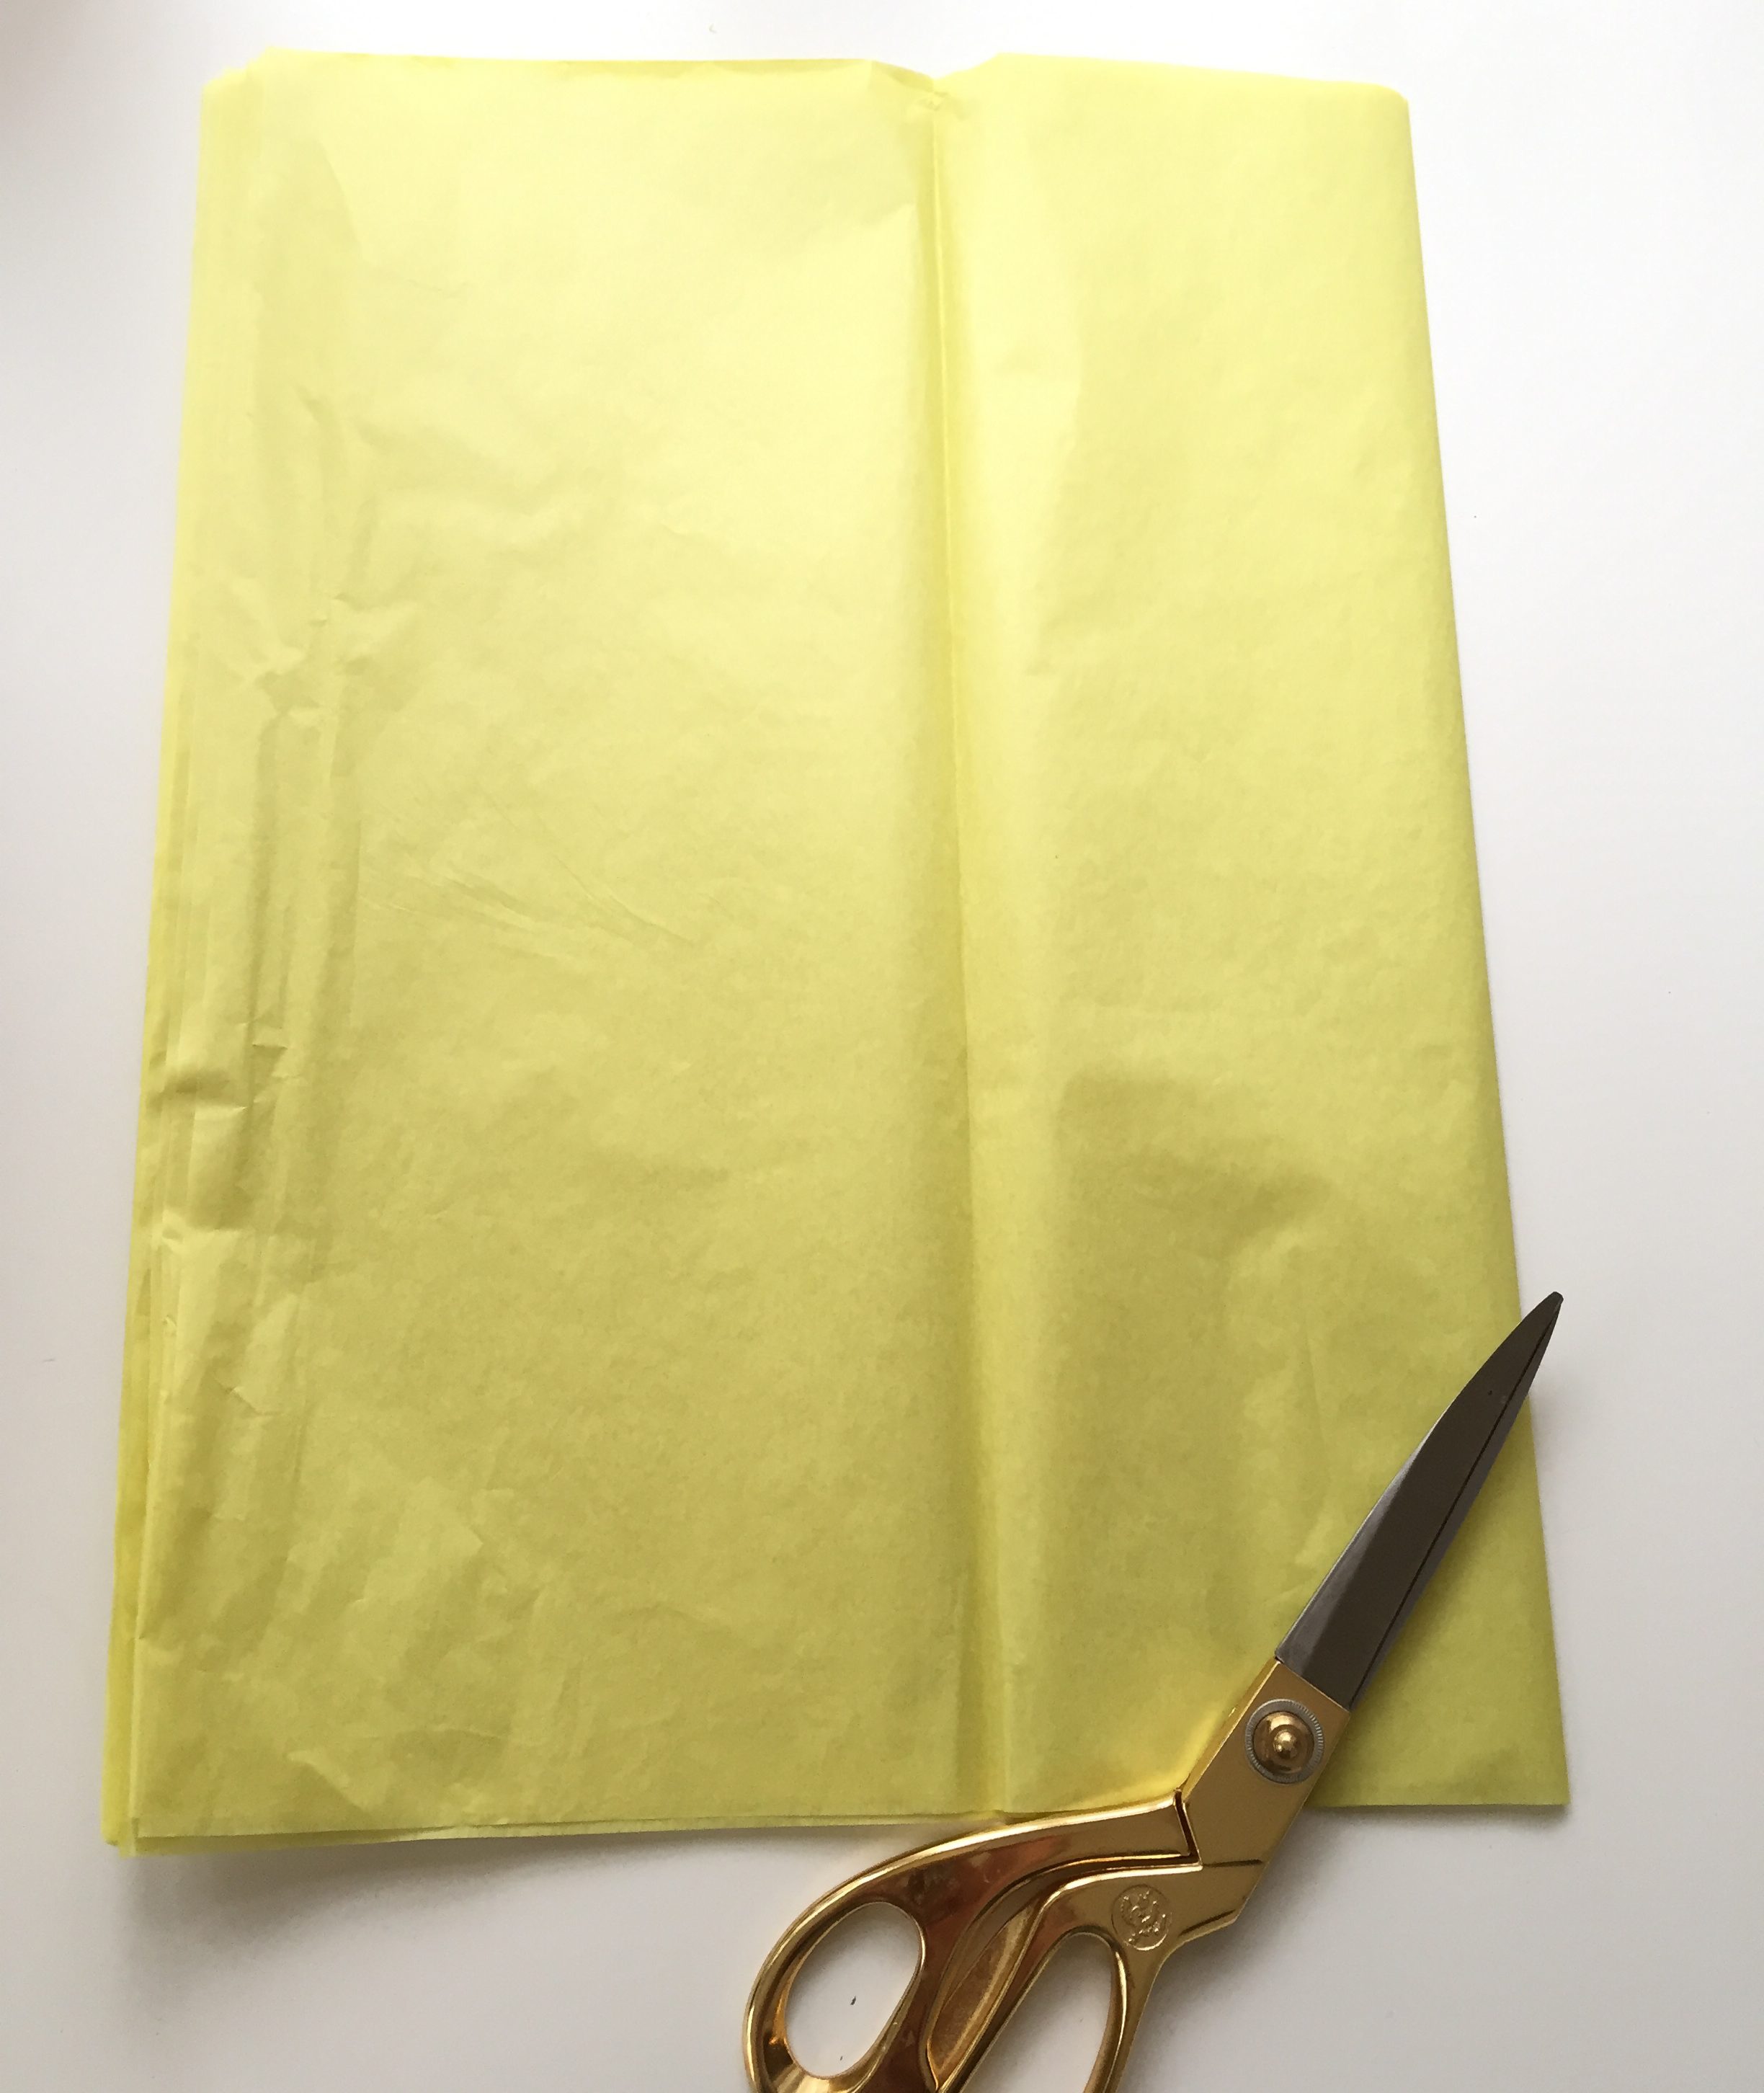
one of the tissue packages was a multi-pack (20 sheets total) which combined 5 different colors. usually these will include 4 sheets of each color which is perfect for making medium poms. a medium and large are shown here…i’ll demonstrate making a medium and we’ll talk about the large at the end of the post.
i like to use 4 sheets cut in half (total of eight sheets) for the medium size…
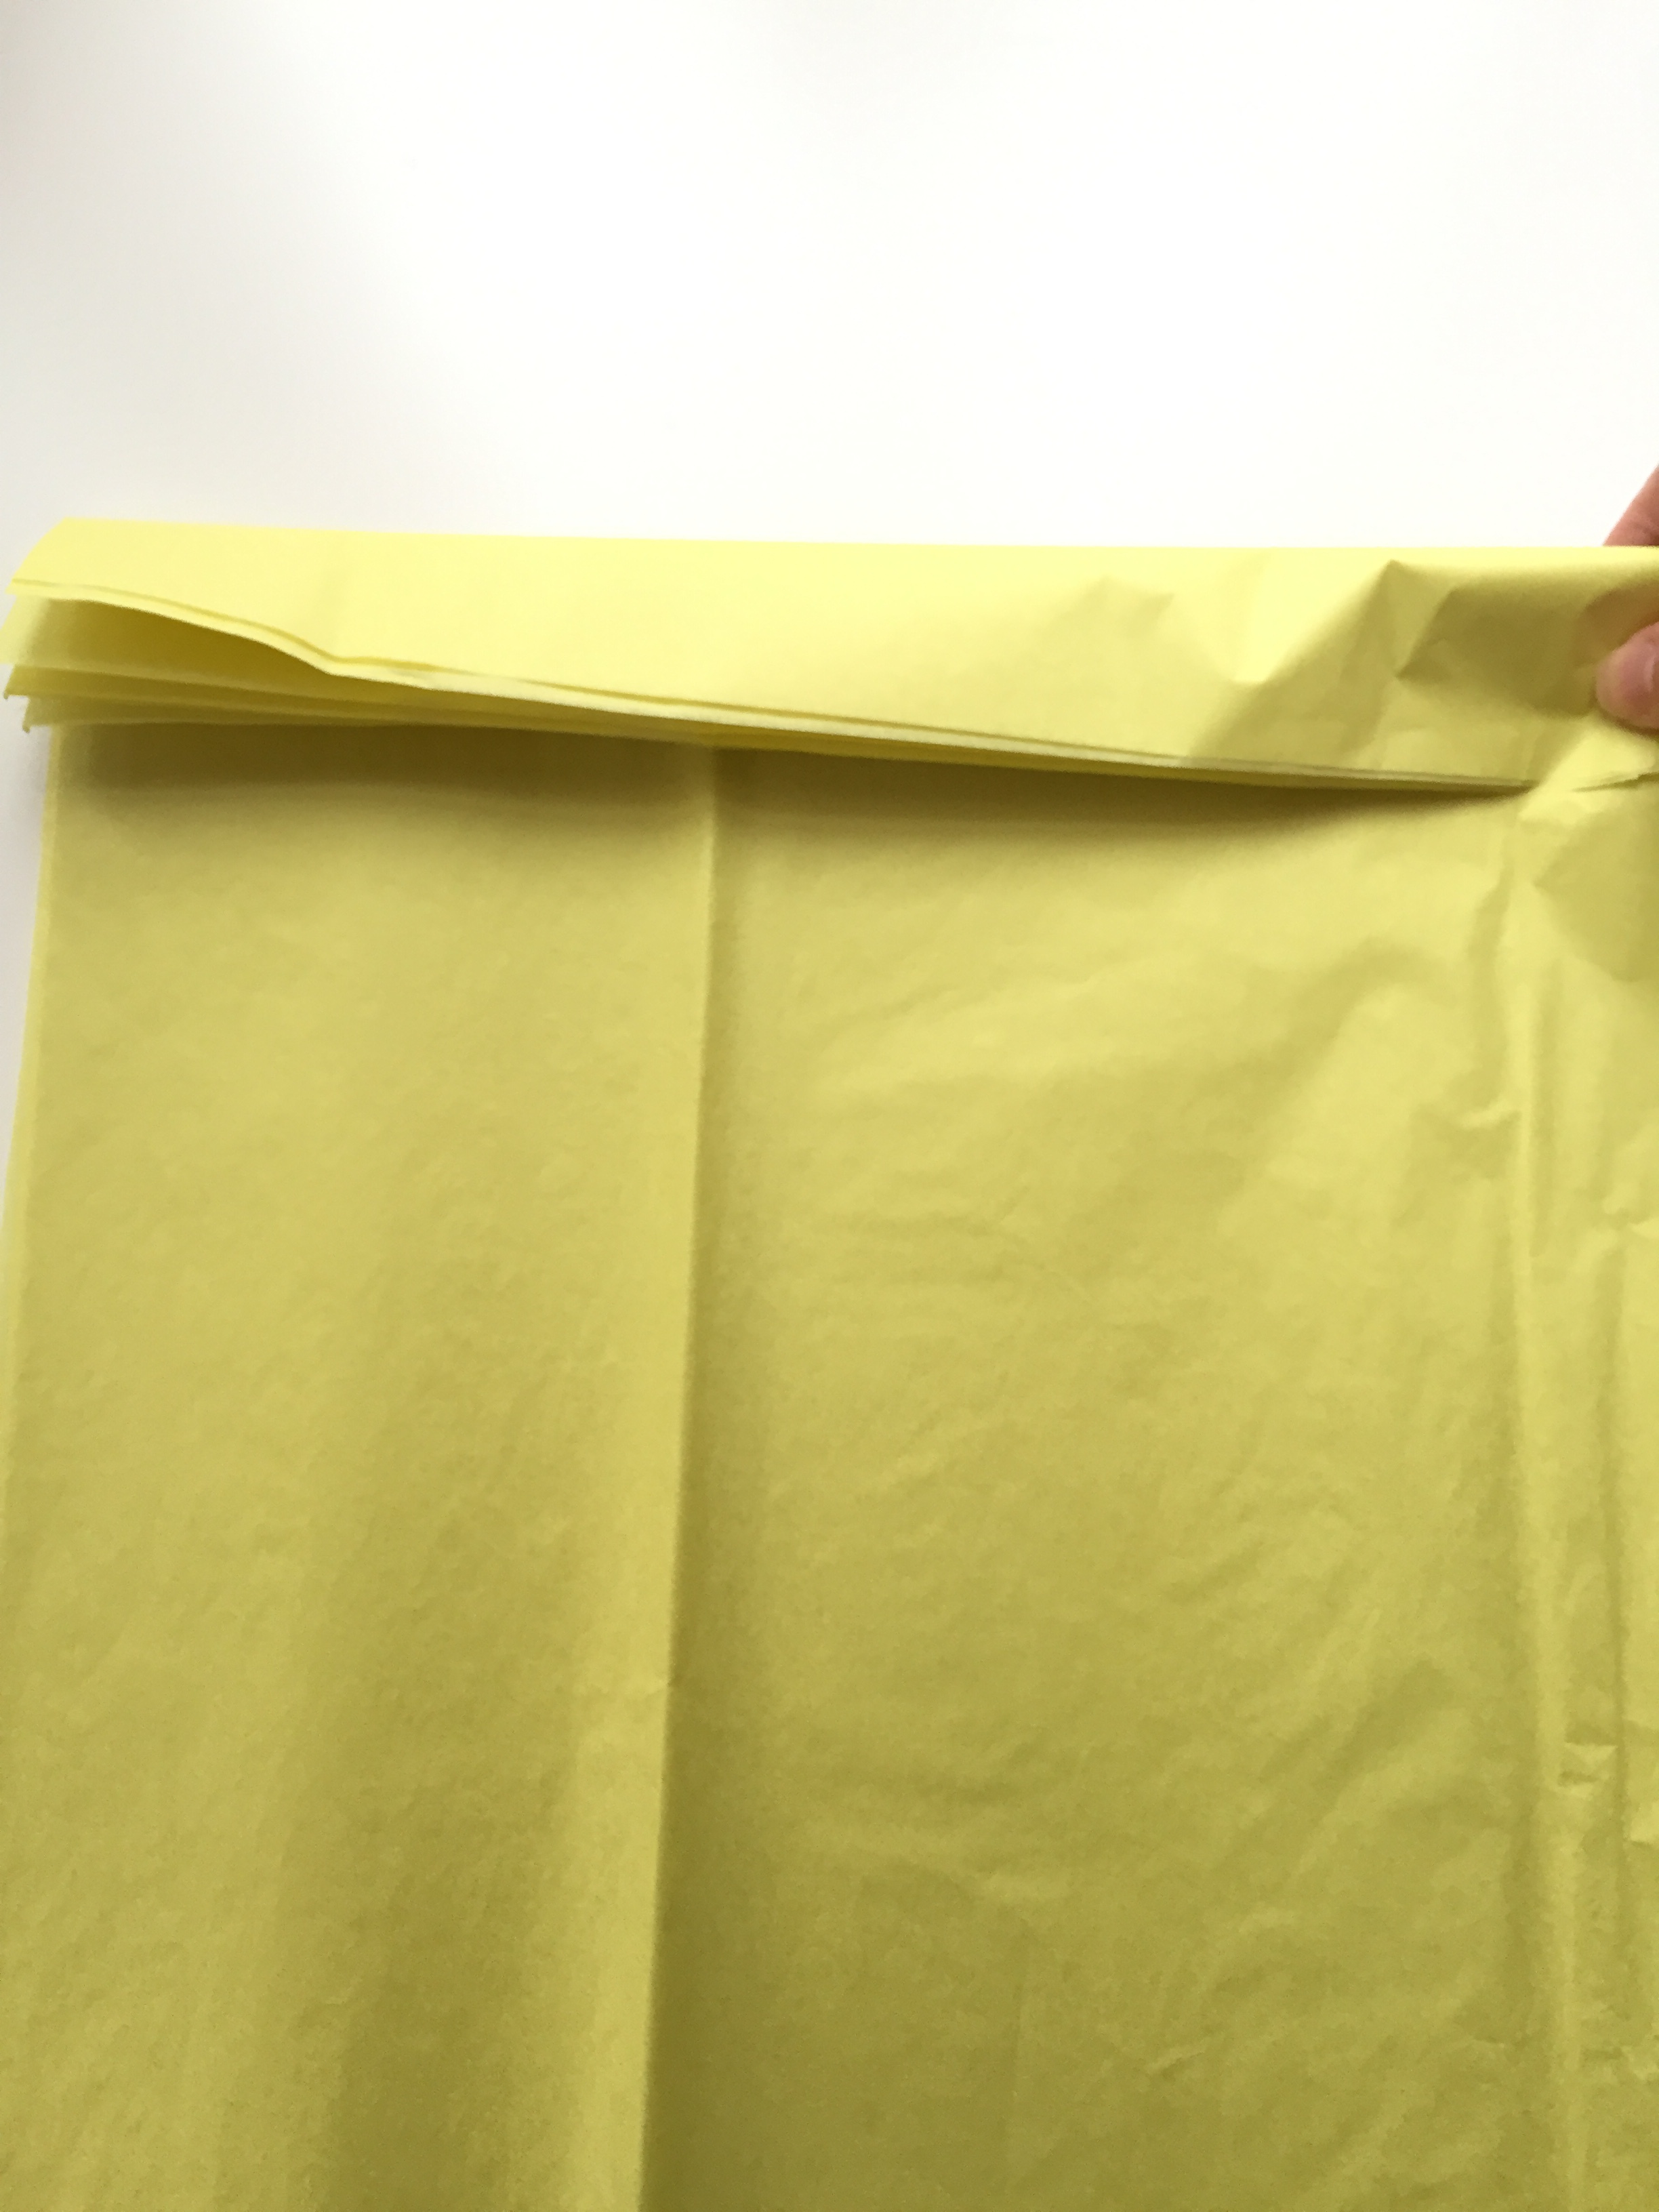
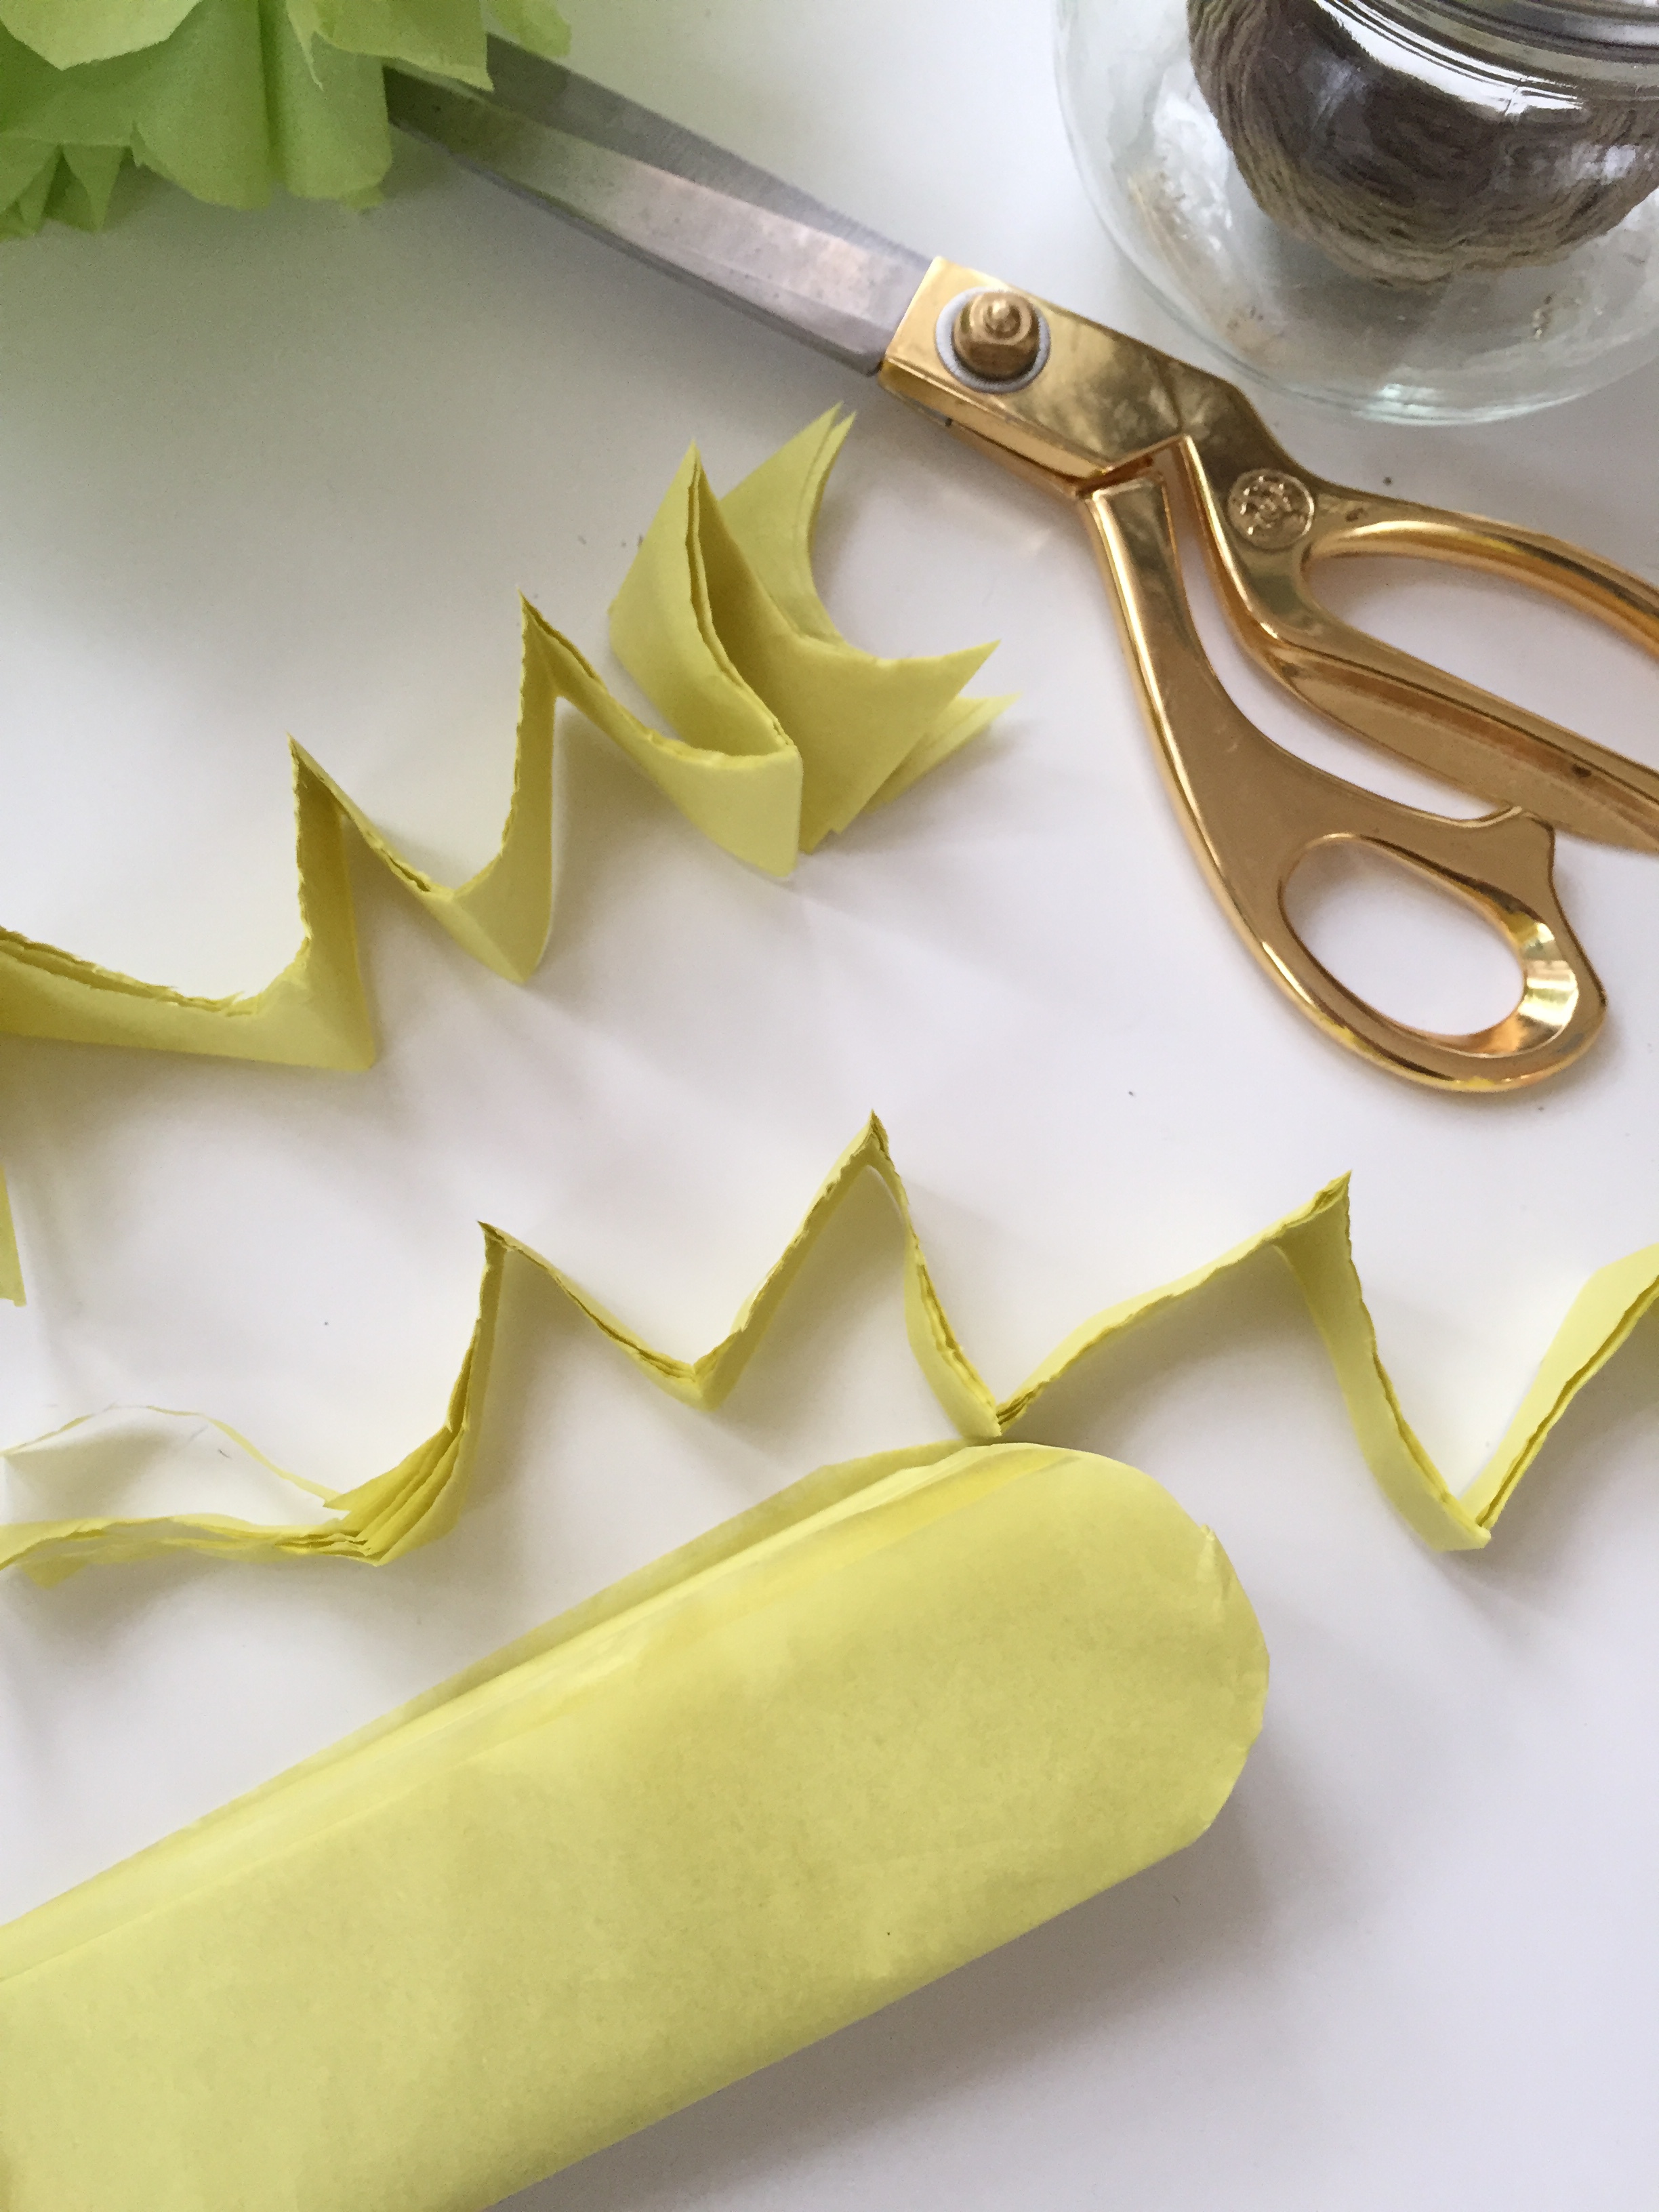
fold the stack of tissue in half and cut. don’t worry if it’s not perfectly straight either…those little imperfections will never show in the end!
stack them together and fold over the top edge… (i like to keep the longest side vertical)
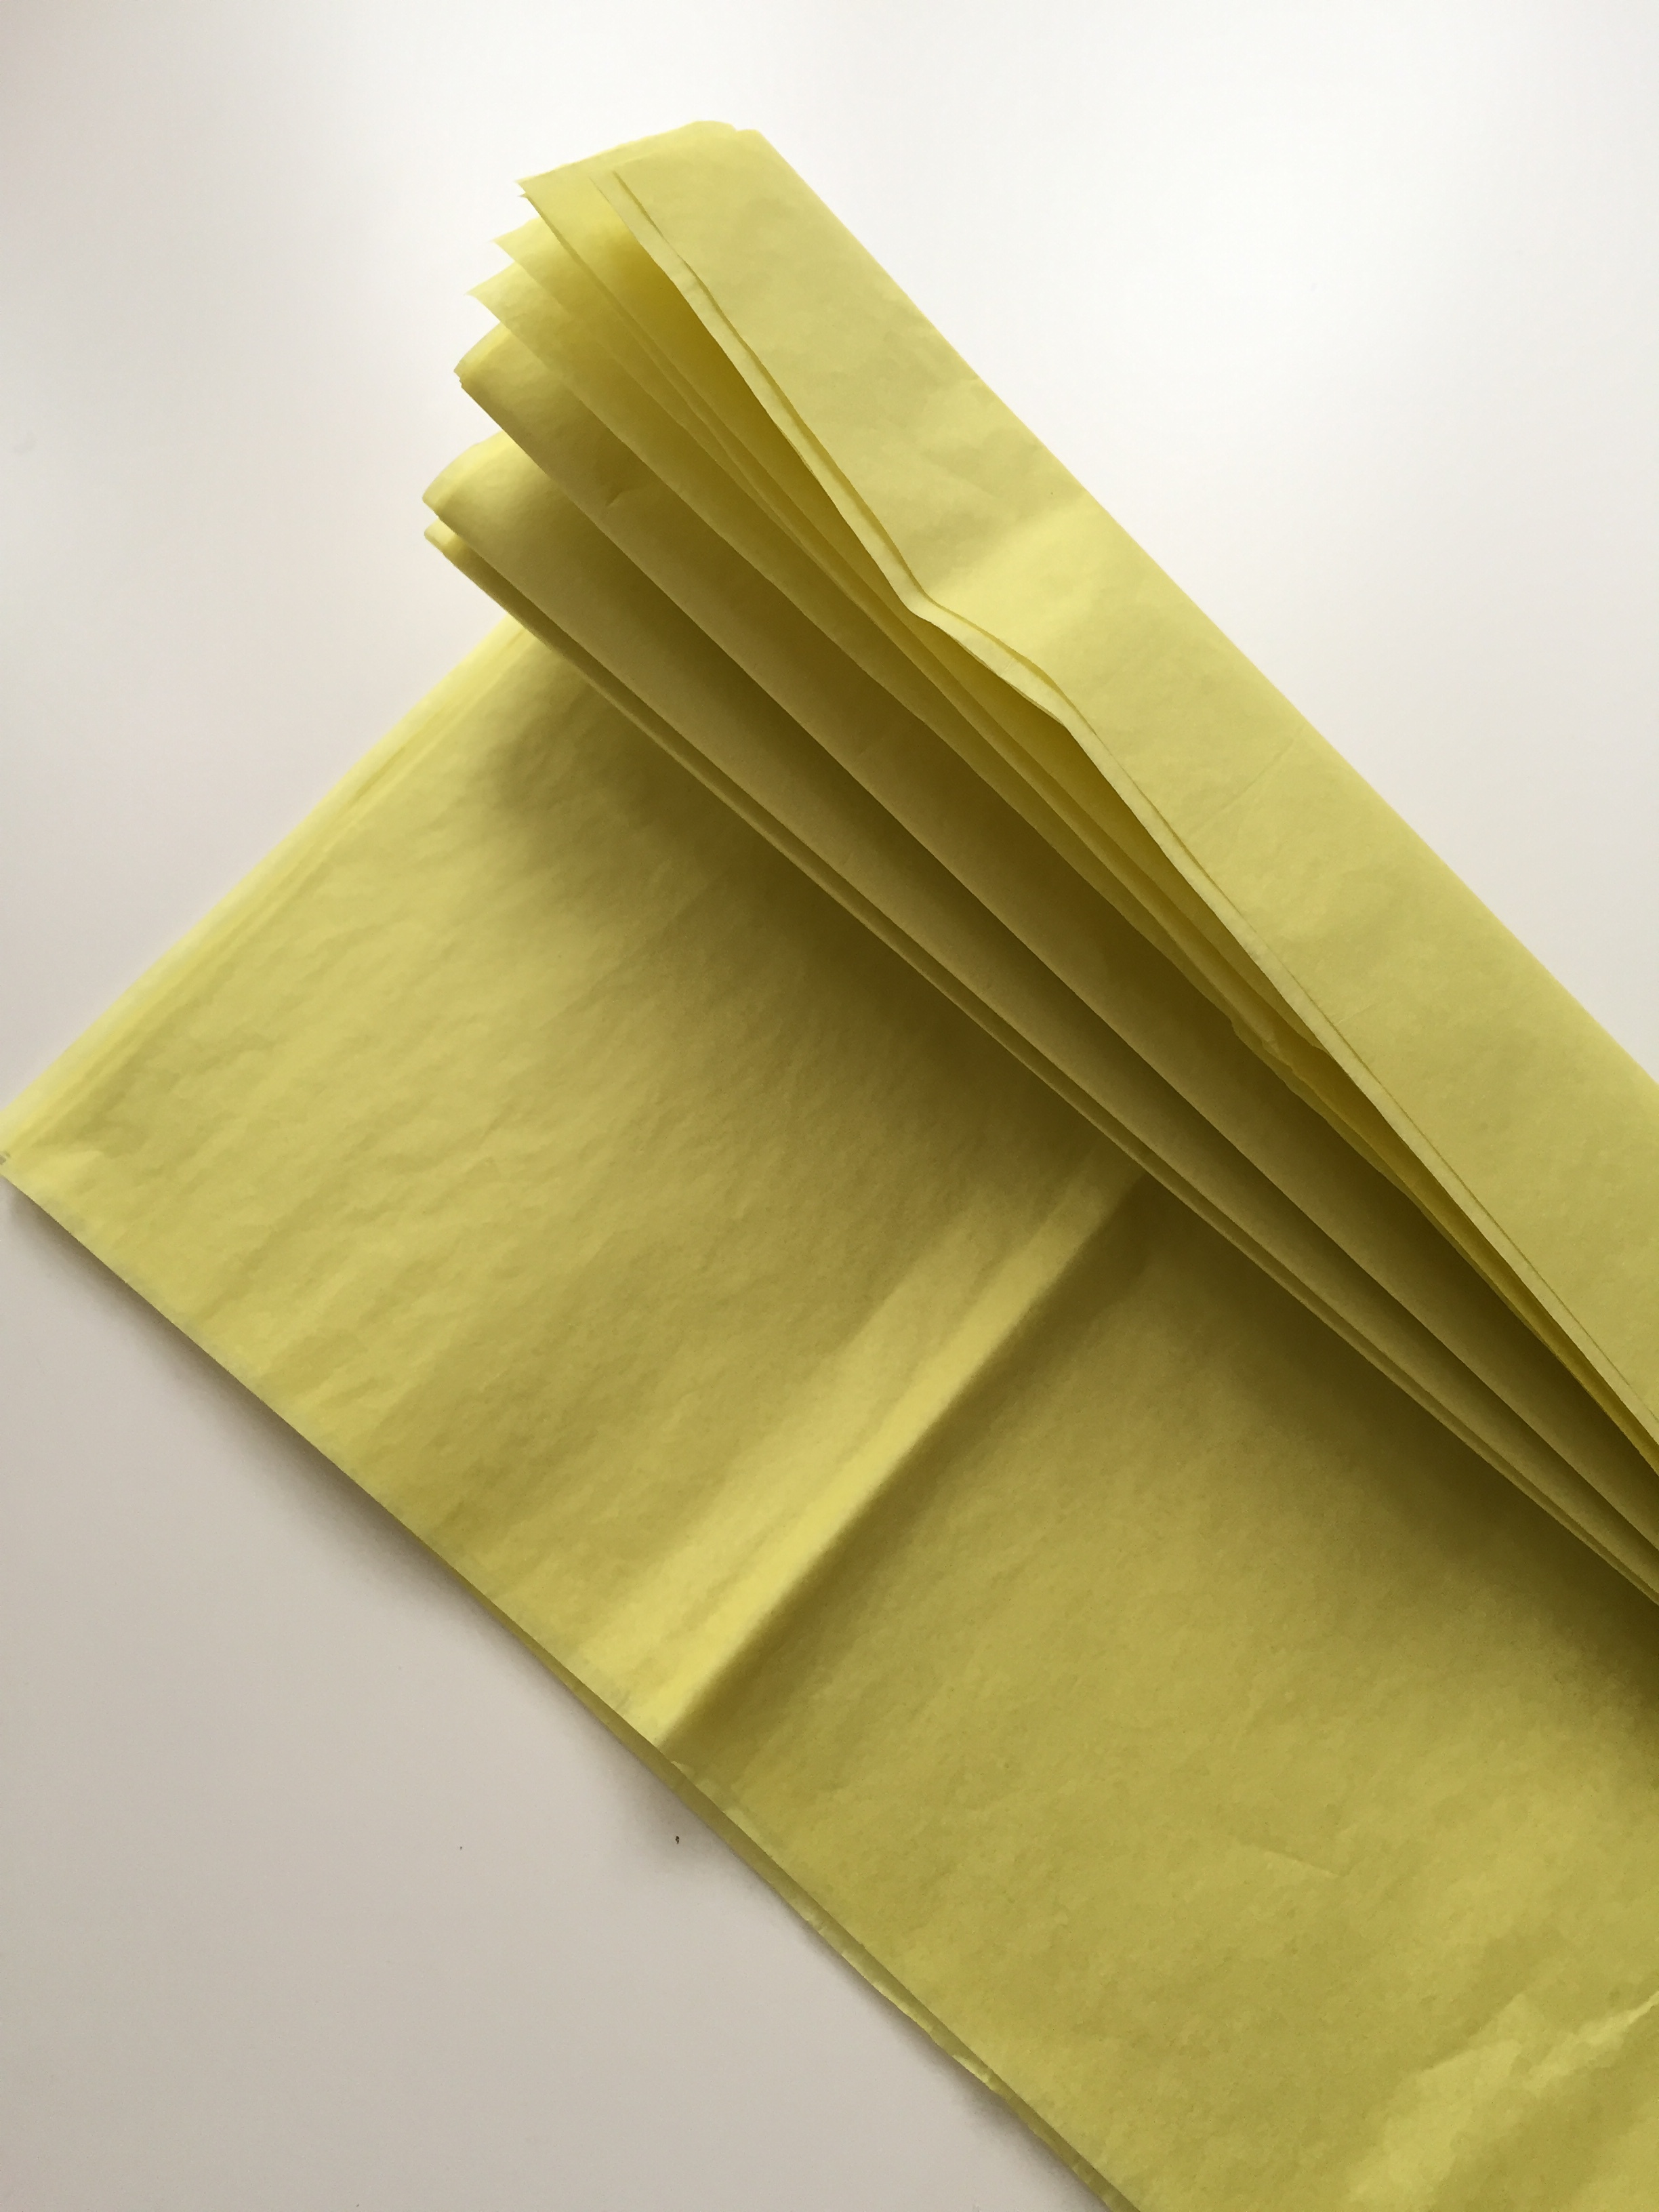
continue folding back and forth like making a fan…
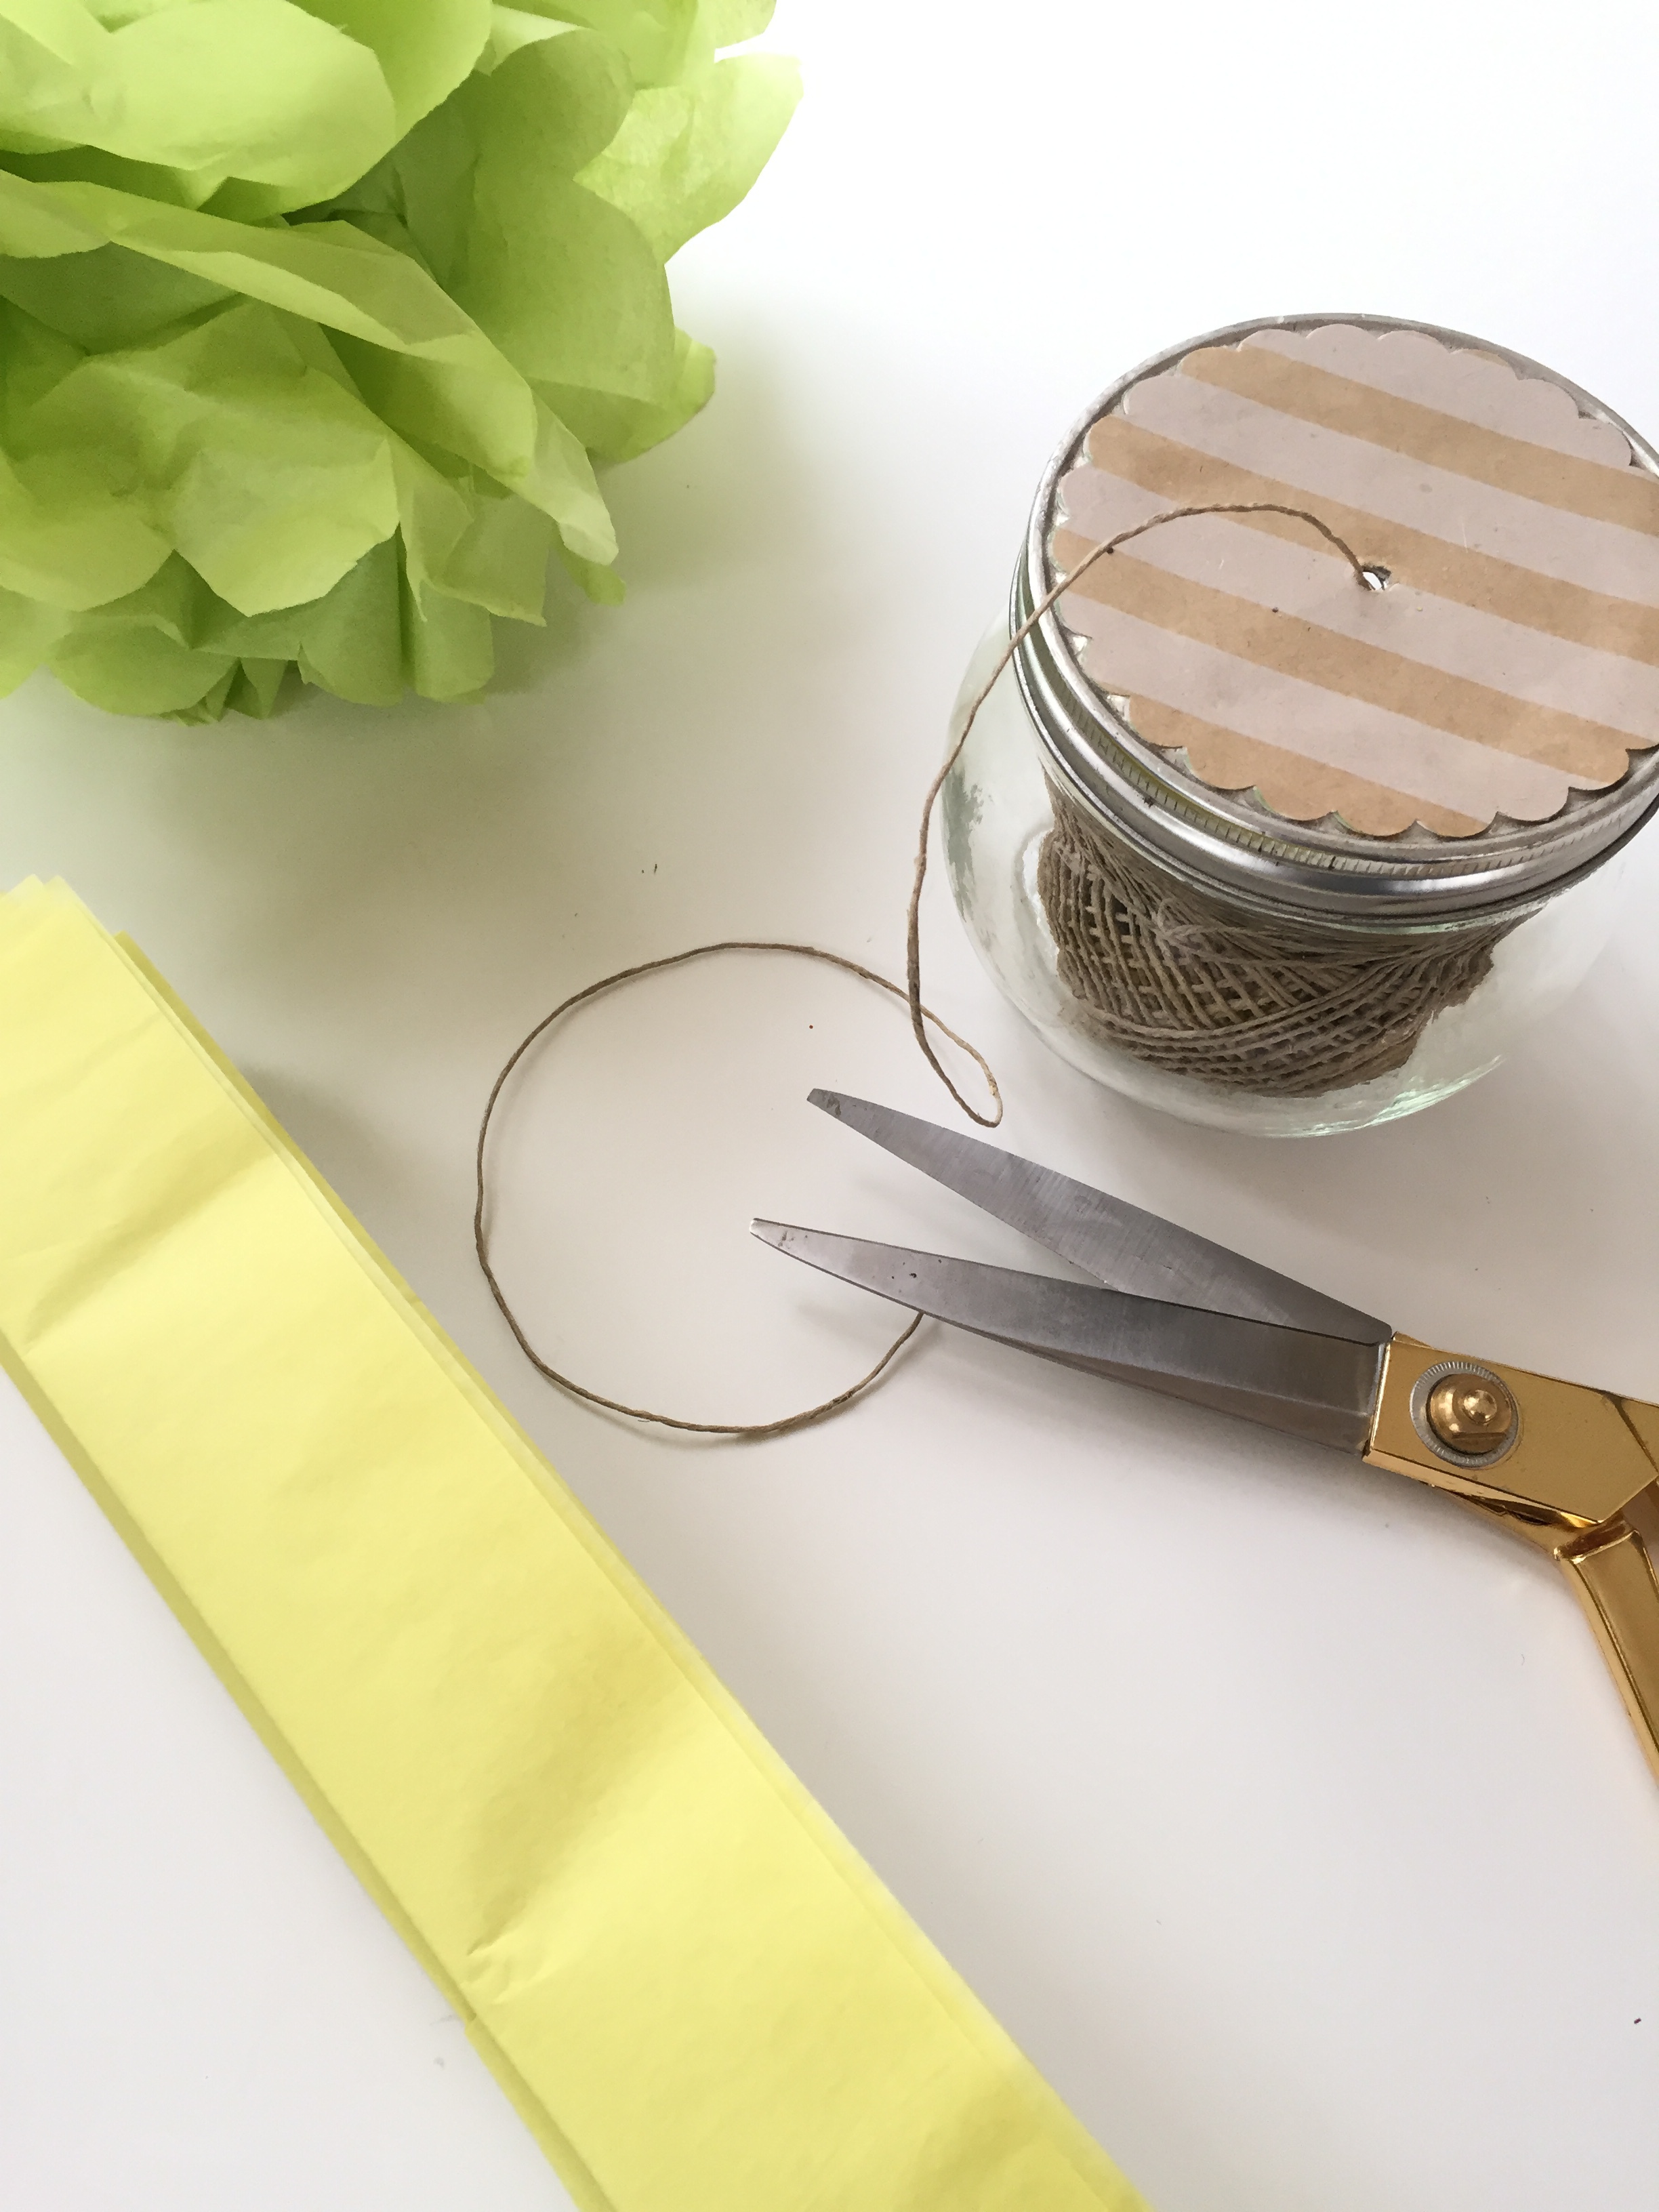
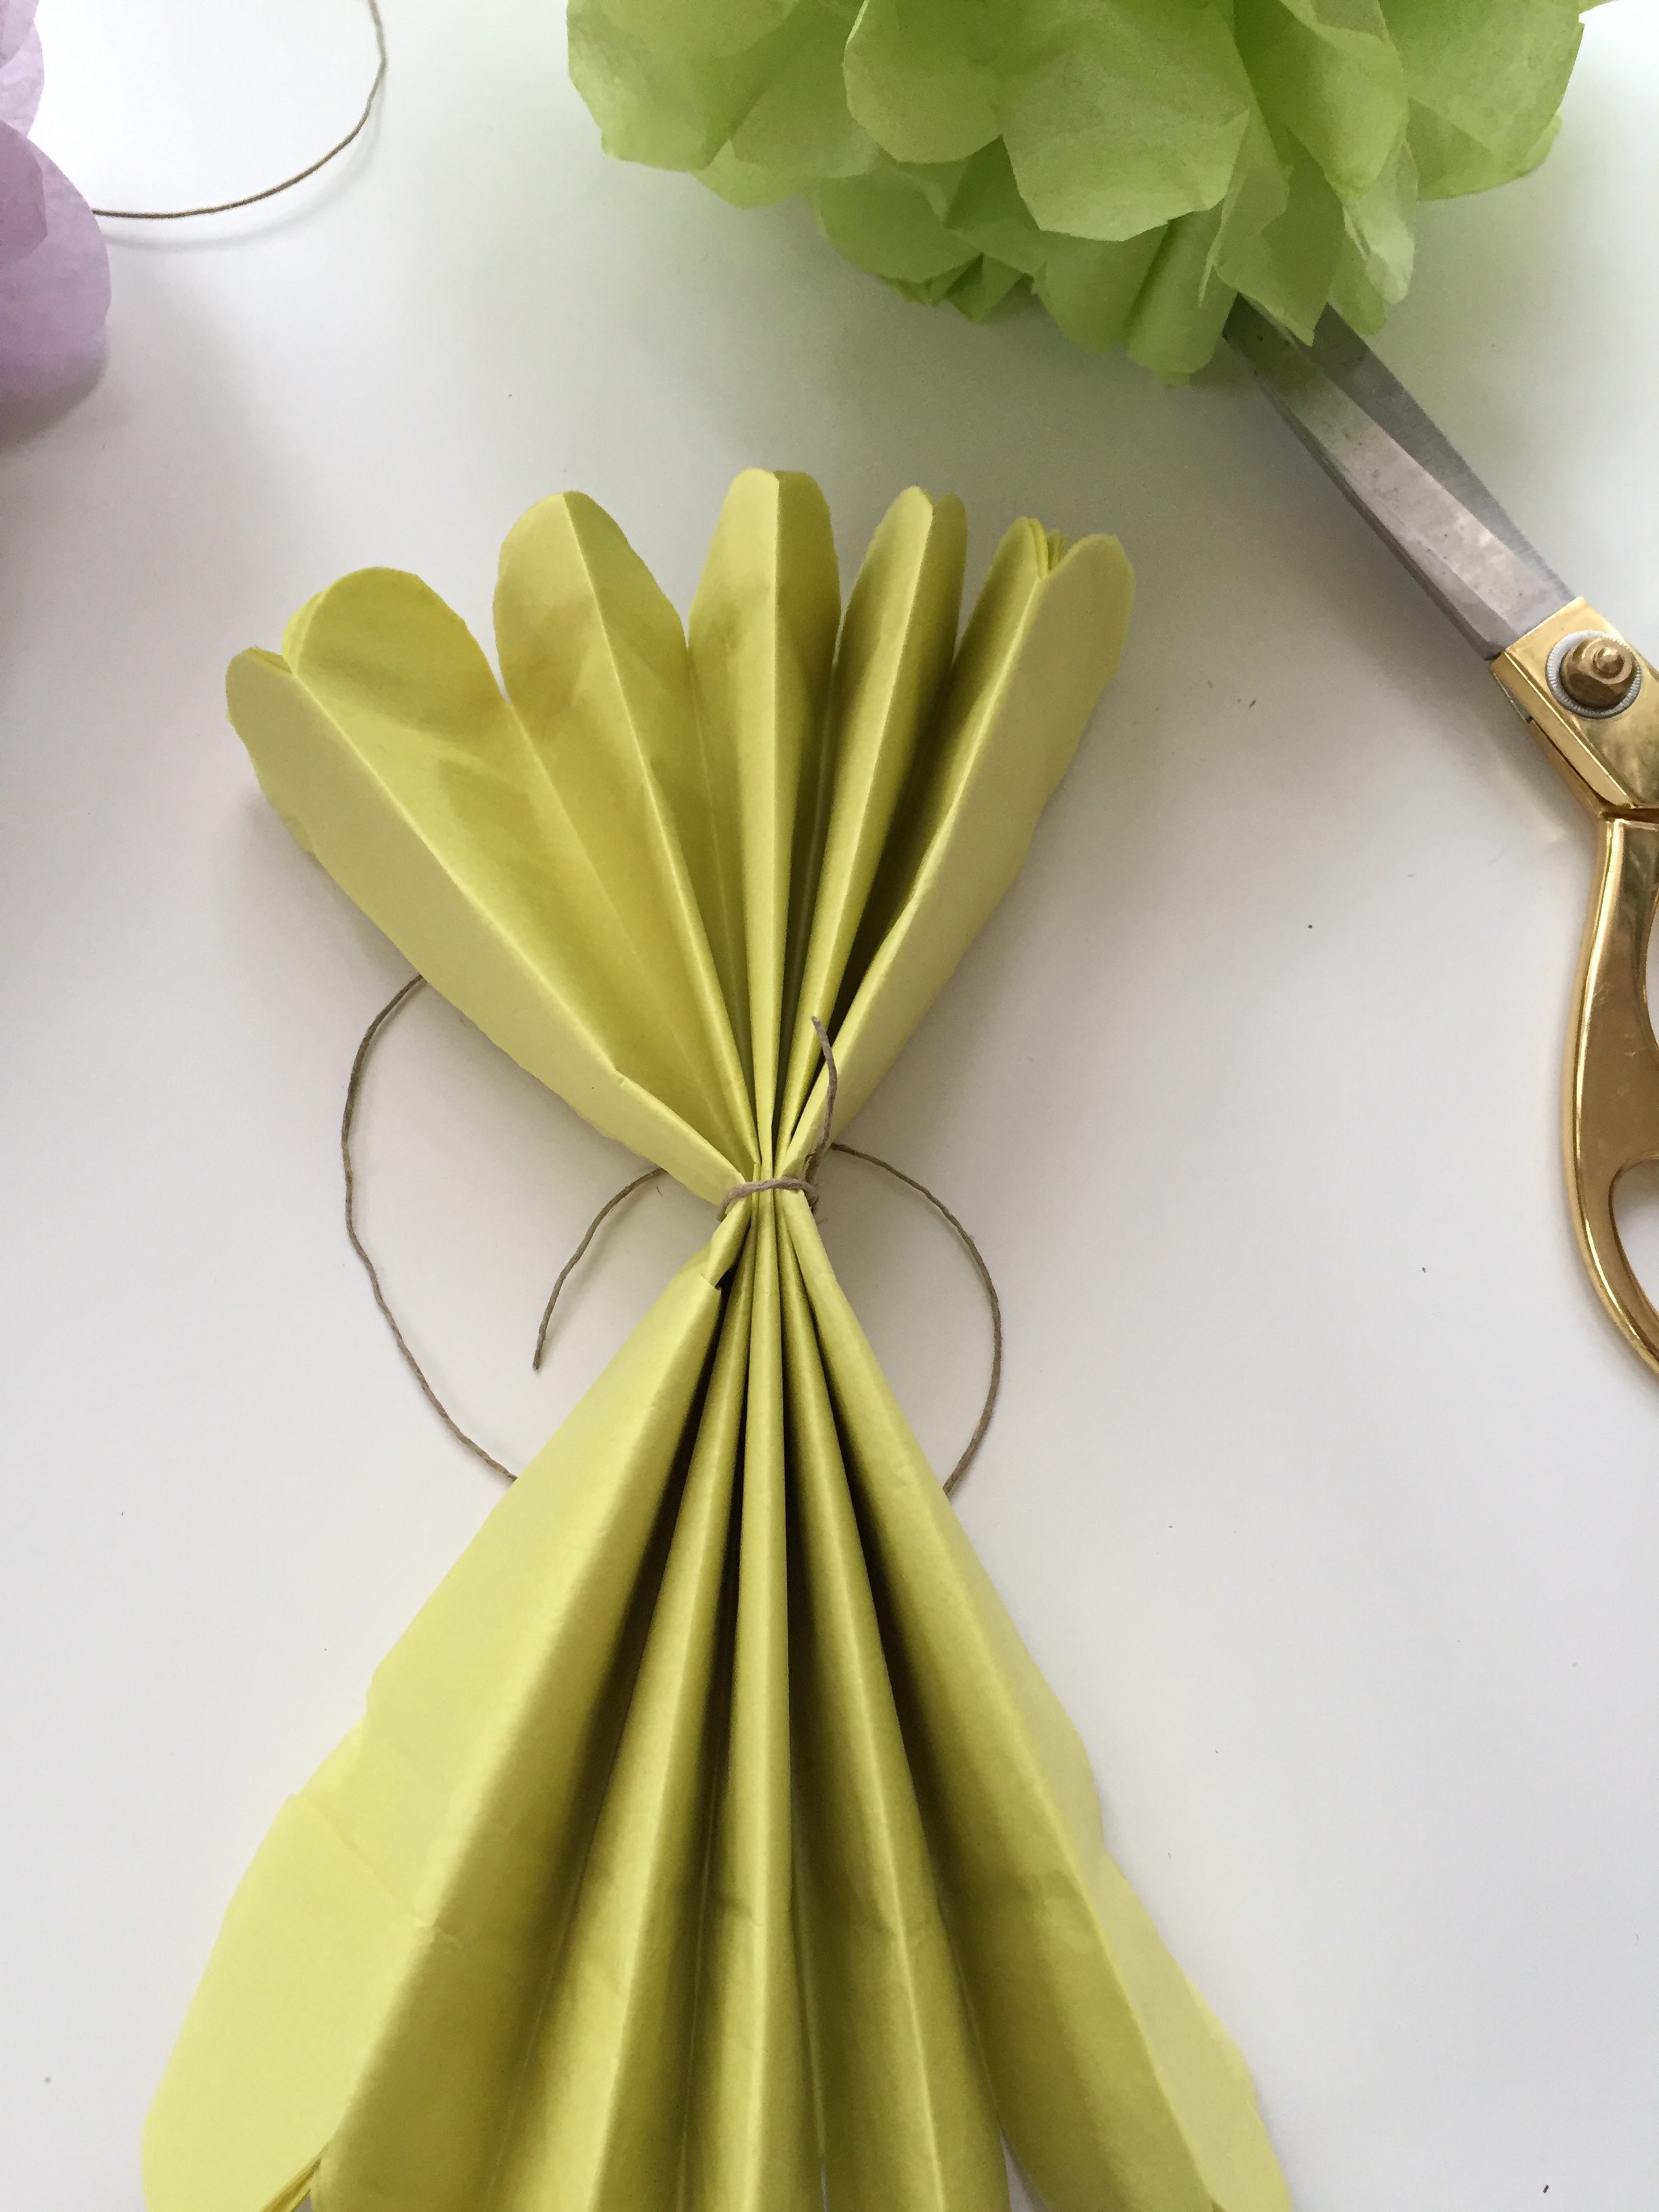
use any kind of string, twine, or skinny ribbon to tie it in the center…
you see i didn’t really tie it that tight either. this will just provide the string to hang it with later so make one end as long as you think you’ll need!

then with some good scissors (ones that will cut through layers) trim the ends so they are rounded. shockingly, this one looks really good but i assure you that if my paper isn’t lined up well or my scissors aren’t sharp, the rounded ends don’t always look this even. you can trim up any pointy parts after the pom is fluffed if you feel the need! i guess what i’m saying is don’t fret if it’s not perfectly rounded…it WON’T matter!
slightly fan it out and adjust the string so it’s in the middle. you can see the string is toward the top in this pic…i’ll just slide it down a bit before i begin.
then working one end at at time, begin separating the tissue sheets gently pulling them toward the string at the center…
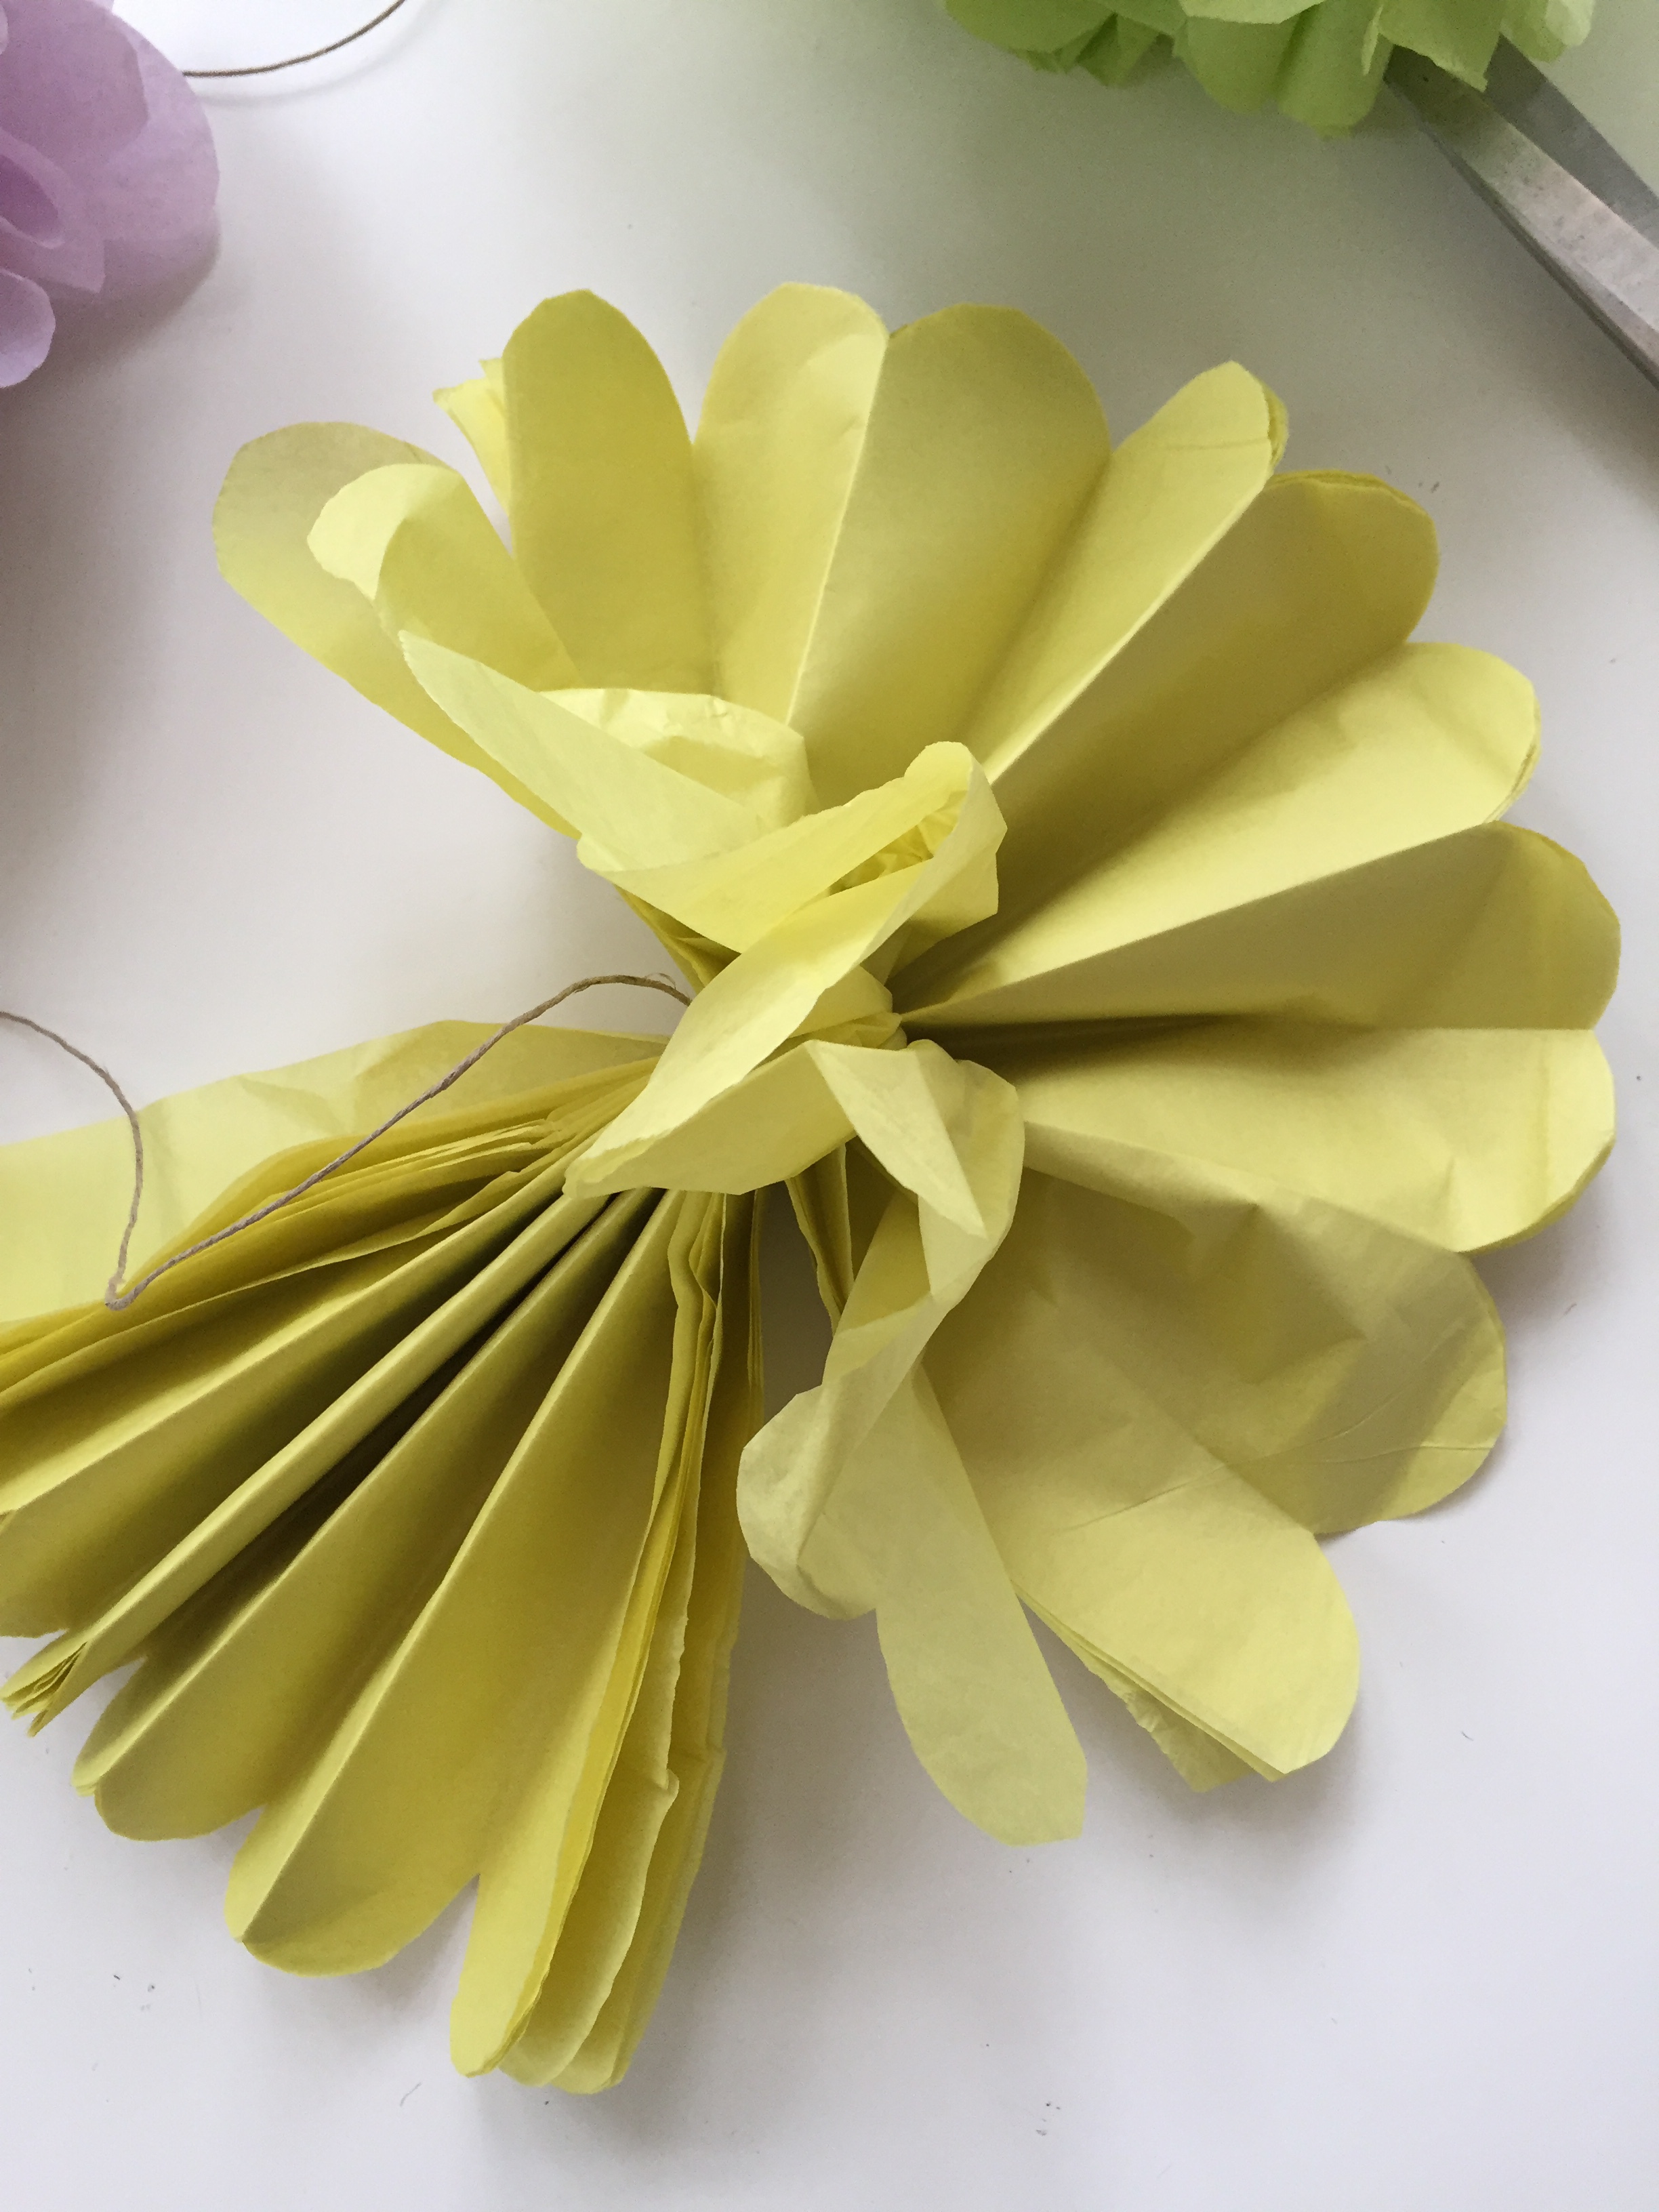
this is the only part where you do need to be careful not to rip the delicate layers. but if you slowly work a sheet at a time and alternate sides, it’s really easy. if you do make a little rip or two, not to worry! you can tuck those out of sight when doing the final fluff!
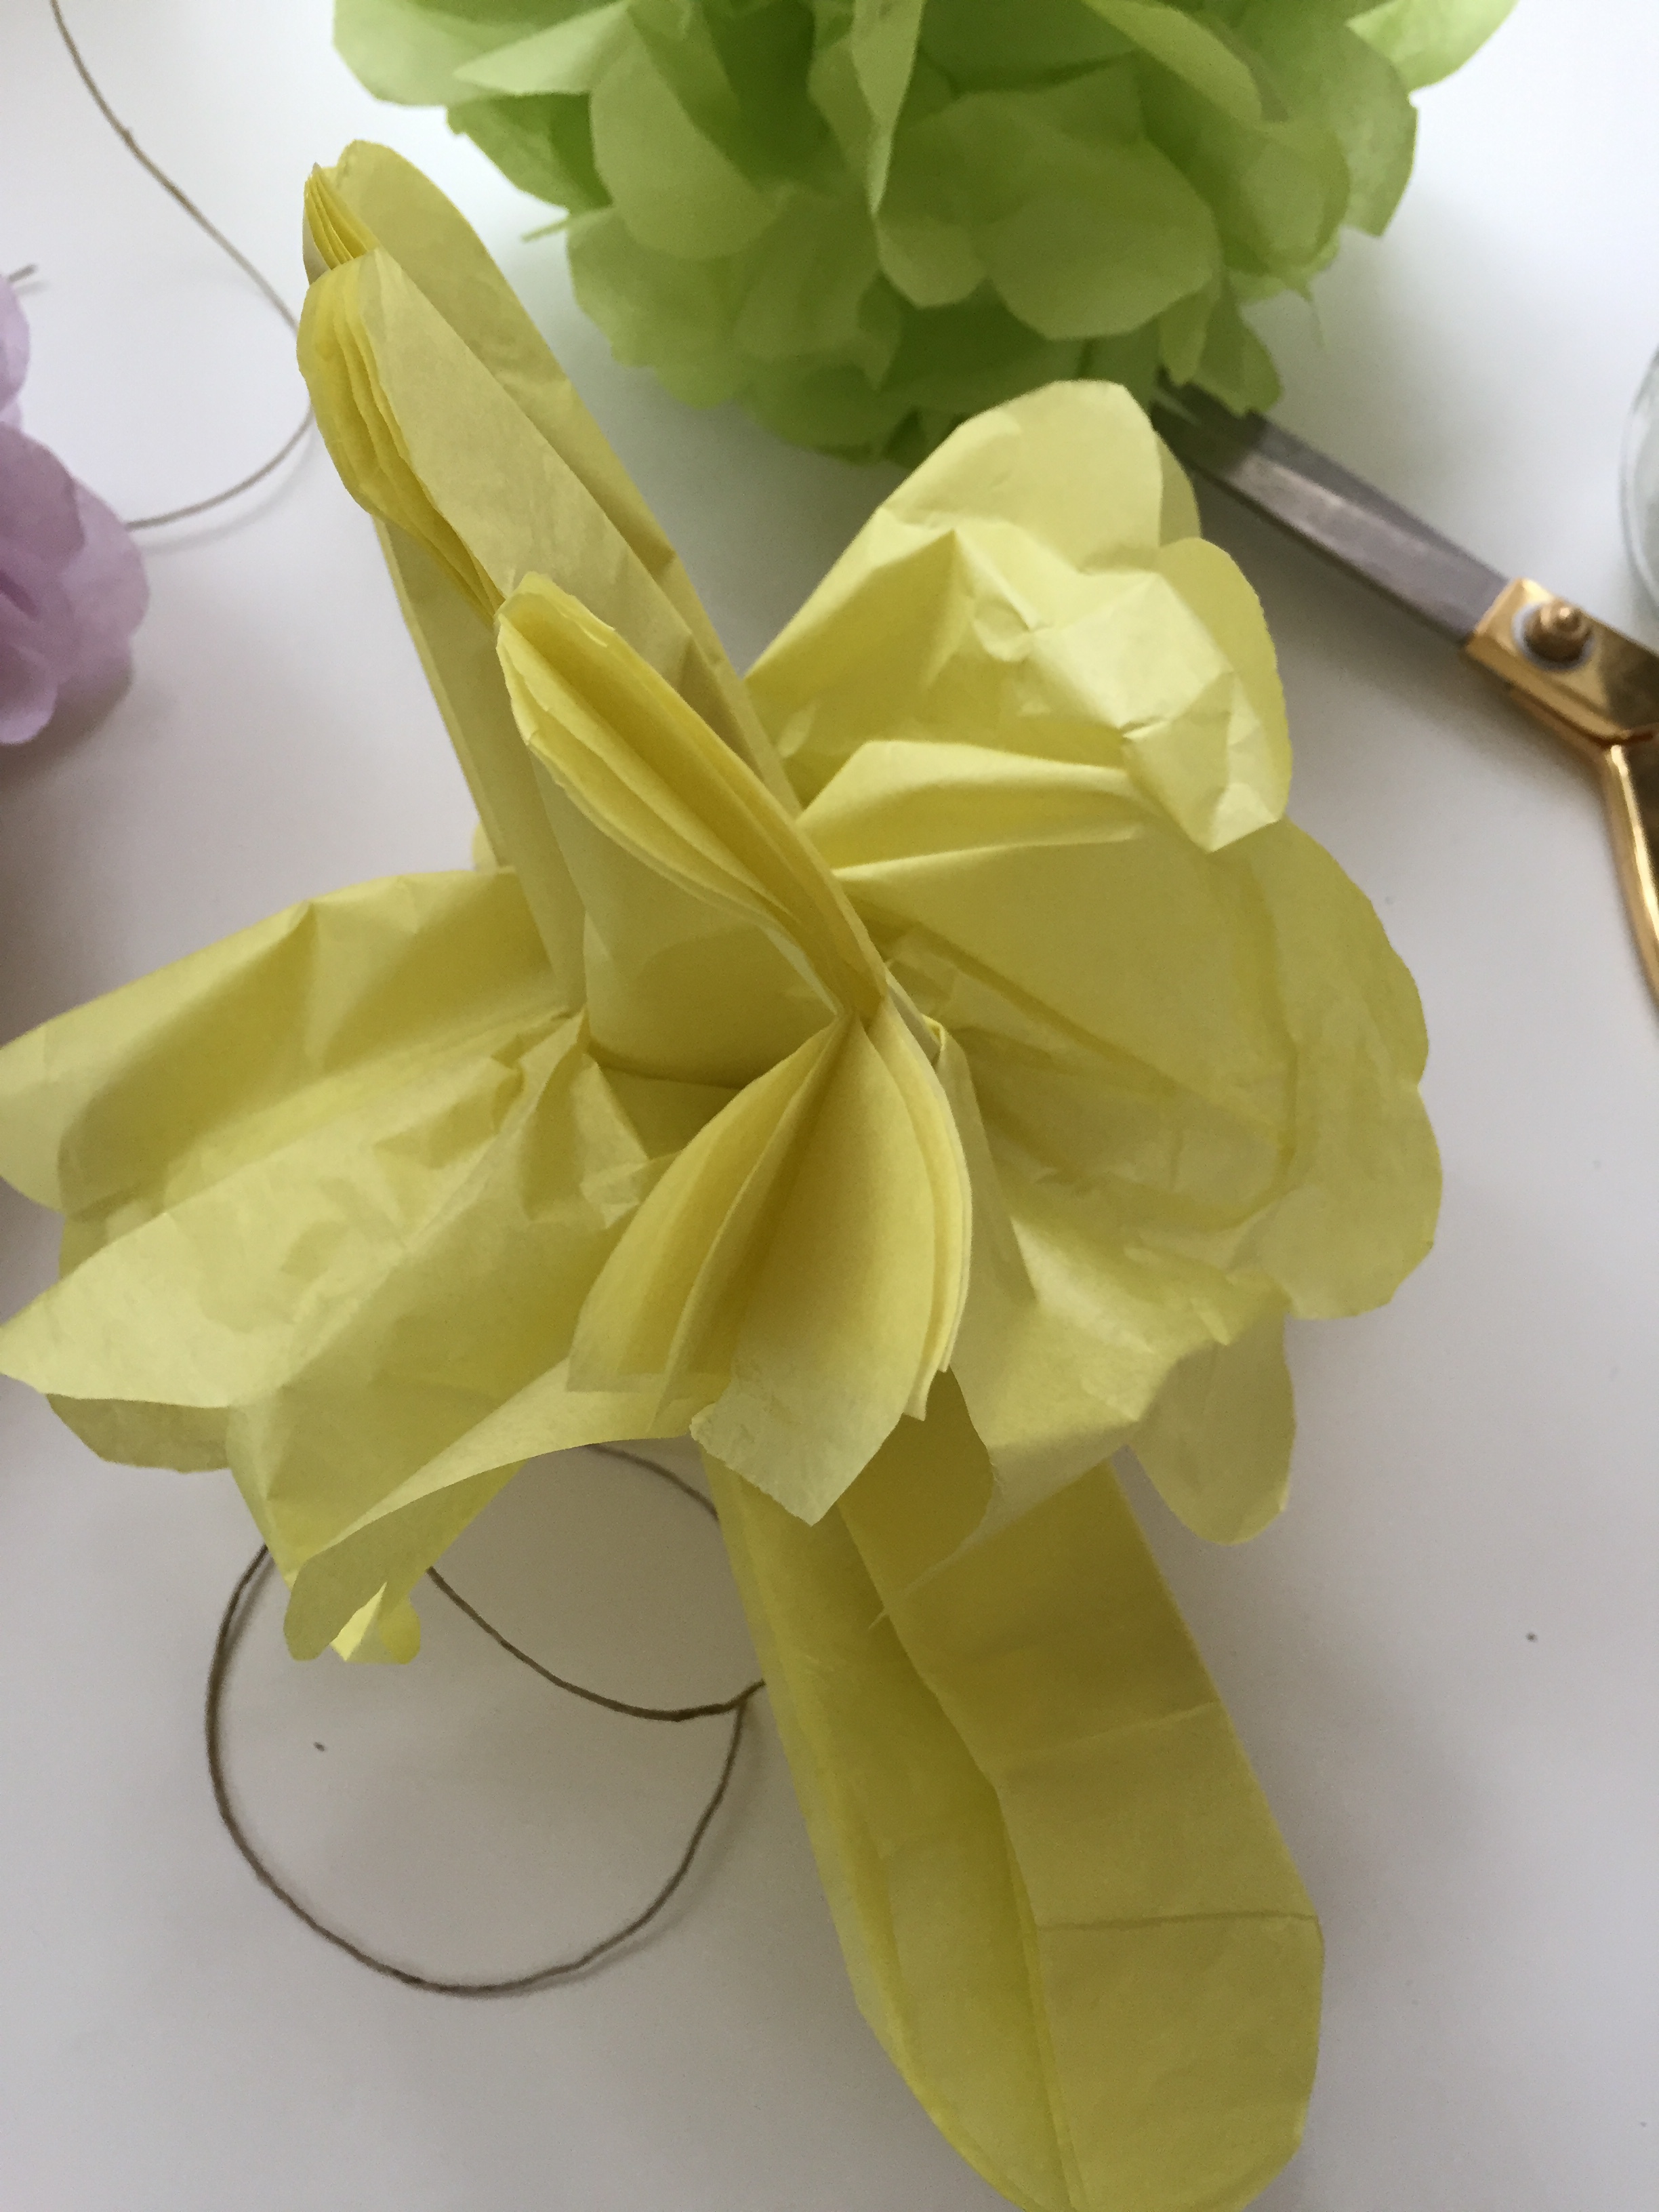
i like to work side to side until i have one half fluffed out. then turn it over and work the other end…
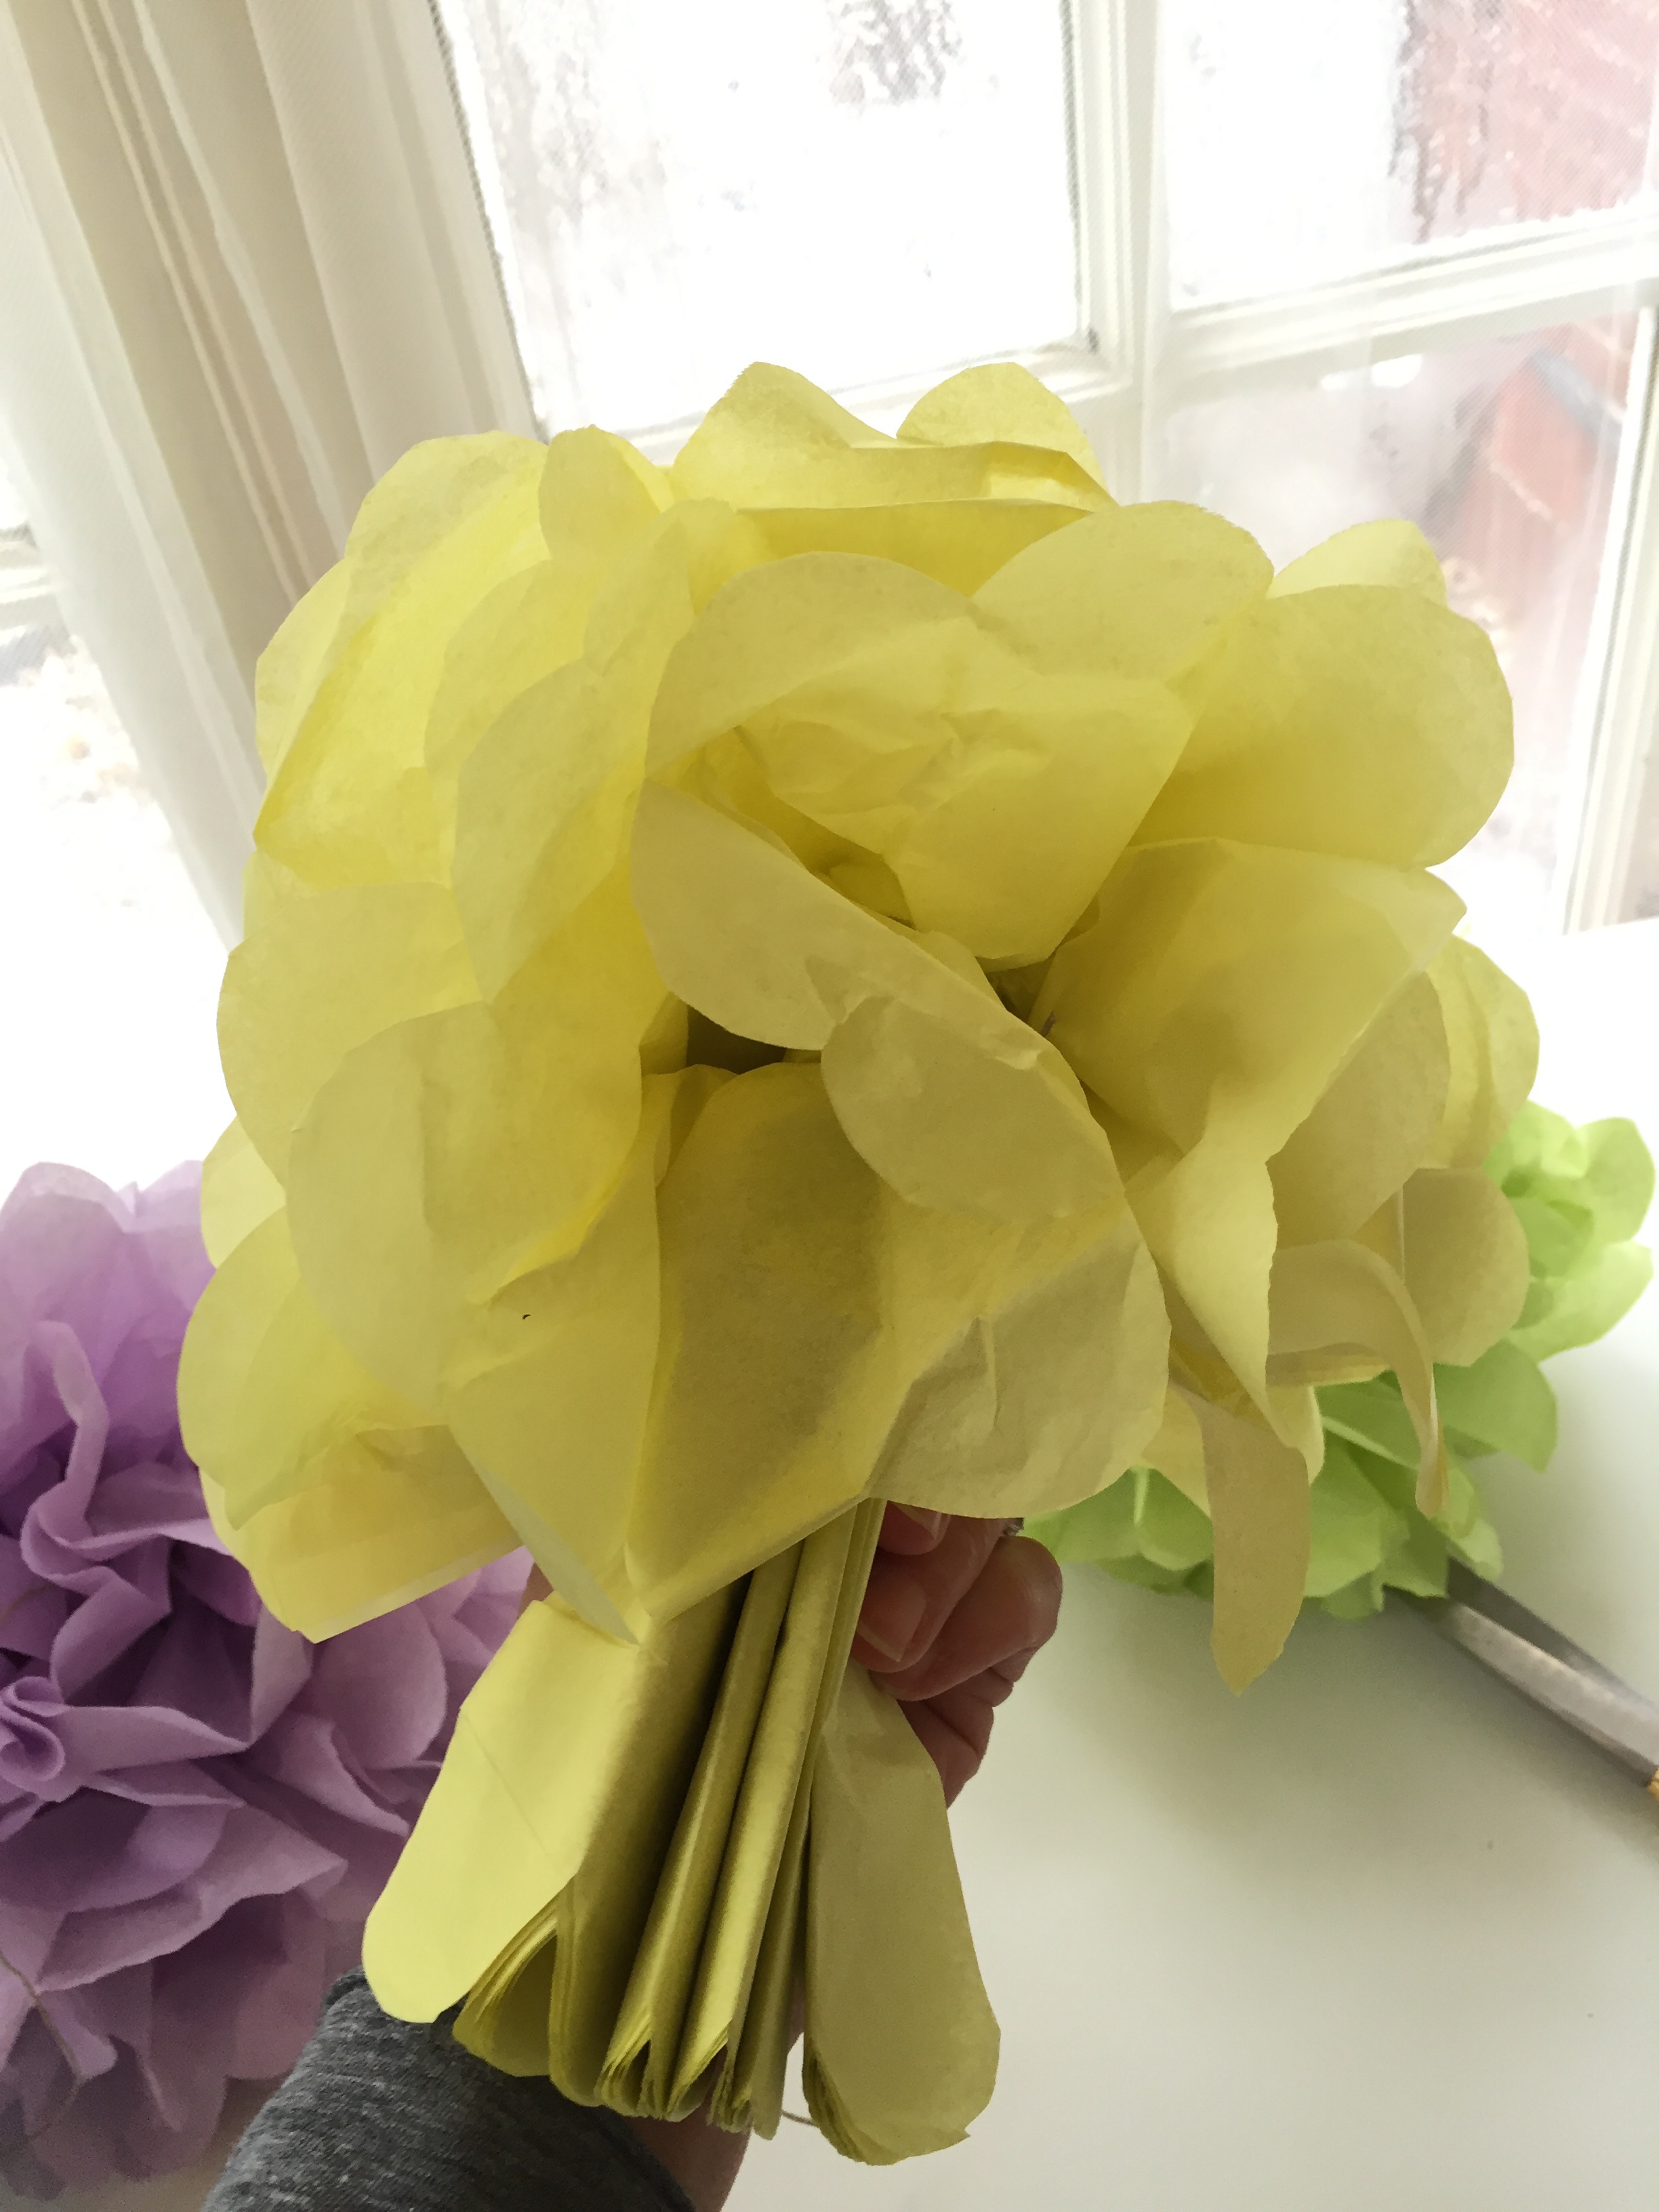
when both sides are finished your pom might look a little like a football. if it does, just softly squish it around a bit until it looks more round. (this is also where you can trim a rough edge or tuck in a rip if needed) ta dah! that’s it!
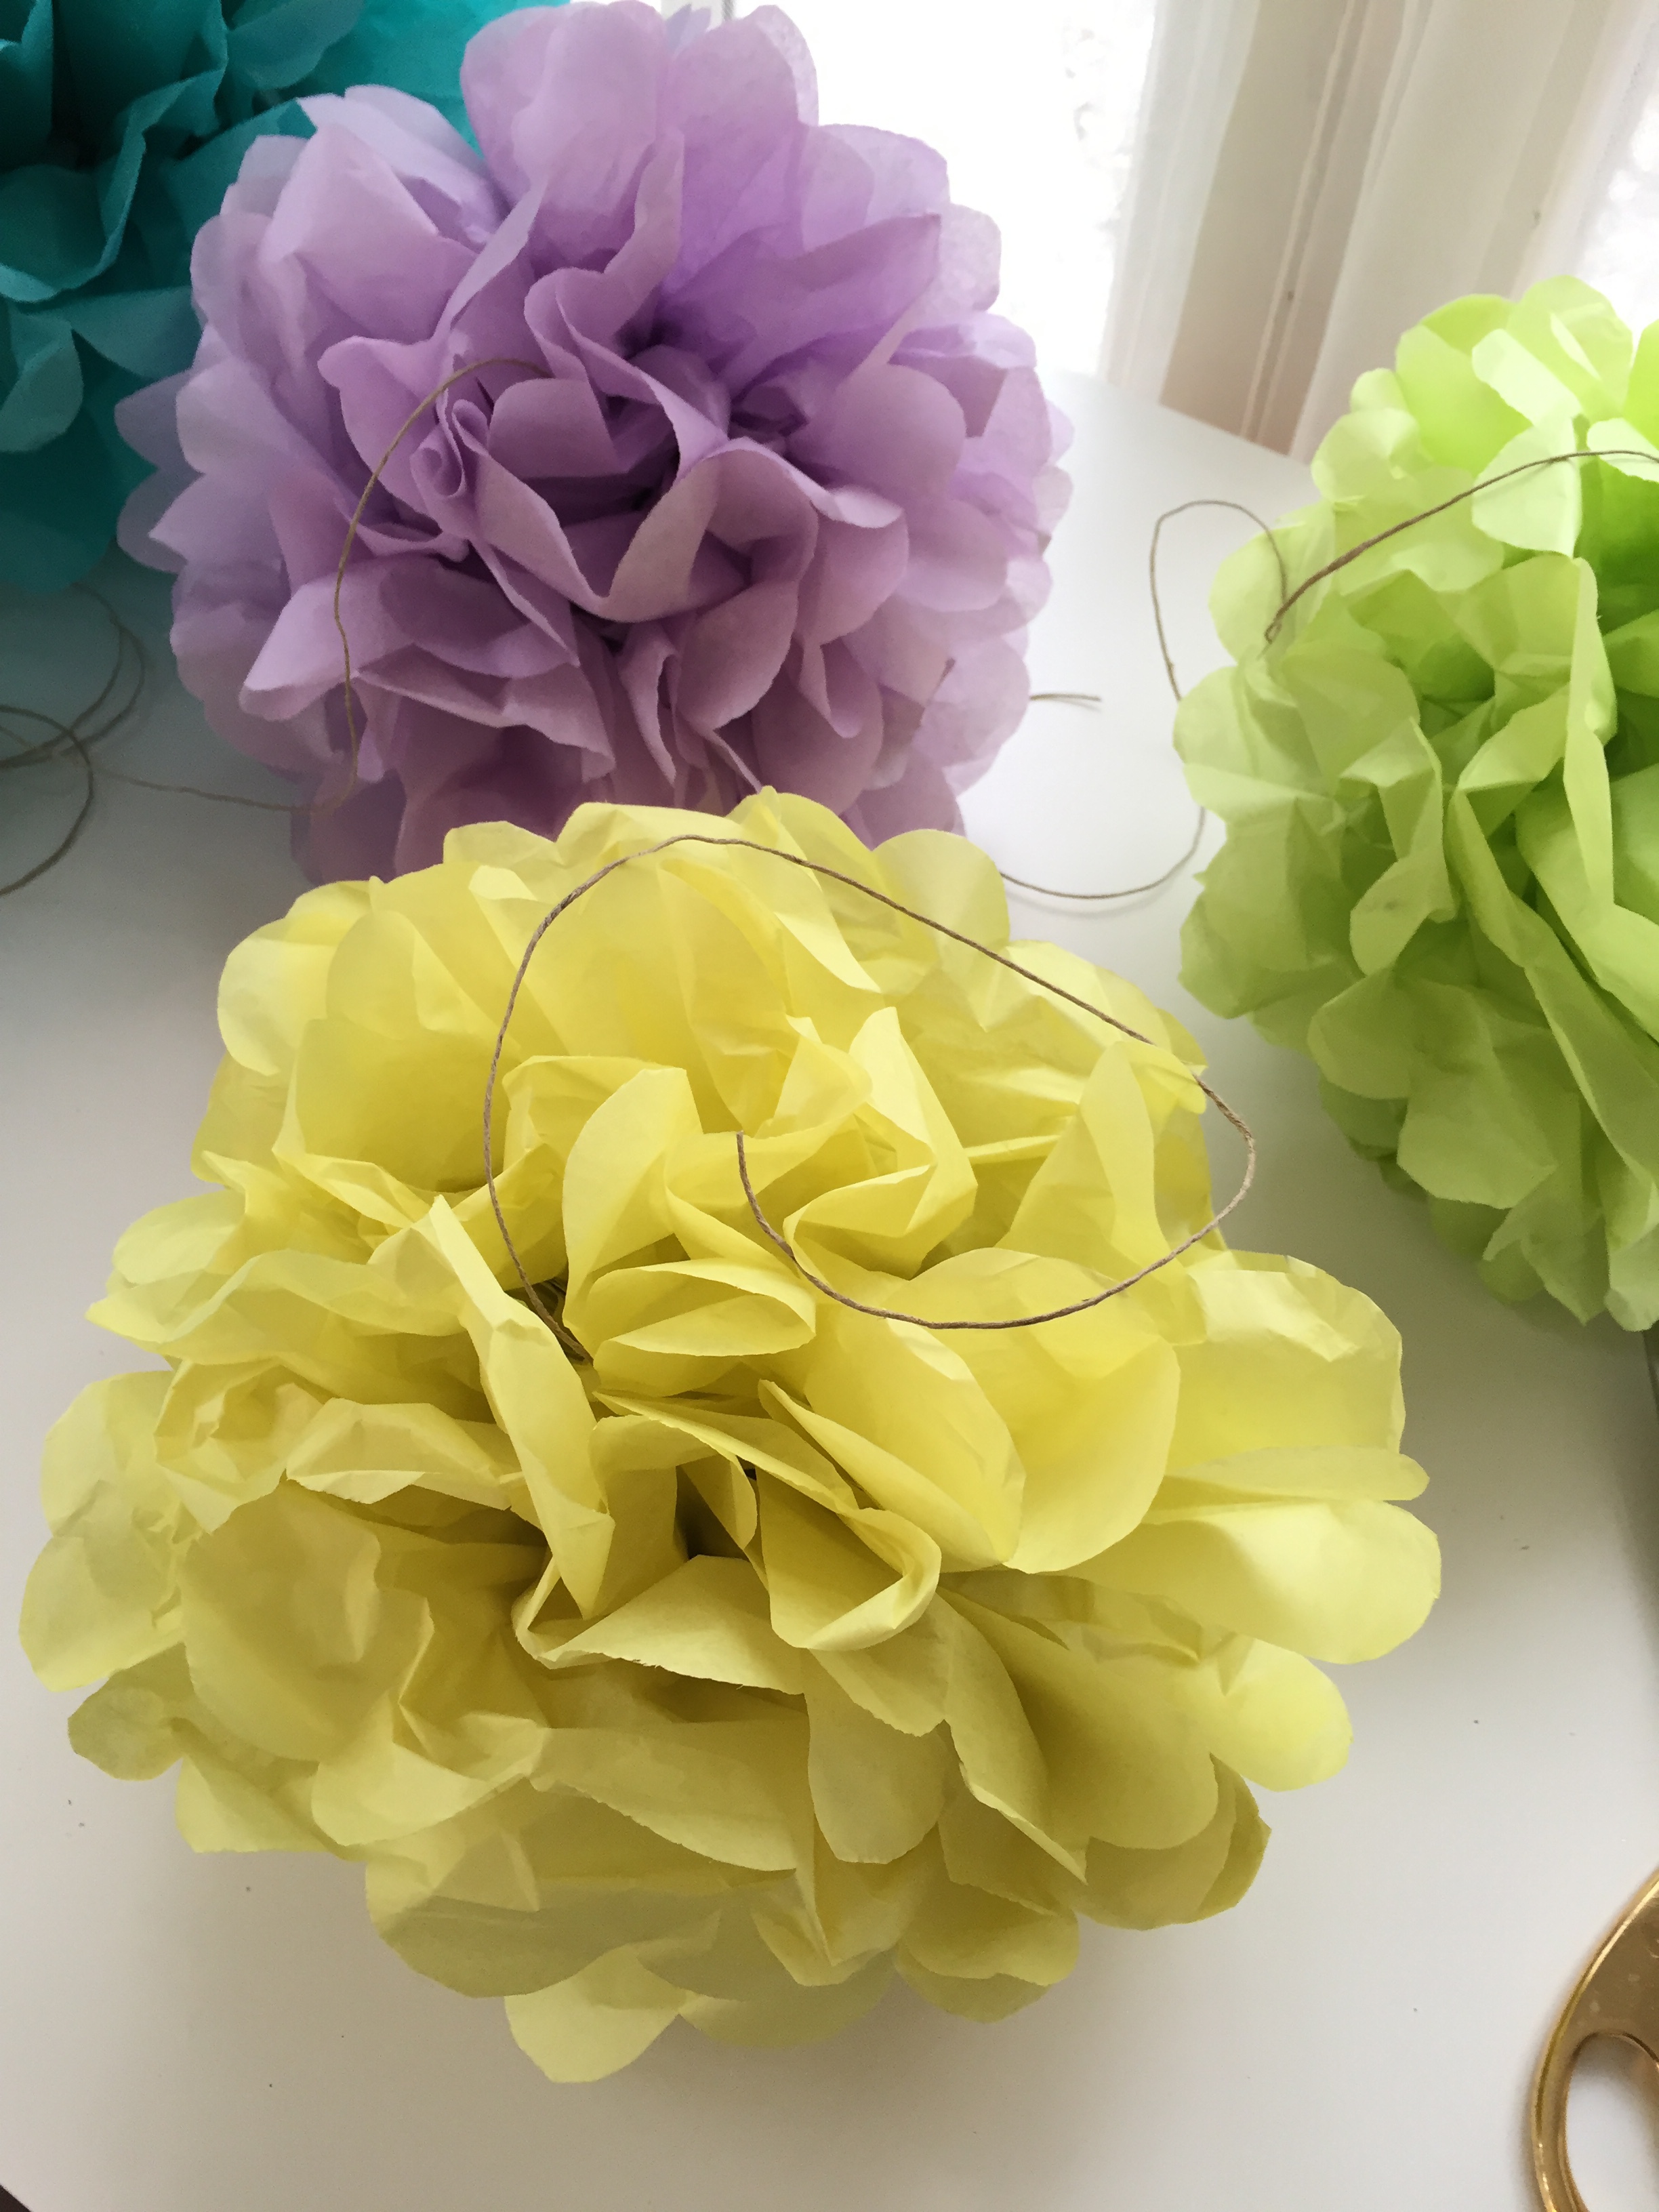
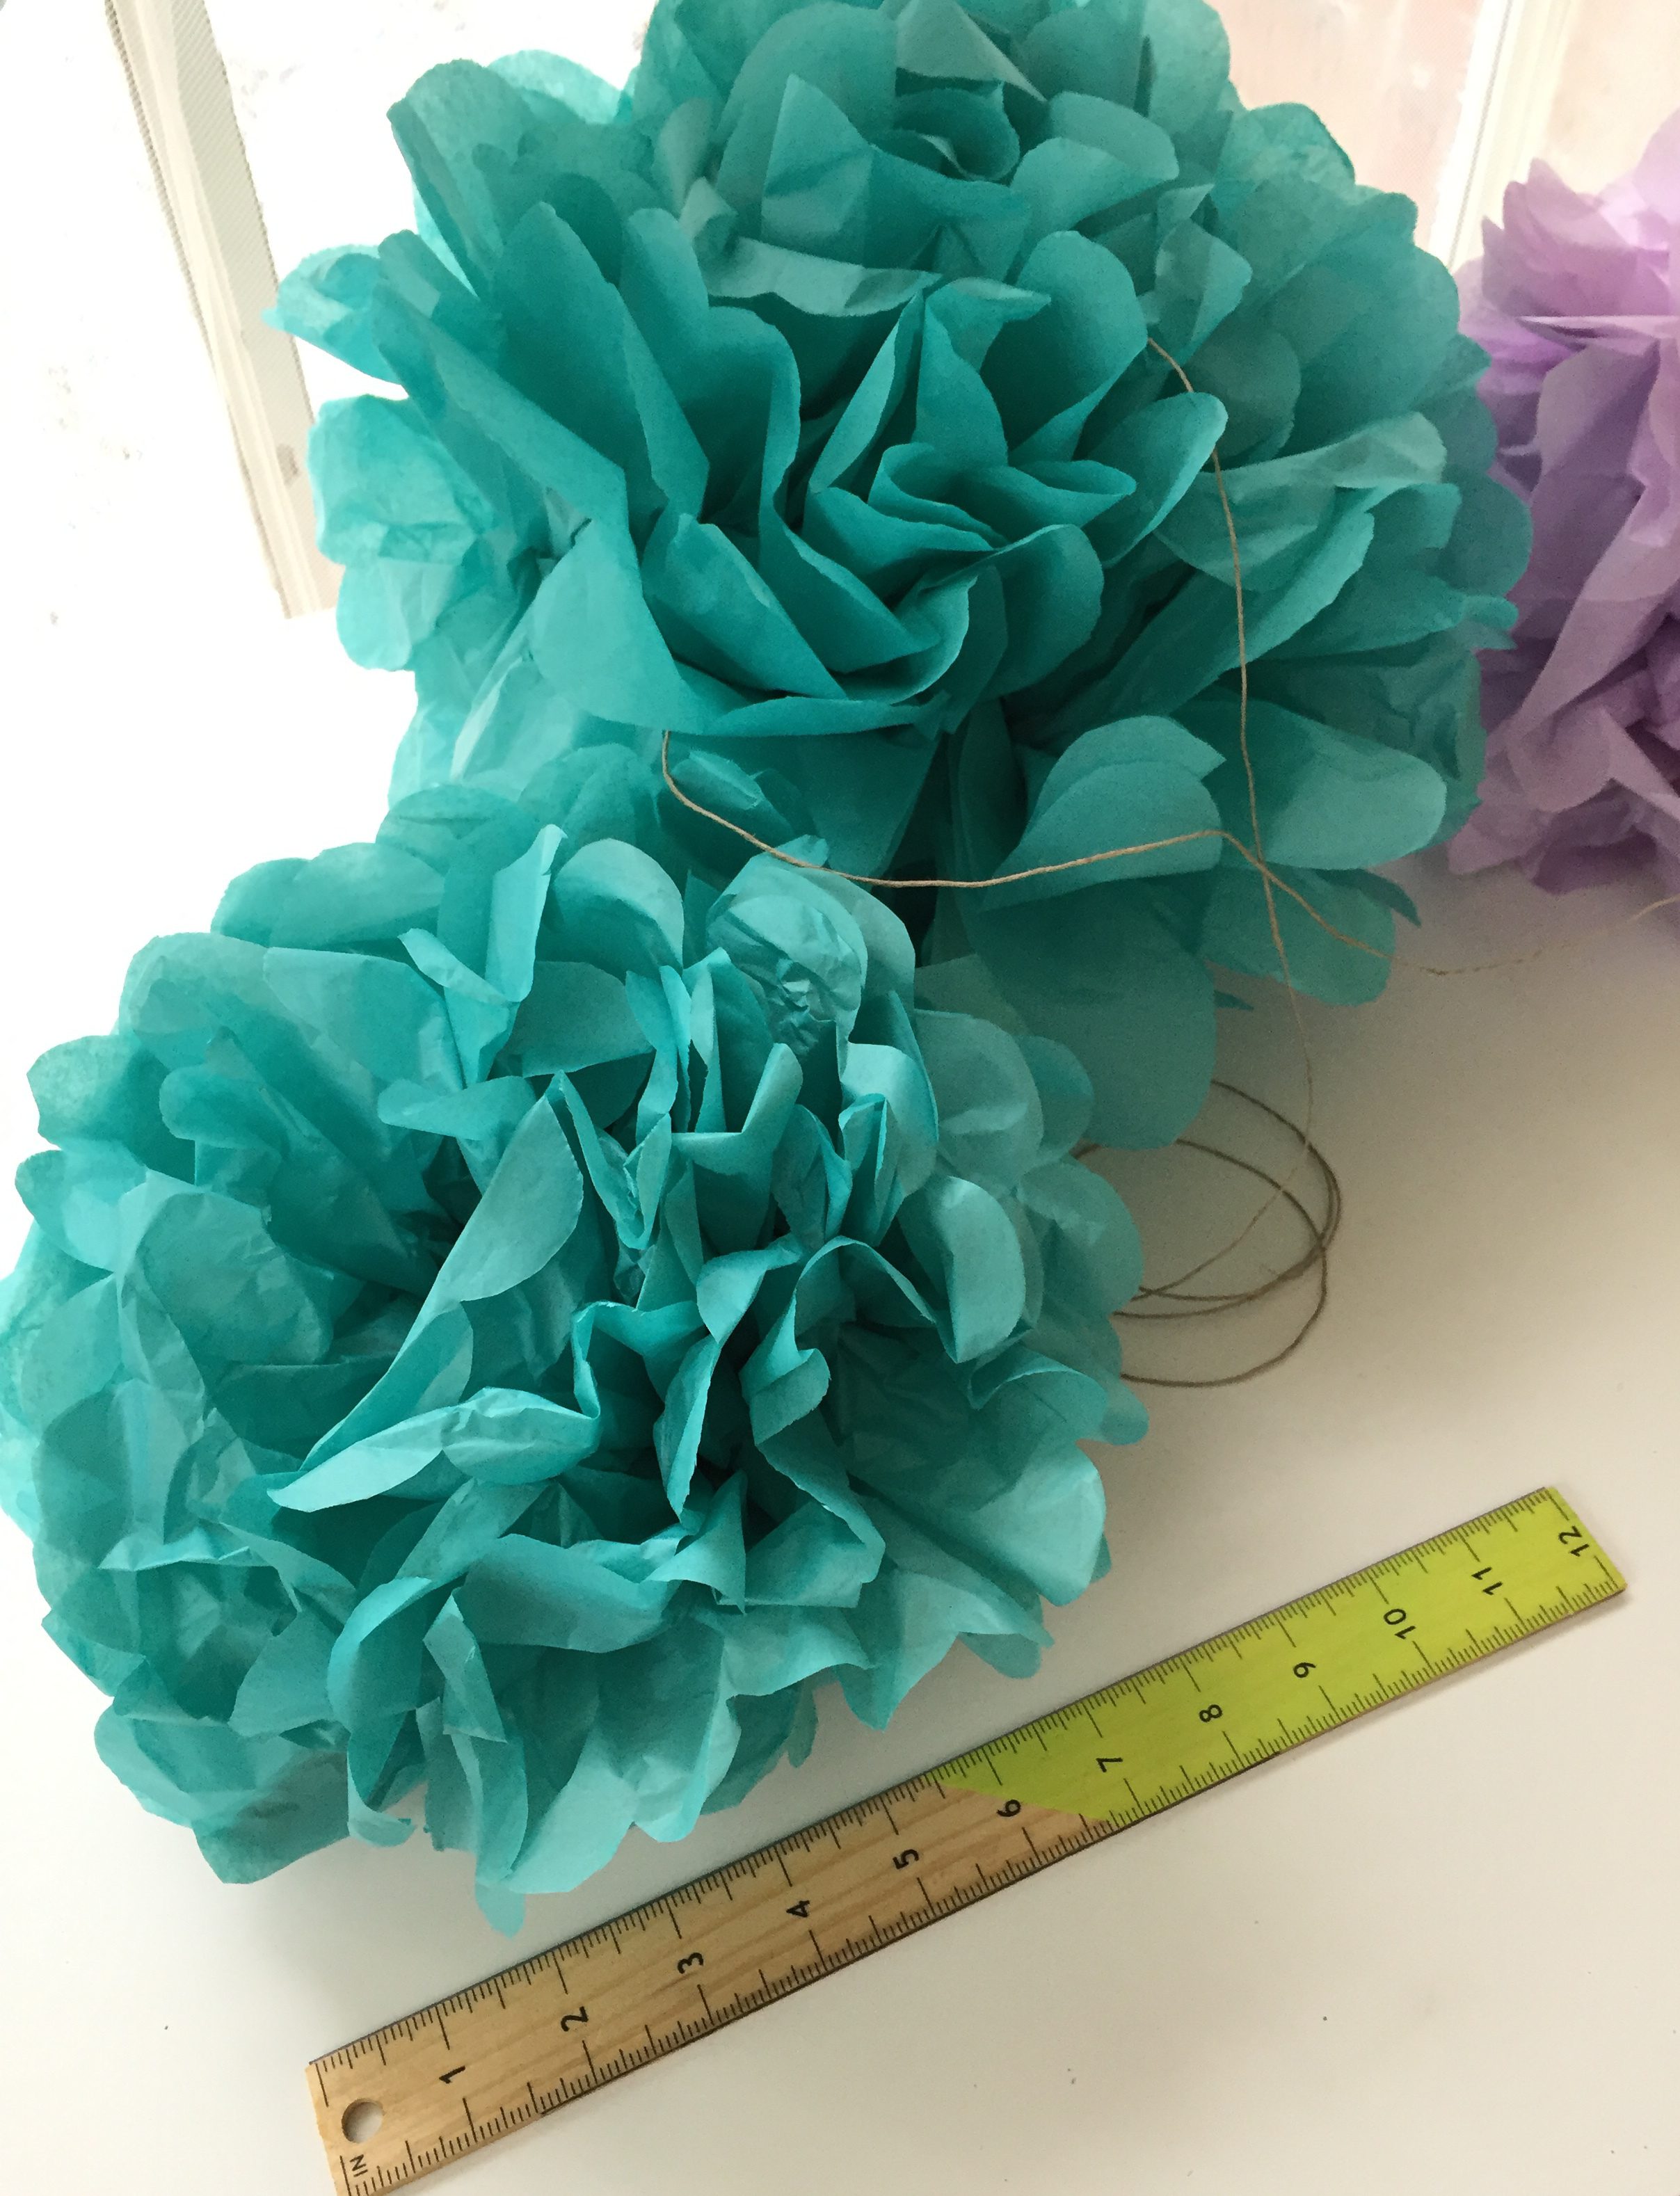
a reminder that all the medium poms were made with 4 full sheets cut in half. (total of 8) the LARGE pom is made with 10 FULL sheets of paper, which is why i had to buy the extra package of teal paper to supplement. you can certainly use more sheets to make a tighter ball but if you use too many it can be difficult to separate them completely. i would suggest 8 half sheets for medium and 10-12 full sheets for a large. i really like including multiple sizes of poms in a cluster but that’s not necessary to create a beautiful grouping! i strung mine together and hung them from my patio chandelier…
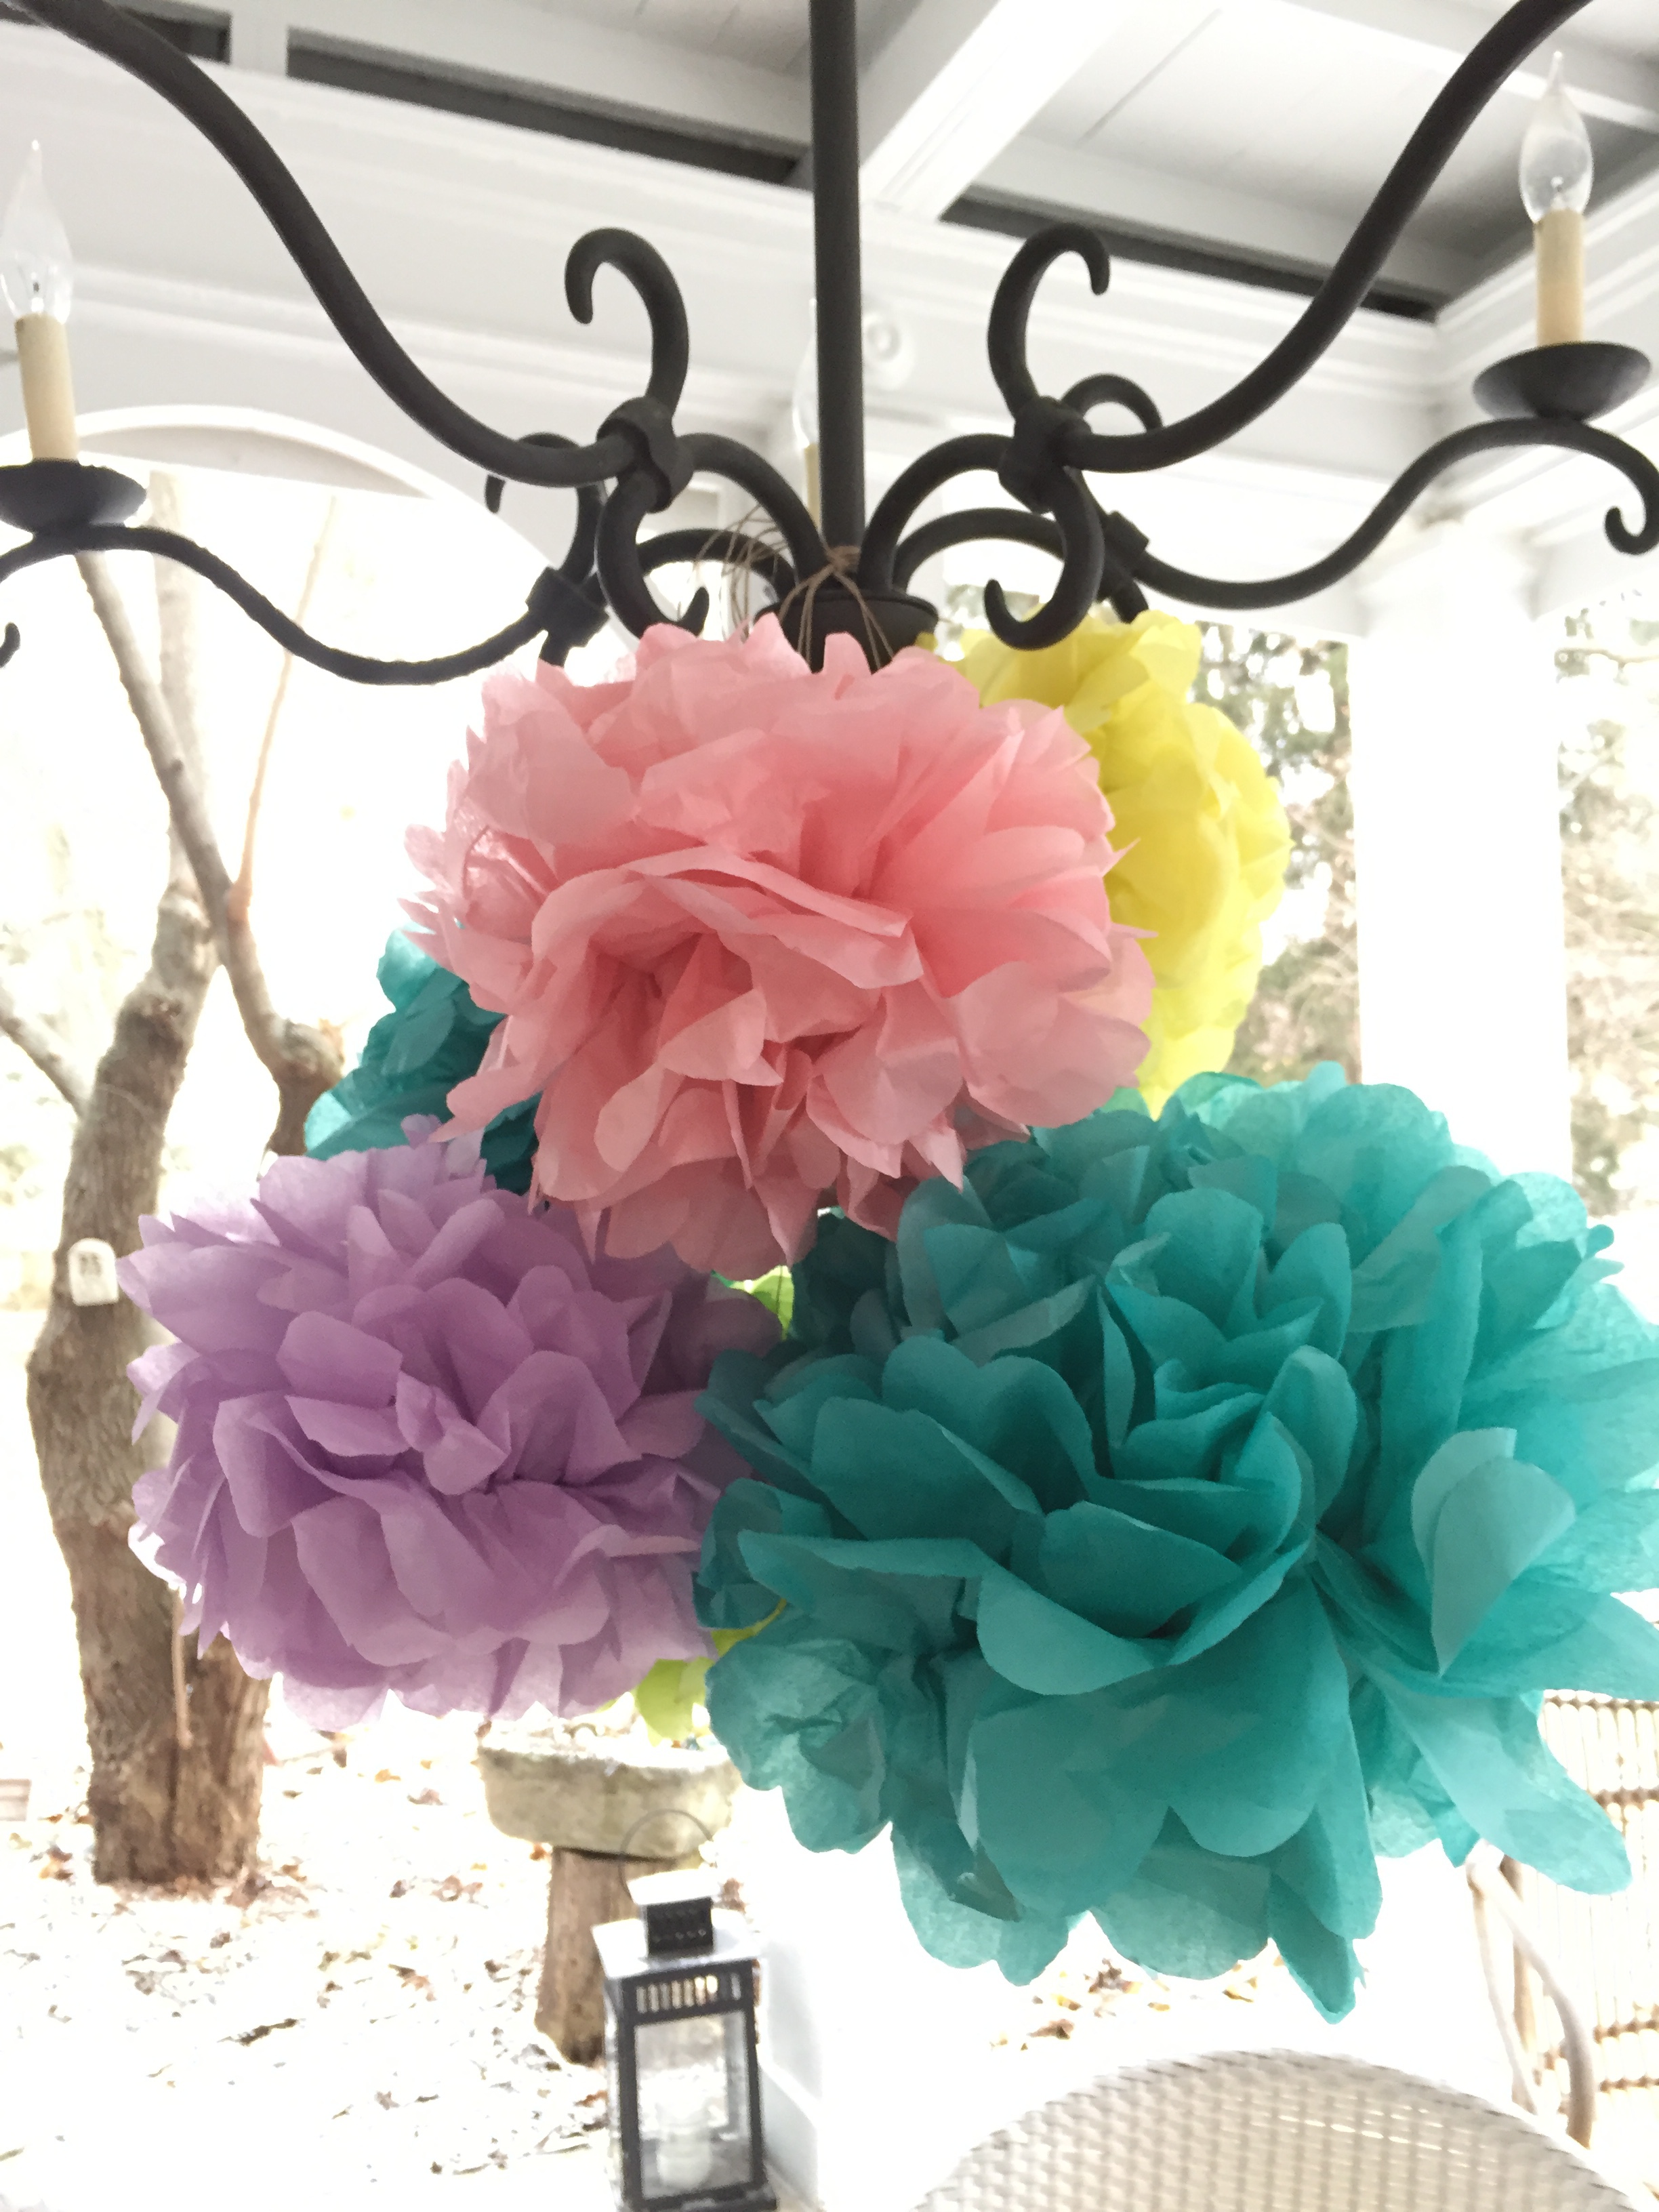
it might seem odd to hang them outside this time of year but at just over $2 for the entire cluster, i don’t really worry about it! besides, most people come to our back door where they will be cheerfully welcomed AND the patio is just outside my living room doors so we can enjoy seeing those bright, happy poms gently blowing in the wind! no matter where you hang them or what colors you choose…try this easy diy!
guaranteed to make you smile!