
Are you looking to add a fresh new look to your home this spring? I don’t know about you but I’m ready for some fun, decorative projects after all the spring cleaning! In between planning family celebrations and parties, I do love a good DIY to spruce up my spaces…and I love adding fresh greenery to my home! Indoor house plants not only look good but they fill up empty spaces and keep my rooms looking fresh! I may not have the greenest thumb but a professional can help me to pick varieties that are easy to care for…so I’m really excited to share this DIY fun from my friends at ProFlowers! They created a step-by-step guide and a video tutorial to show us how to create a space-saving ladder plant stand for the h ome. And don’t forget that a stand like this could also serve many purposes from holding toys or decorative treasures, to party desserts! Have a peek at their guide and styling inspiration so you can start filling your home with more natural elements in time for spring!
get ready to DIY!
this blog is brought to you courtesy of ProFlowers
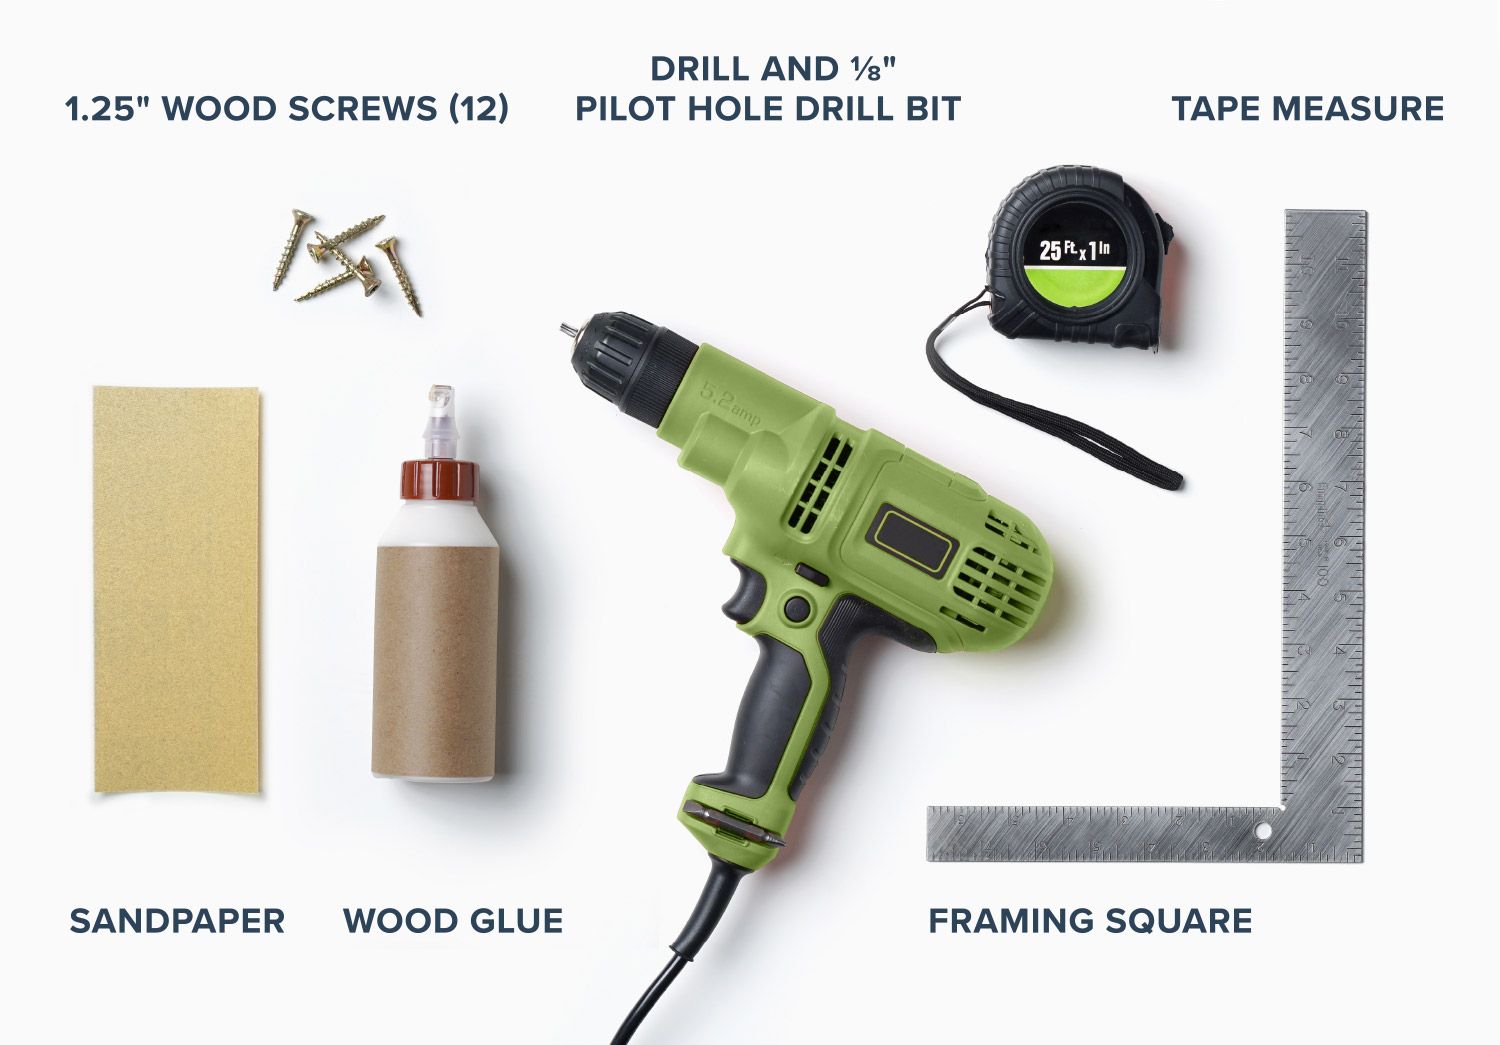
ladder plant stand materials
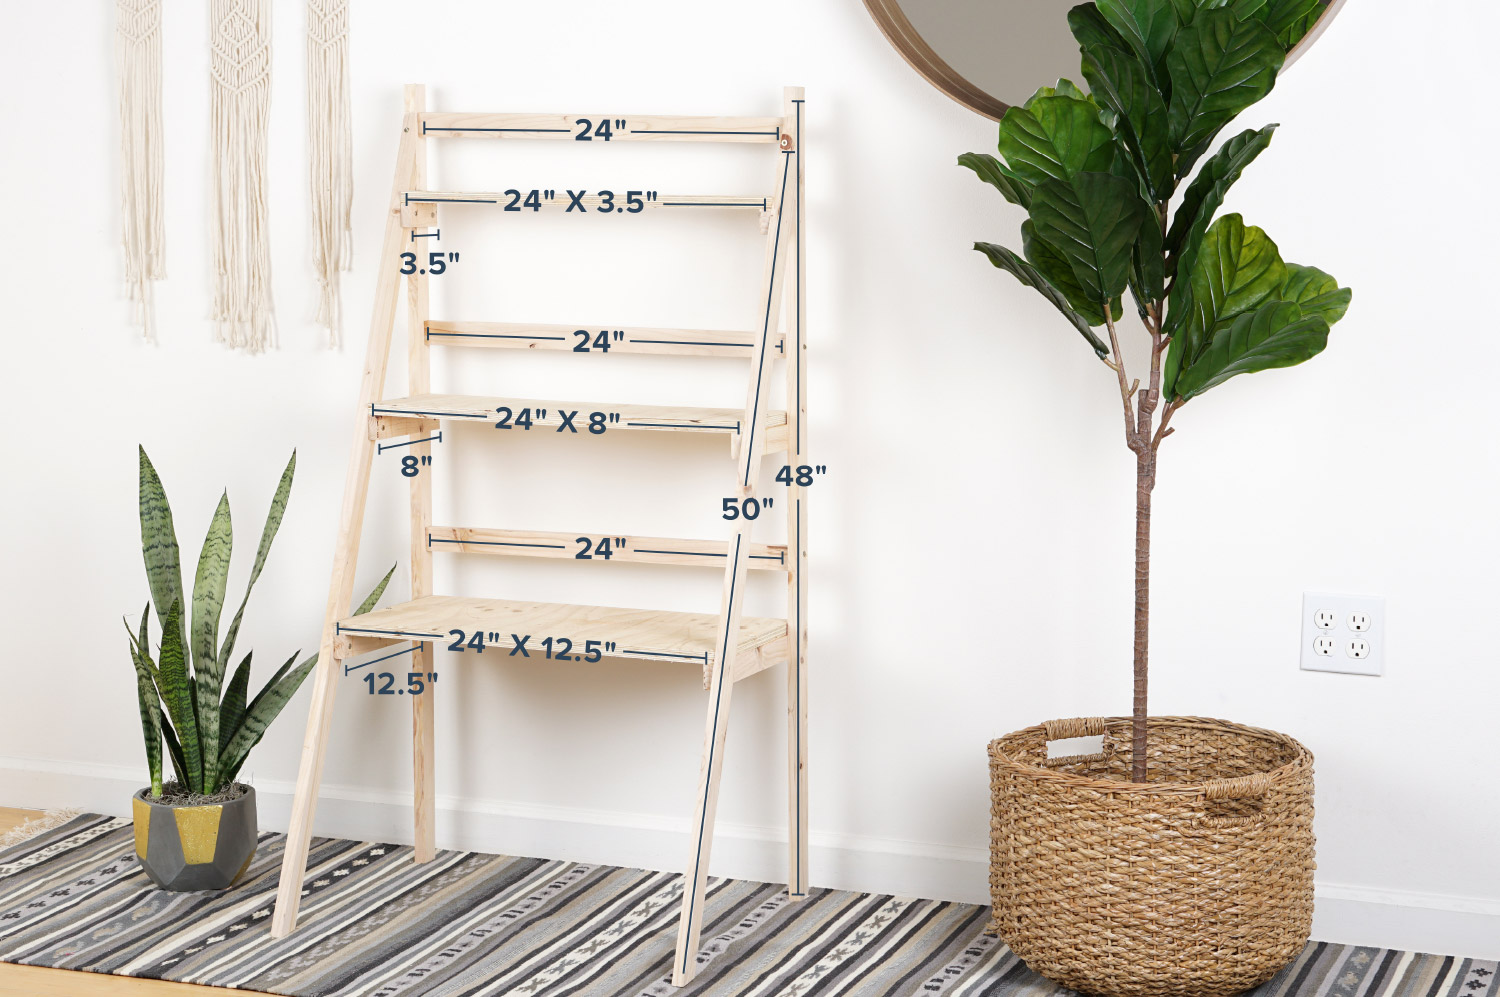
wood and cutting instruction
The shot below shows all the wood pieces you will need to create your plant ladder stand. Reference each of the numbers throughout the cutting pieces to be sure you’re on the right track.

Note: Both 50” pieces need a 20 degree diagonal cut and 70 degree diagonal cut on opposite sides. If you’re making the cuts yourself, a miter saw would be handy.
Pro Tip: You can also get these pieces cut at a local hardware store if you don’t feel comfortable cutting them on your own. Always remember, safety first!
how to make a ladder plant stand
step-by-step
Project Time: 1-2 hrs
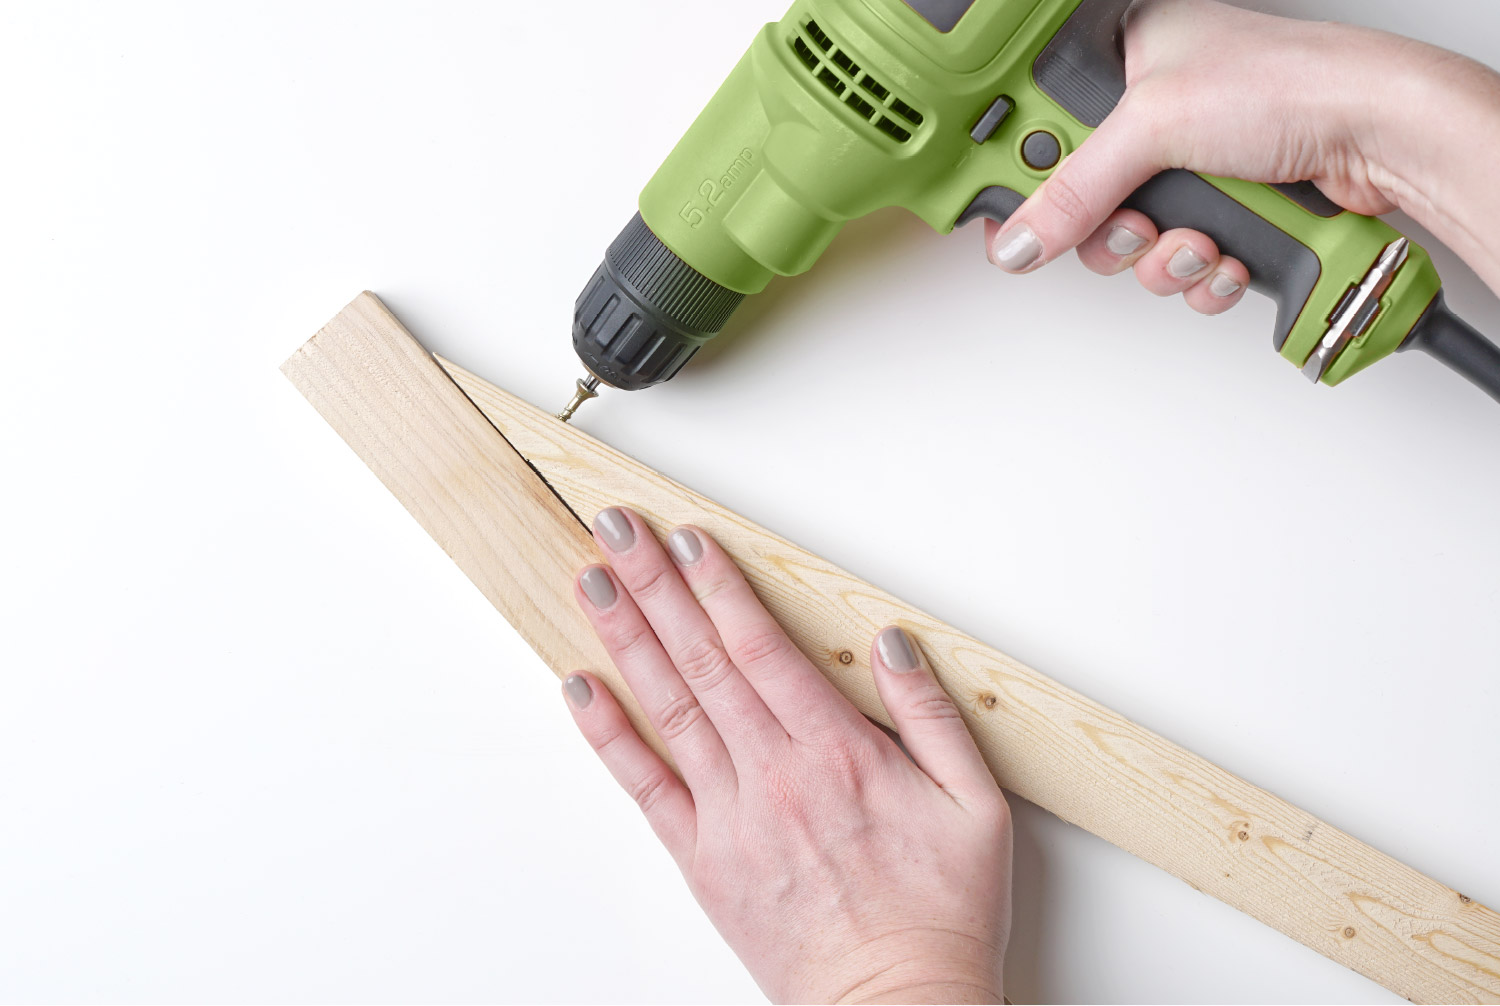
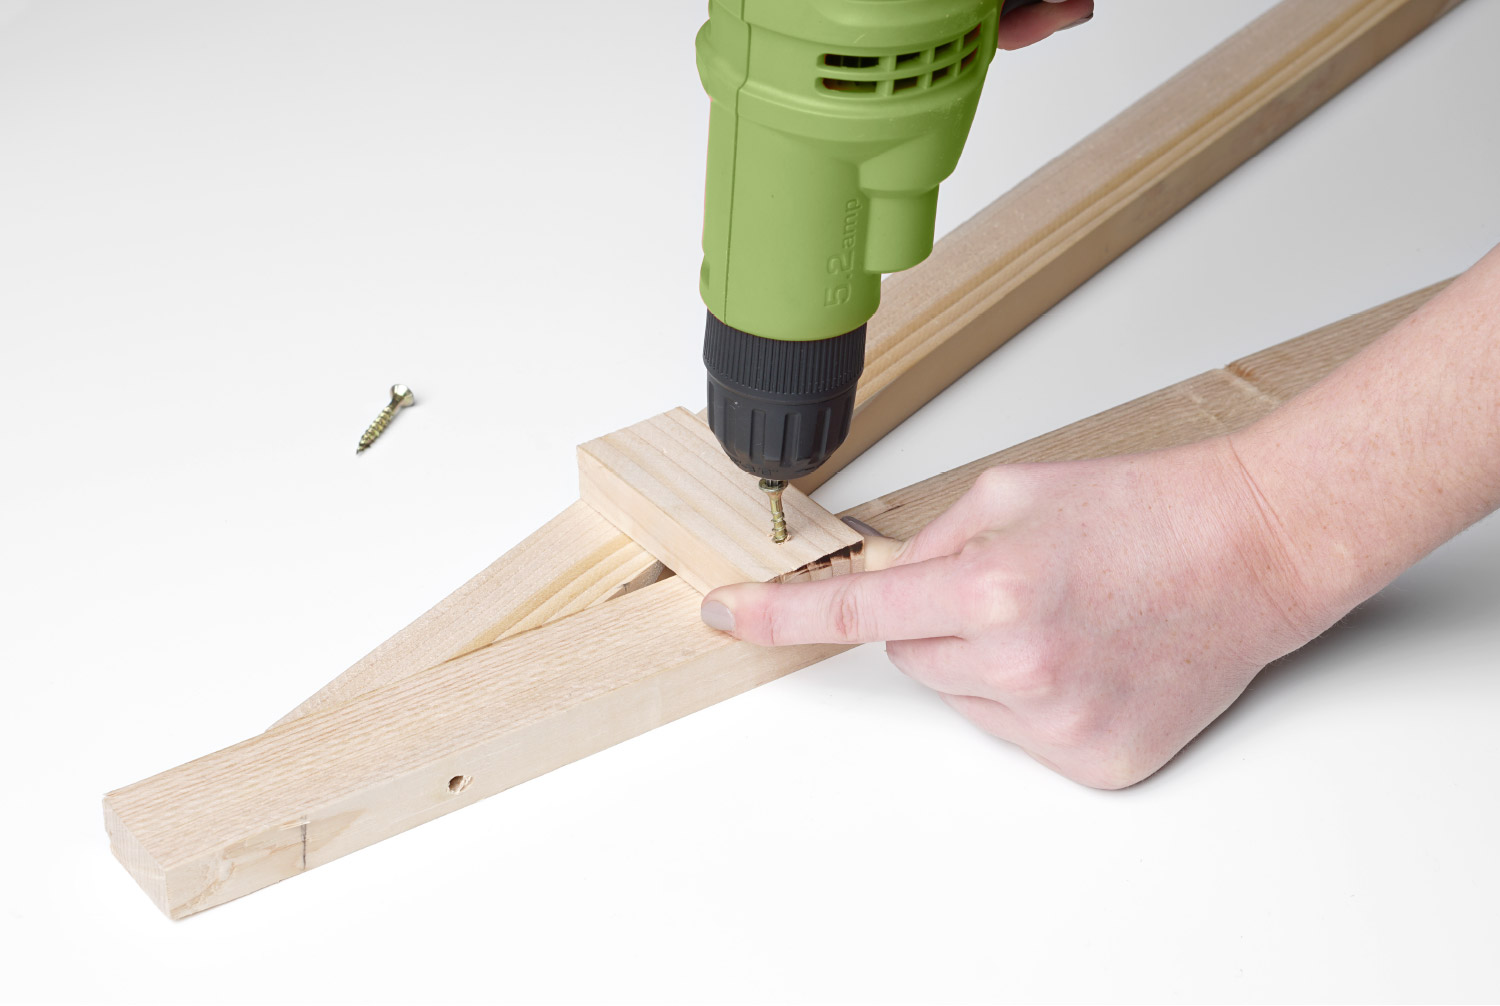
Step 1: Attach 50” diagonal piece (with diagonal cuts on both ends) to 48” vertical piece using wood glue and a 1.25” screw.
Repeat with second set. This will create the two sides of your frame.
Pro Tip: Make sure that you drill in the center of your wood pieces to avoid any cracking
Step 2: Attach the 3.5”, 8” and 12.5” shelf supports to each of the pieces you created in step one.
They should fall at 7”, 19” and 31” inches respectively, if you’re measuring from the top. The widest side of the wood should be facing the frame. Use wood glue and 1.25” screws to attach.
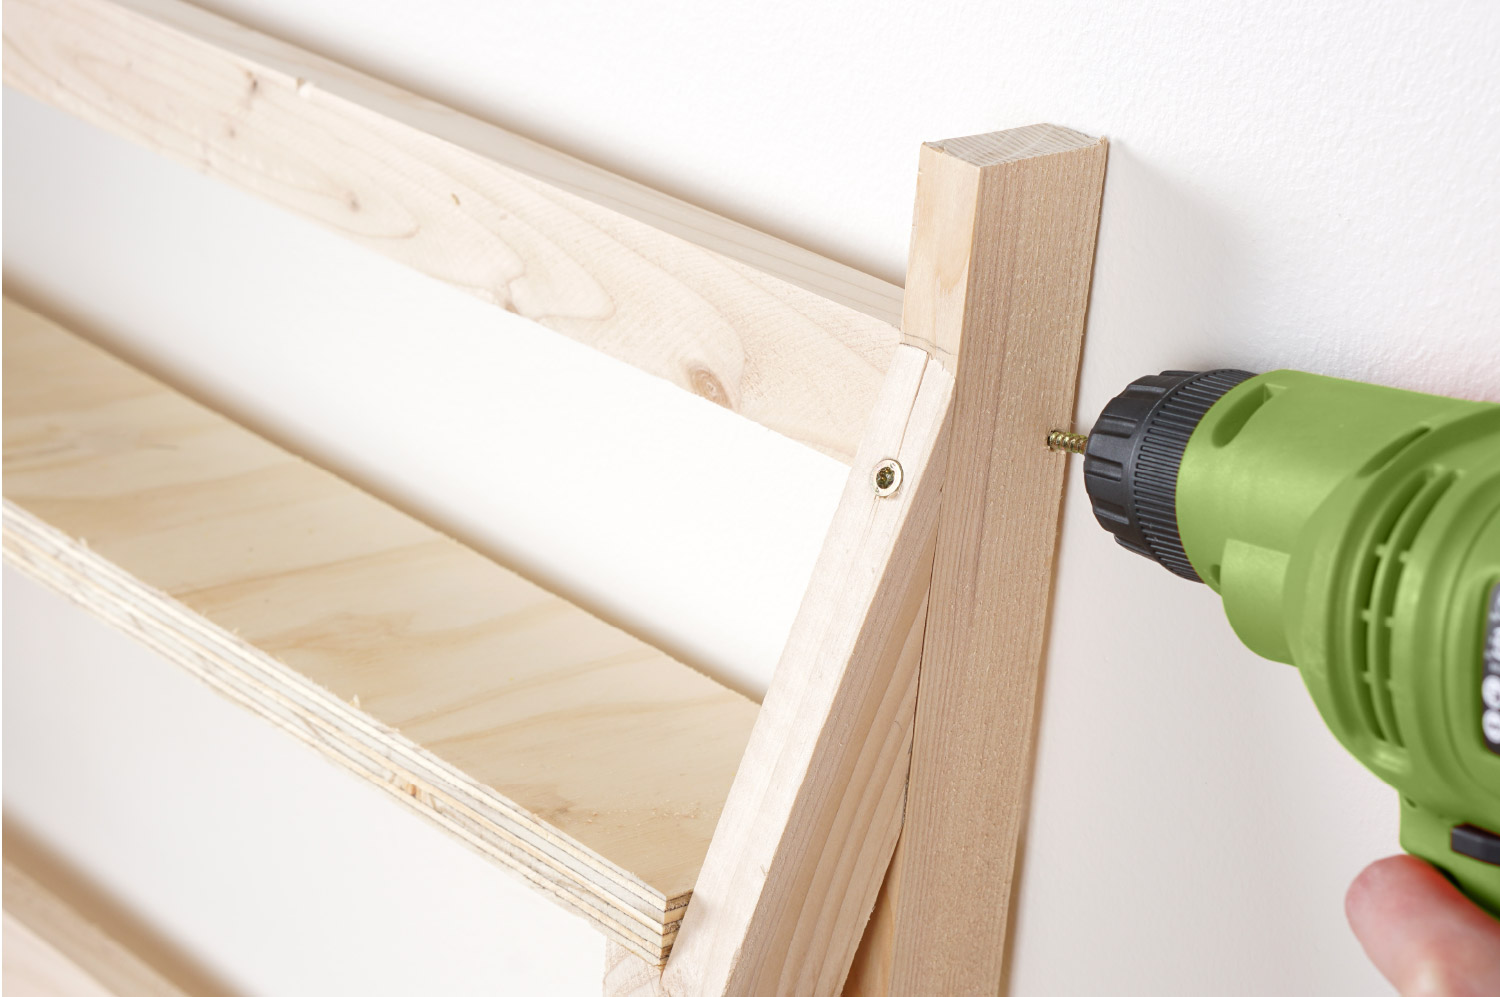
Step 3: Add the back support beams three inches above each of the side beams.
They should be sandwiched between each of the side frames, and flush with the back of the frame.
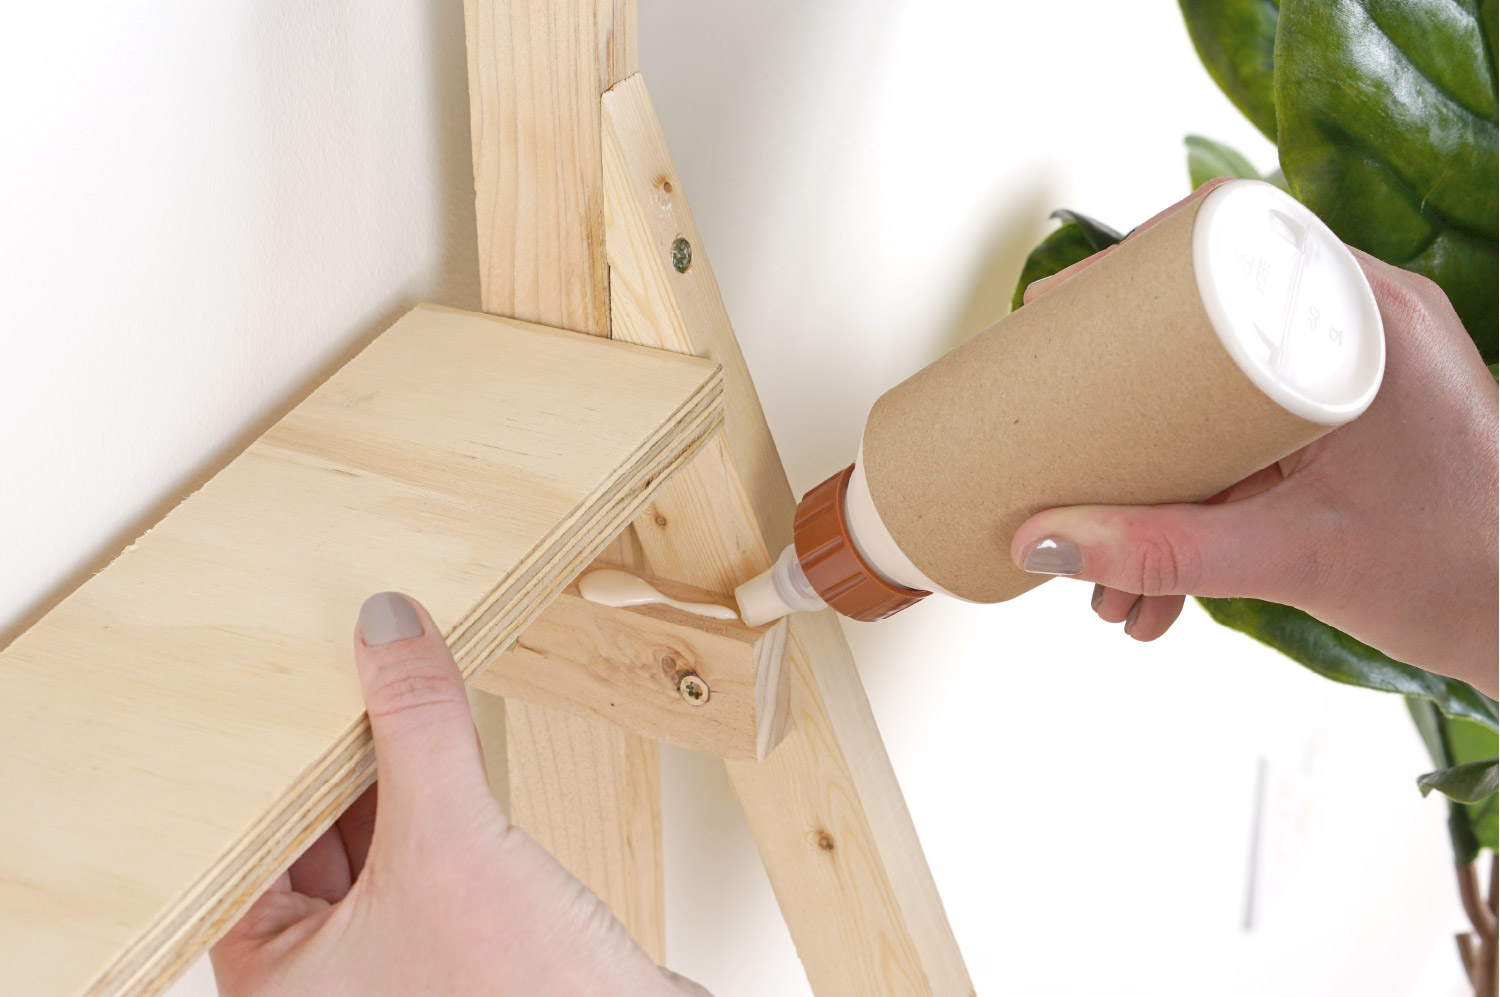
Step 4: Add glue to the top of the widest shelf supports. Place the bottom shelf on top of the shelf supports, and screw in to secure.
We used two screws, one middle left and one middle right, but you can use more if you’d like the shelves to be extra secure. Repeat this technique for the middle and top shelves.
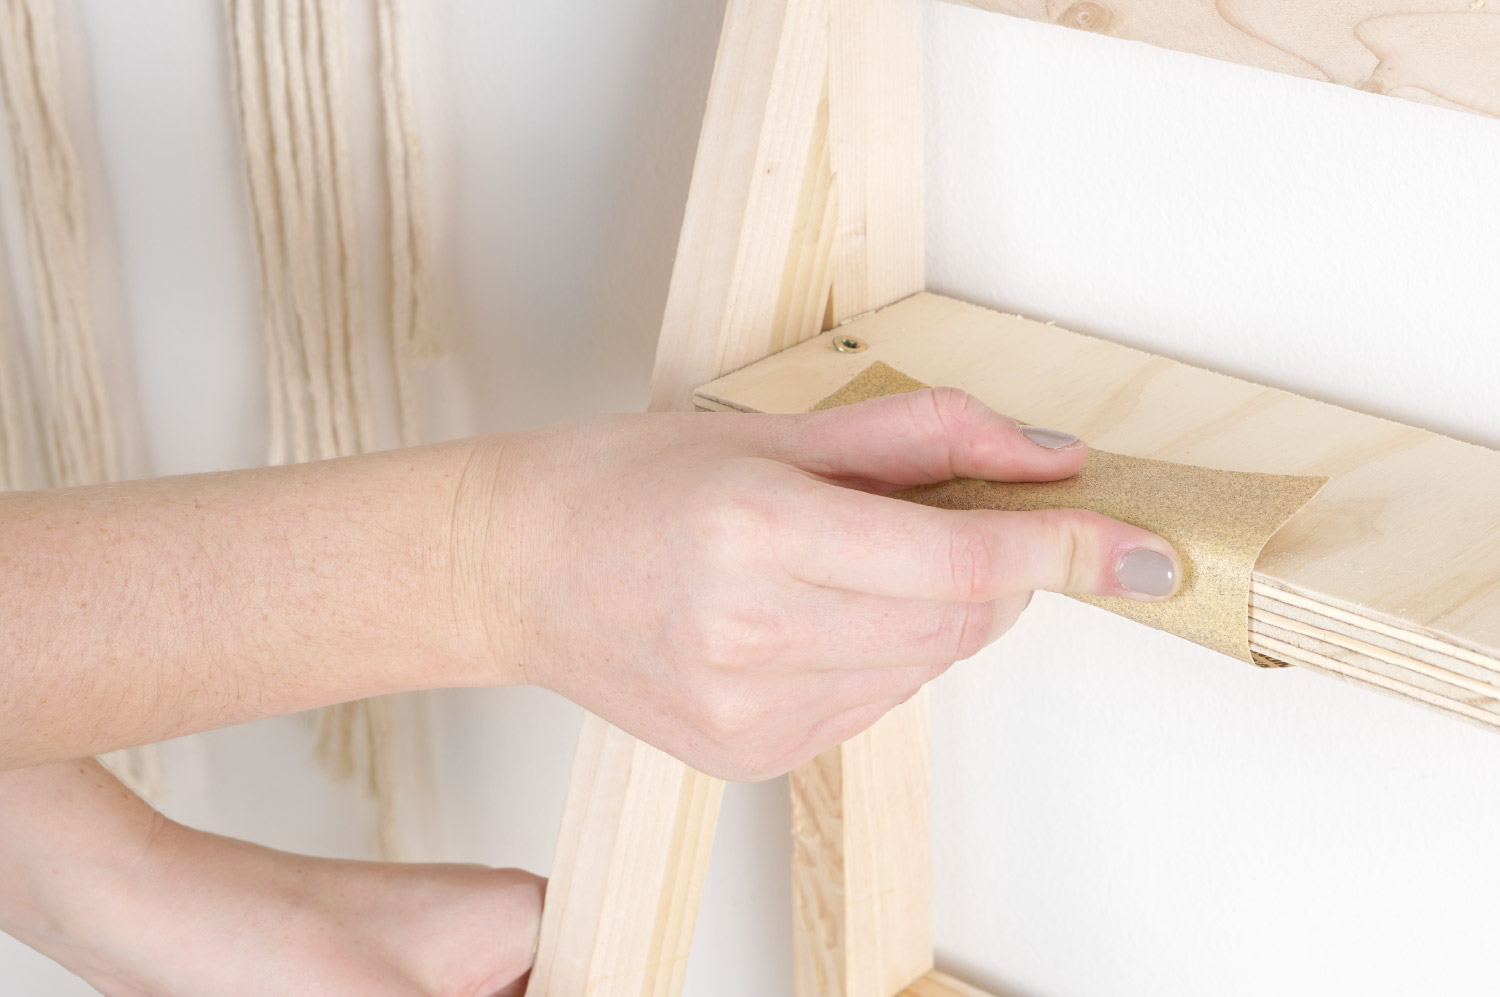
Step 5: Sand and finish!
Sand down the entire piece to finish off your plant stand and make for a pro-fresh-ional look and feel.
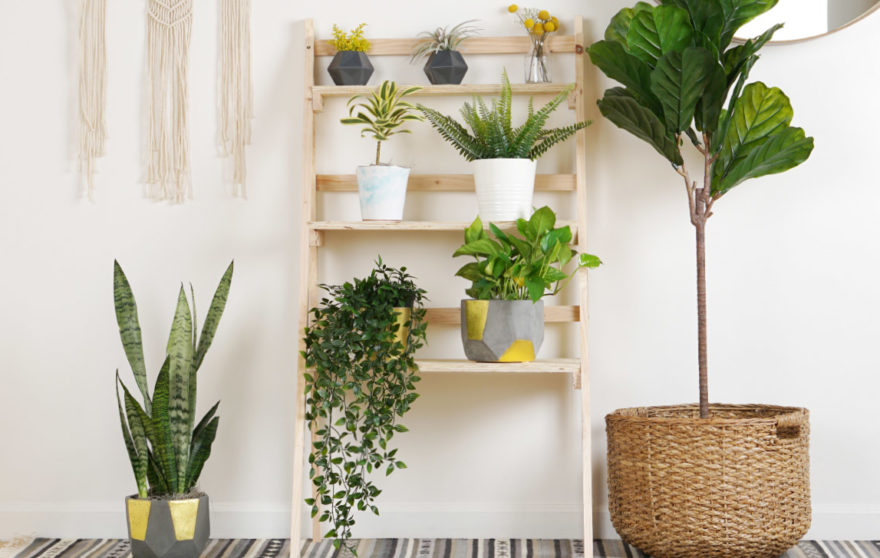
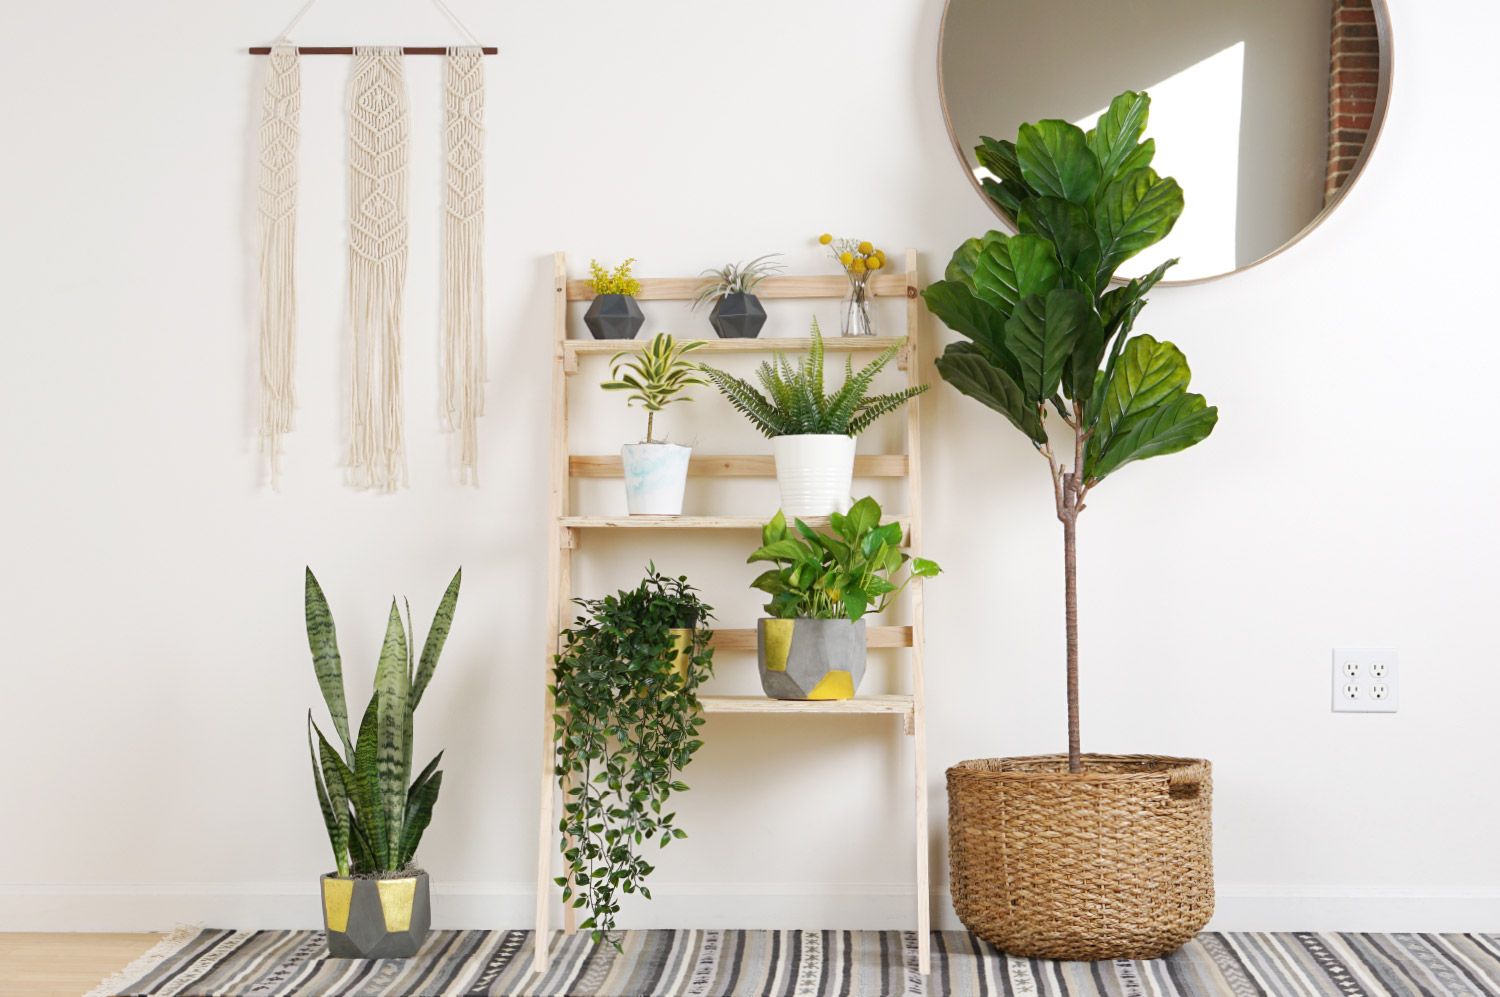
Now that you have a finished ladder plant stand, it’s time to pick a spot and display your greenery! Think entryway, bedroom or home office. Add variety to your ladder stand and style it with an array of plants and decorative planters that will make a lasting impression in any space. Use the styling inspiration below to help you get started.

i hope you loved this share from my friends at ProFlowers! it’s time for some spring cleaning and freshening up our homes! if you want to see more of the step-by-step instructions, grab the link under the video! a great way to spruce up our spaces for a new season! have fun!
time to diy!!