
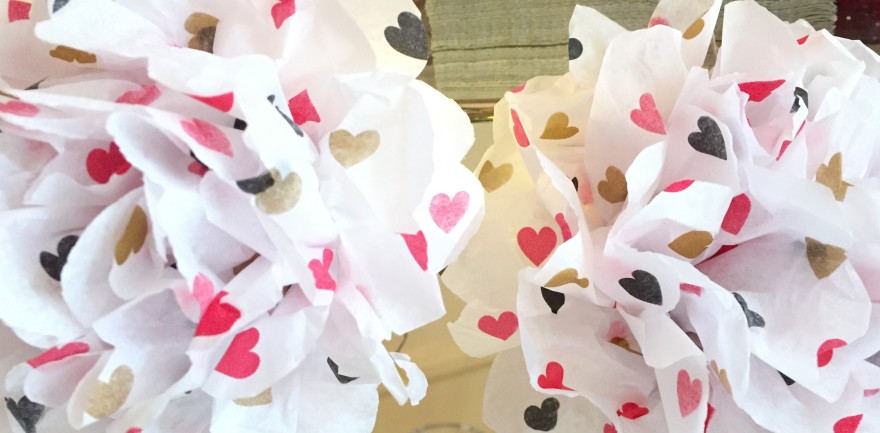
So I promised to show the EASY step-by-step instructions for tissue poms! It really is such a simple thing to do, and when you make them yourself you’ll save a load of money! The great thing about poms is that they look so festive and can make any occasion look extra special…even everyday celebrations can feel like a party when you hang a cluster of poms! And since they cost so little to create you can make plenty for ANY area of your home! I sometimes even hang them outside on my covered patio…if they get a little tattered from the elements I can just toss them out and make new! Take a look at these simple instructions…even minor mishaps can be covered up with ease! Grab your favorite tissue colors and patters and…
get your festive on with poms…
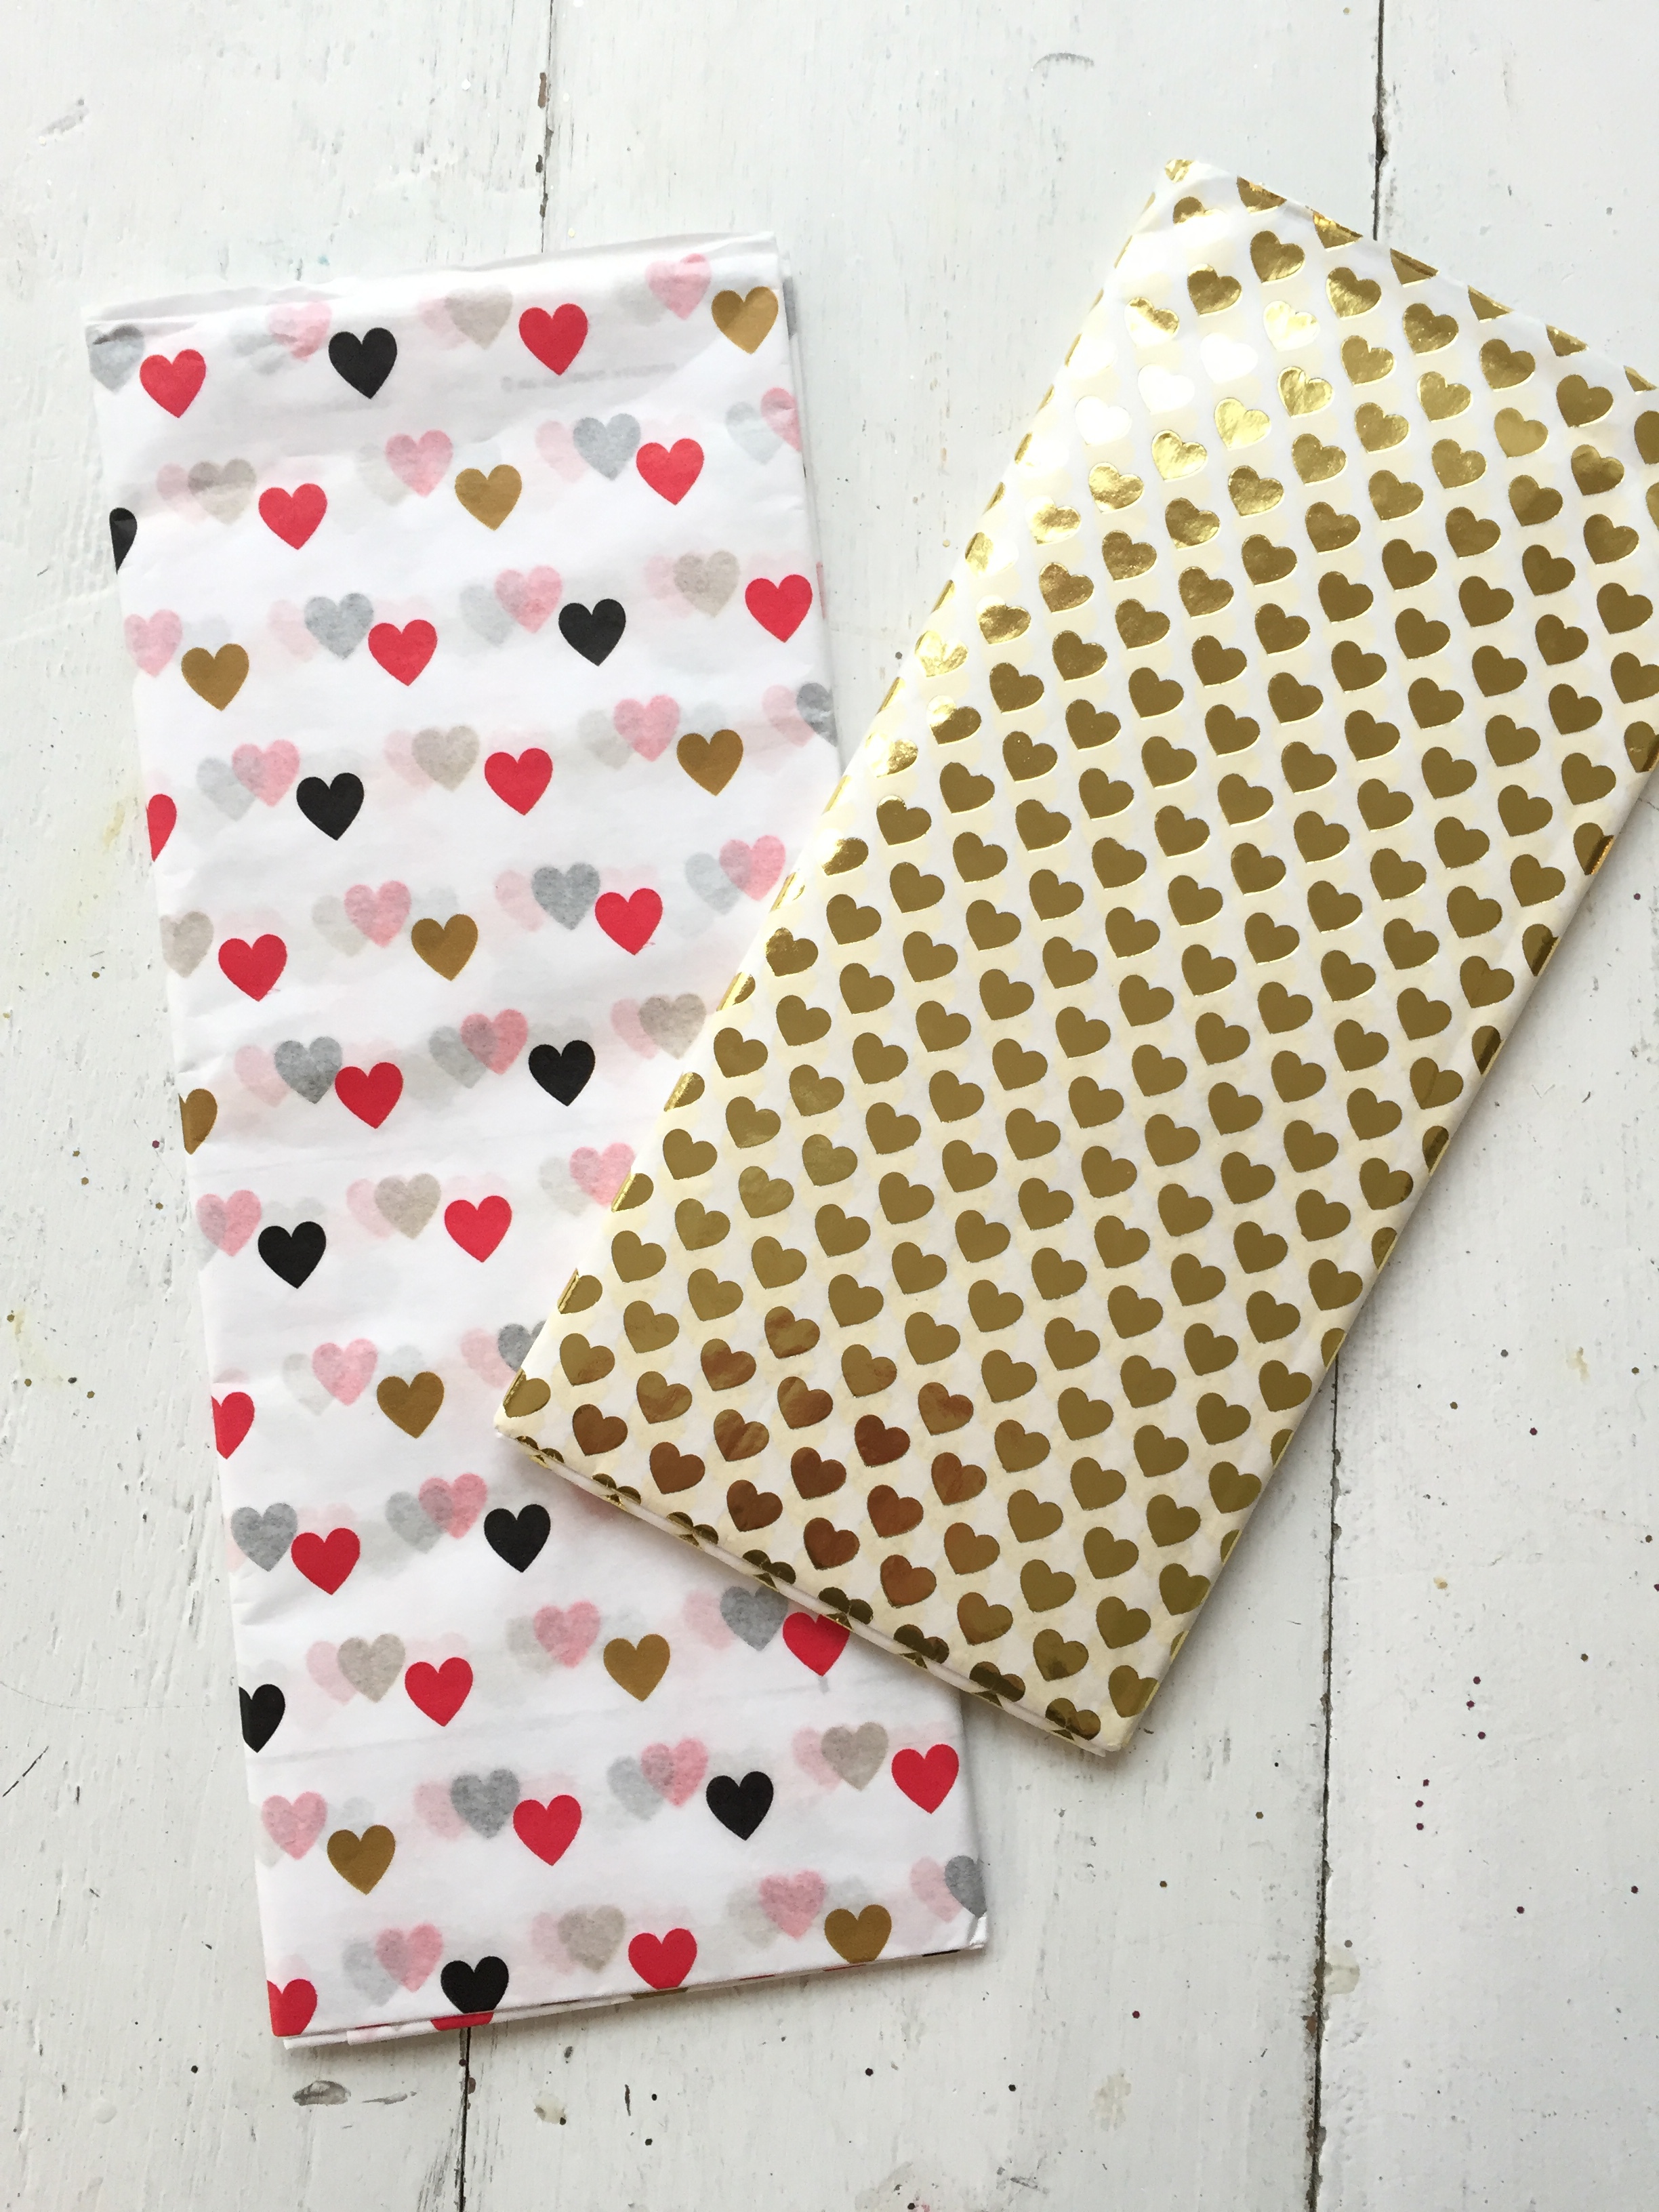
all you need to make tissue poms is tissue paper, scissors, and string, twine, wire, or ribbon. the best thing about making your own is that you can get totally custom with the paper…you can even mix different colors of tissue into one pom so your creations really represent your decor or celebration! since Valentine’s Day is about a month away, i decided to use paper just right for the holiday and for my rooms. (the gold tissue from Target and the red, black, & gold found at Meijer Stores)
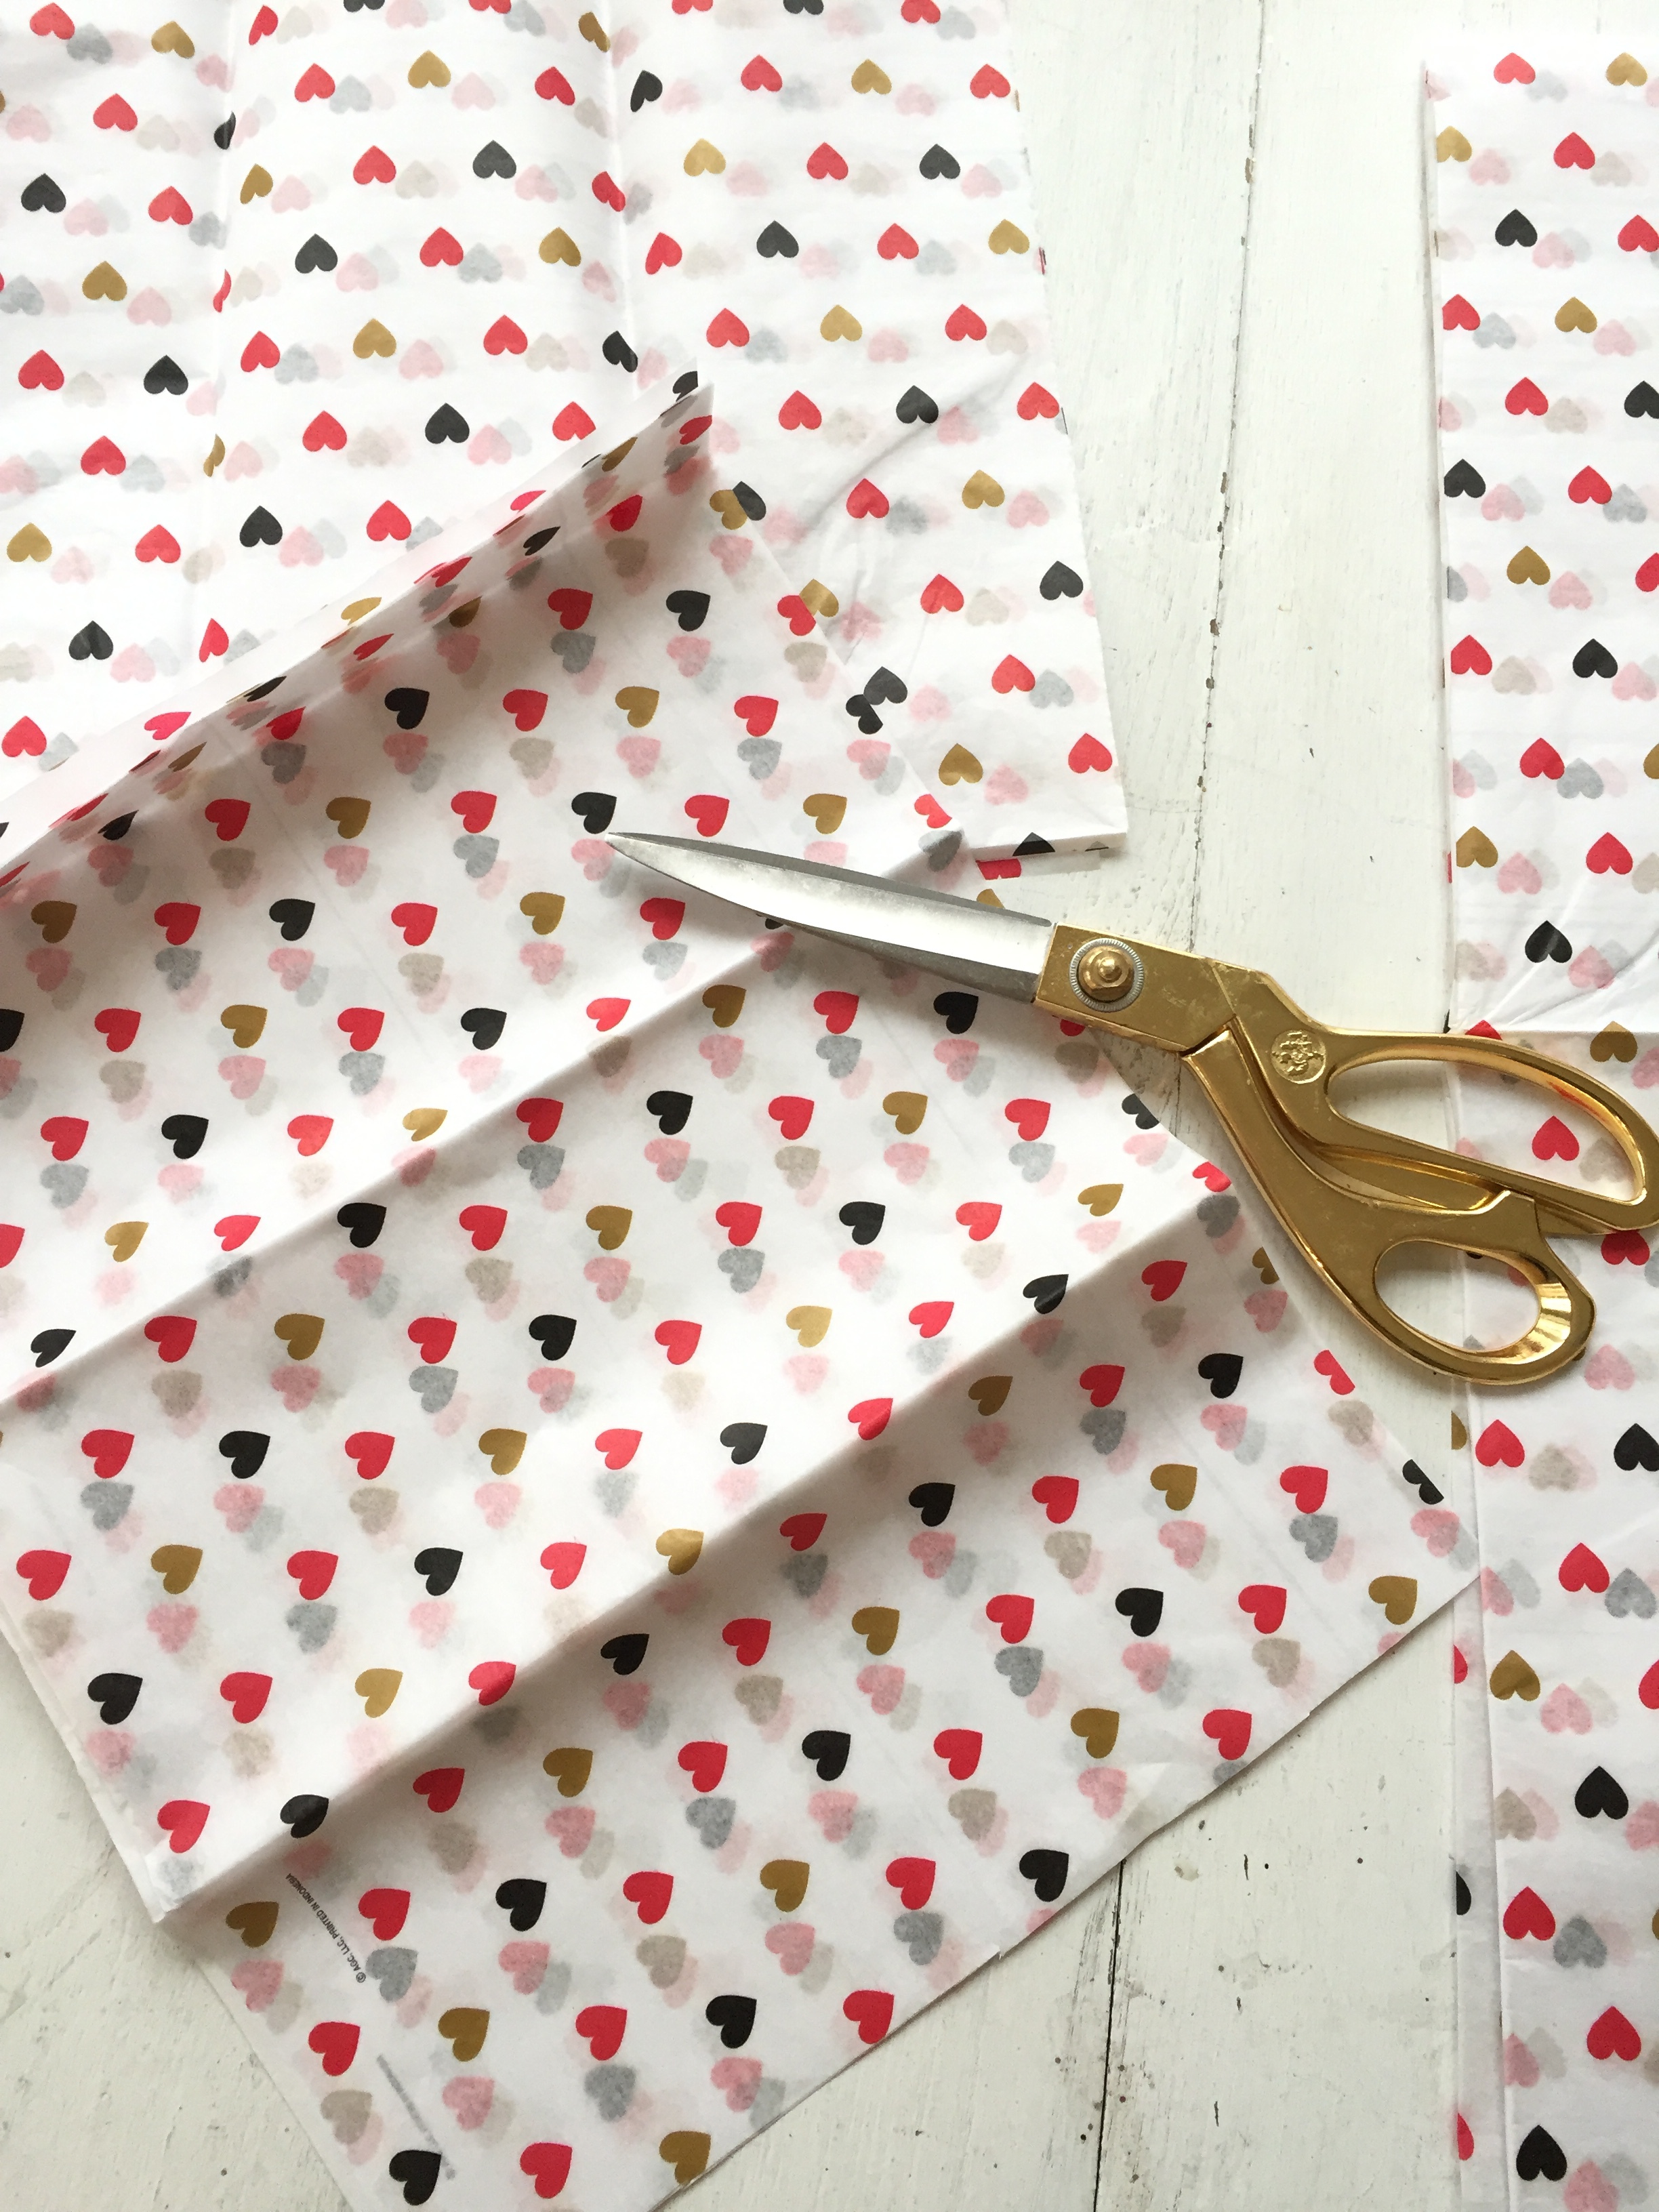
typically i like to work with 6-8 sheets of tissue paper…depending on the size of pom you want to create you can cut the stack of tissue in half, quarters, and even eighths. i’ll show several sizes i made for my room, starting with a medium pom. i could make two poms out of one pack of the multi-colored heart paper by cutting it in quarters…
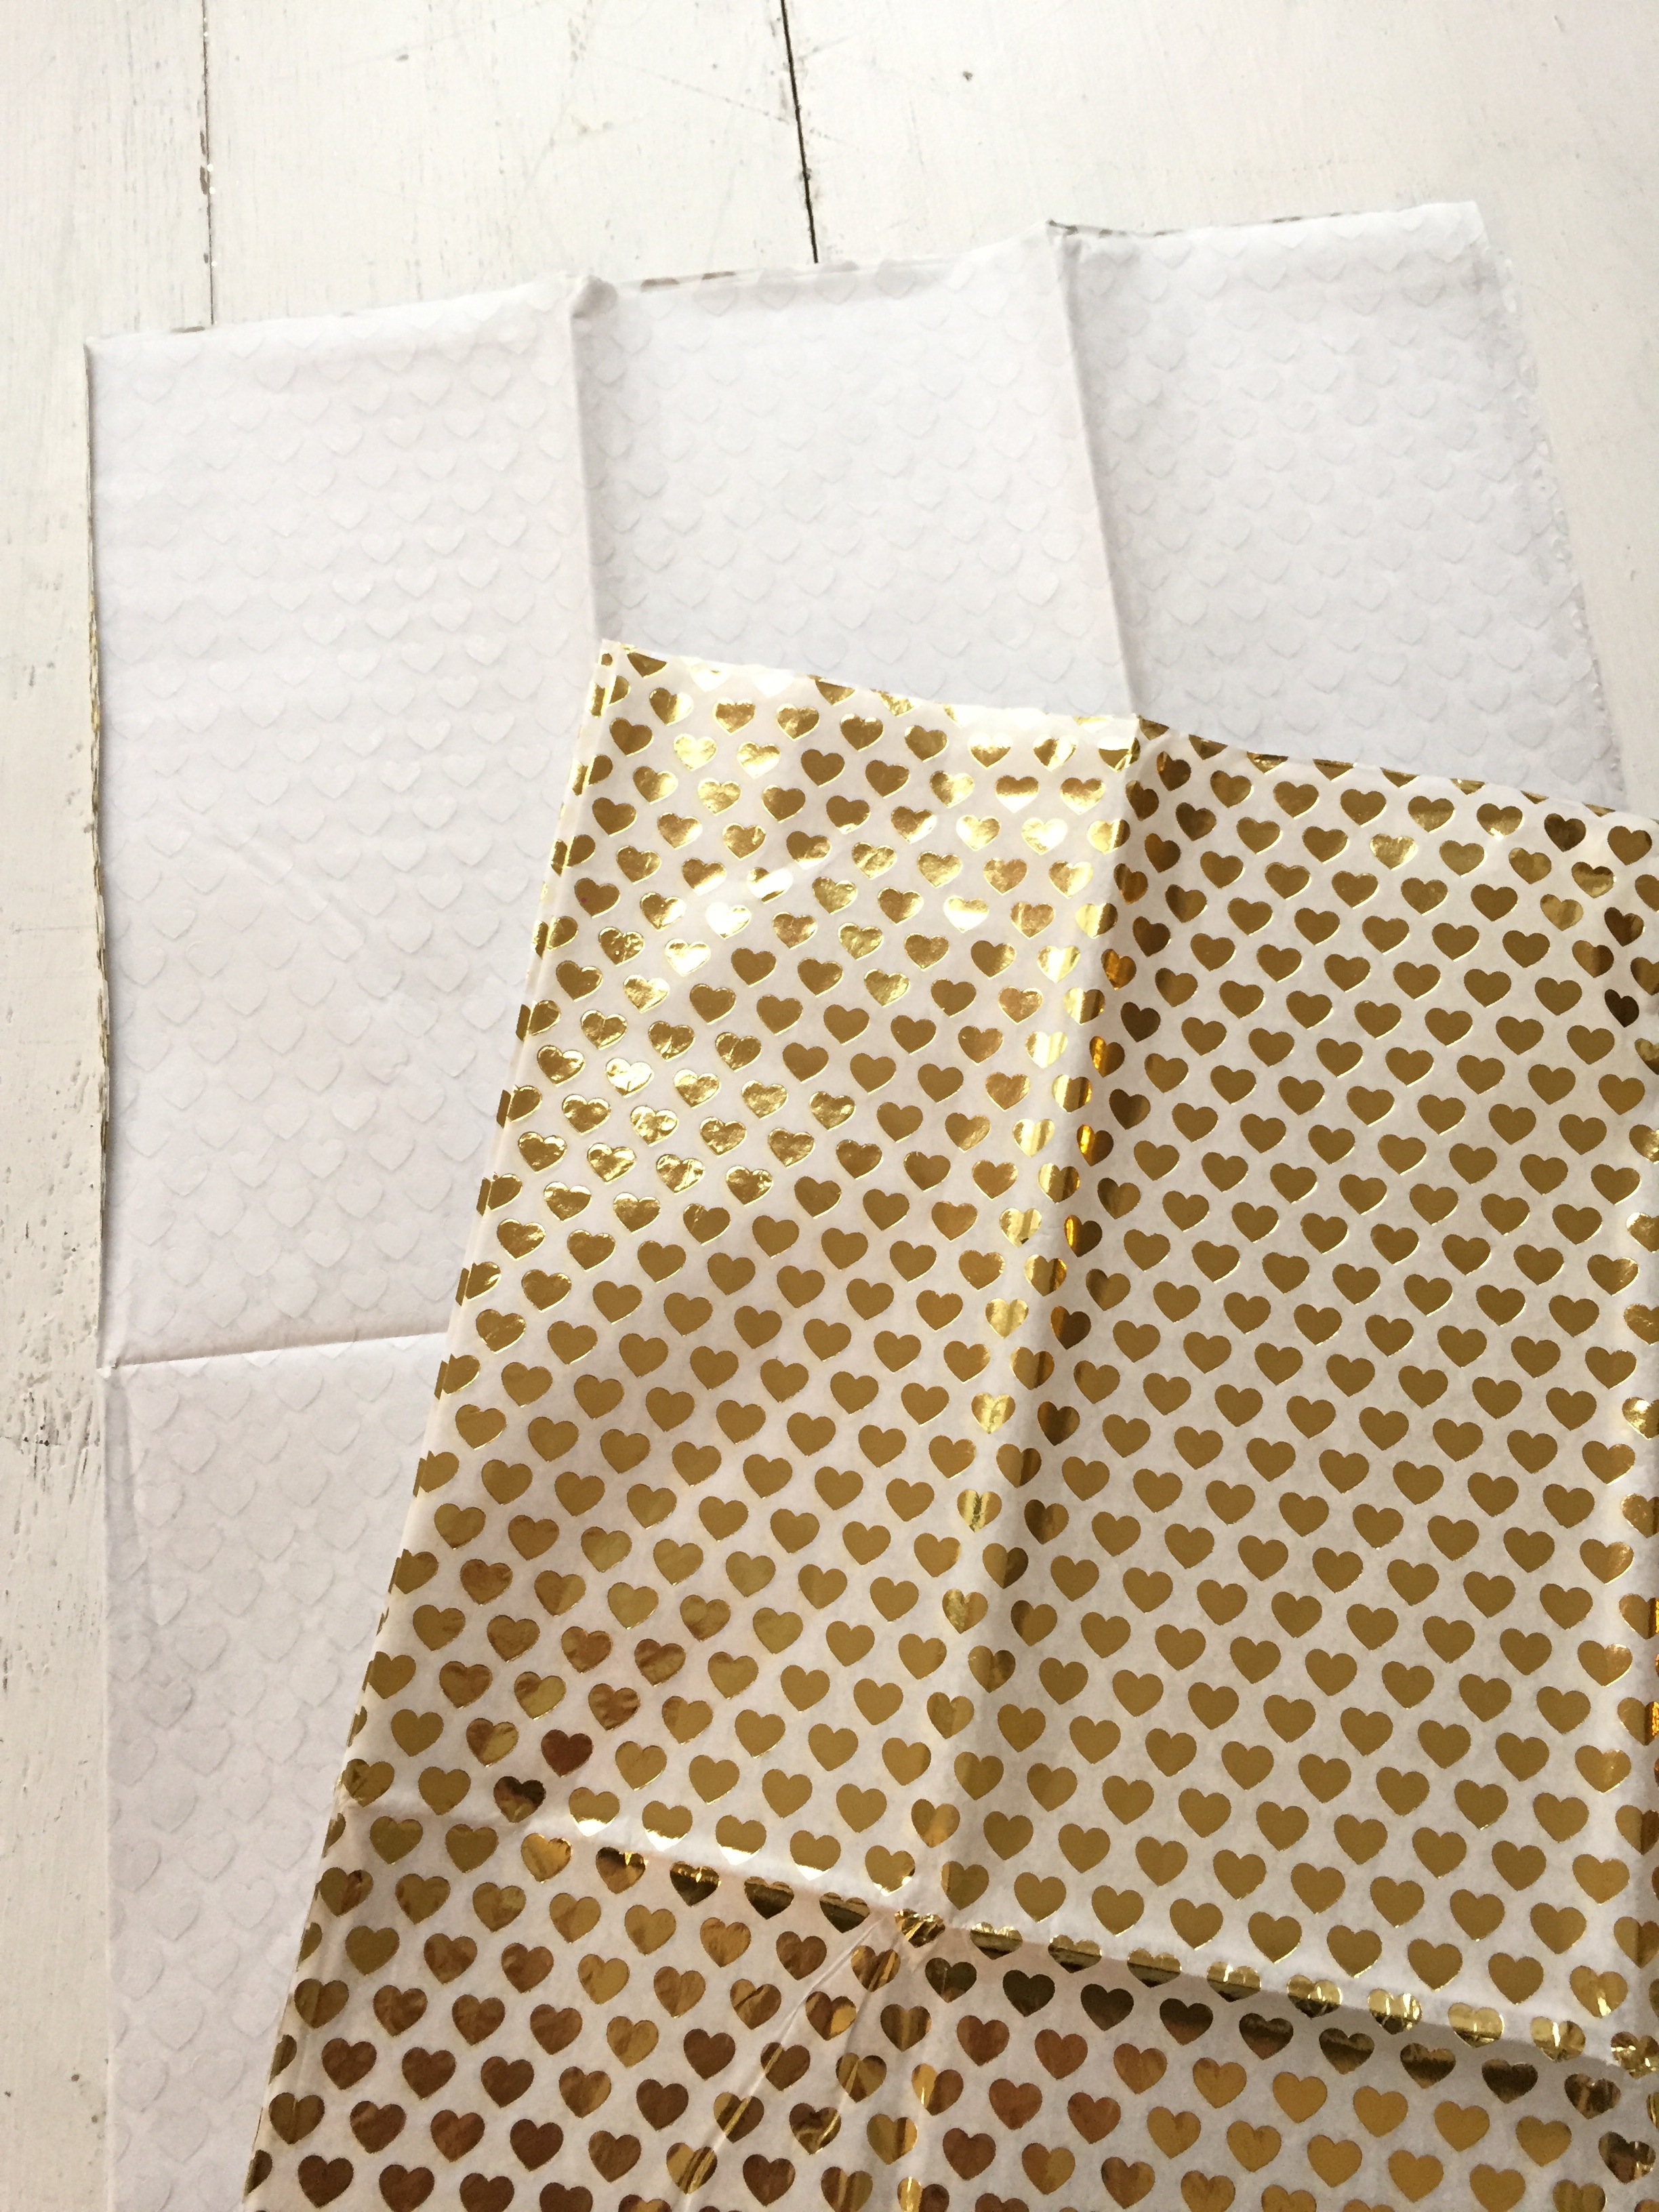
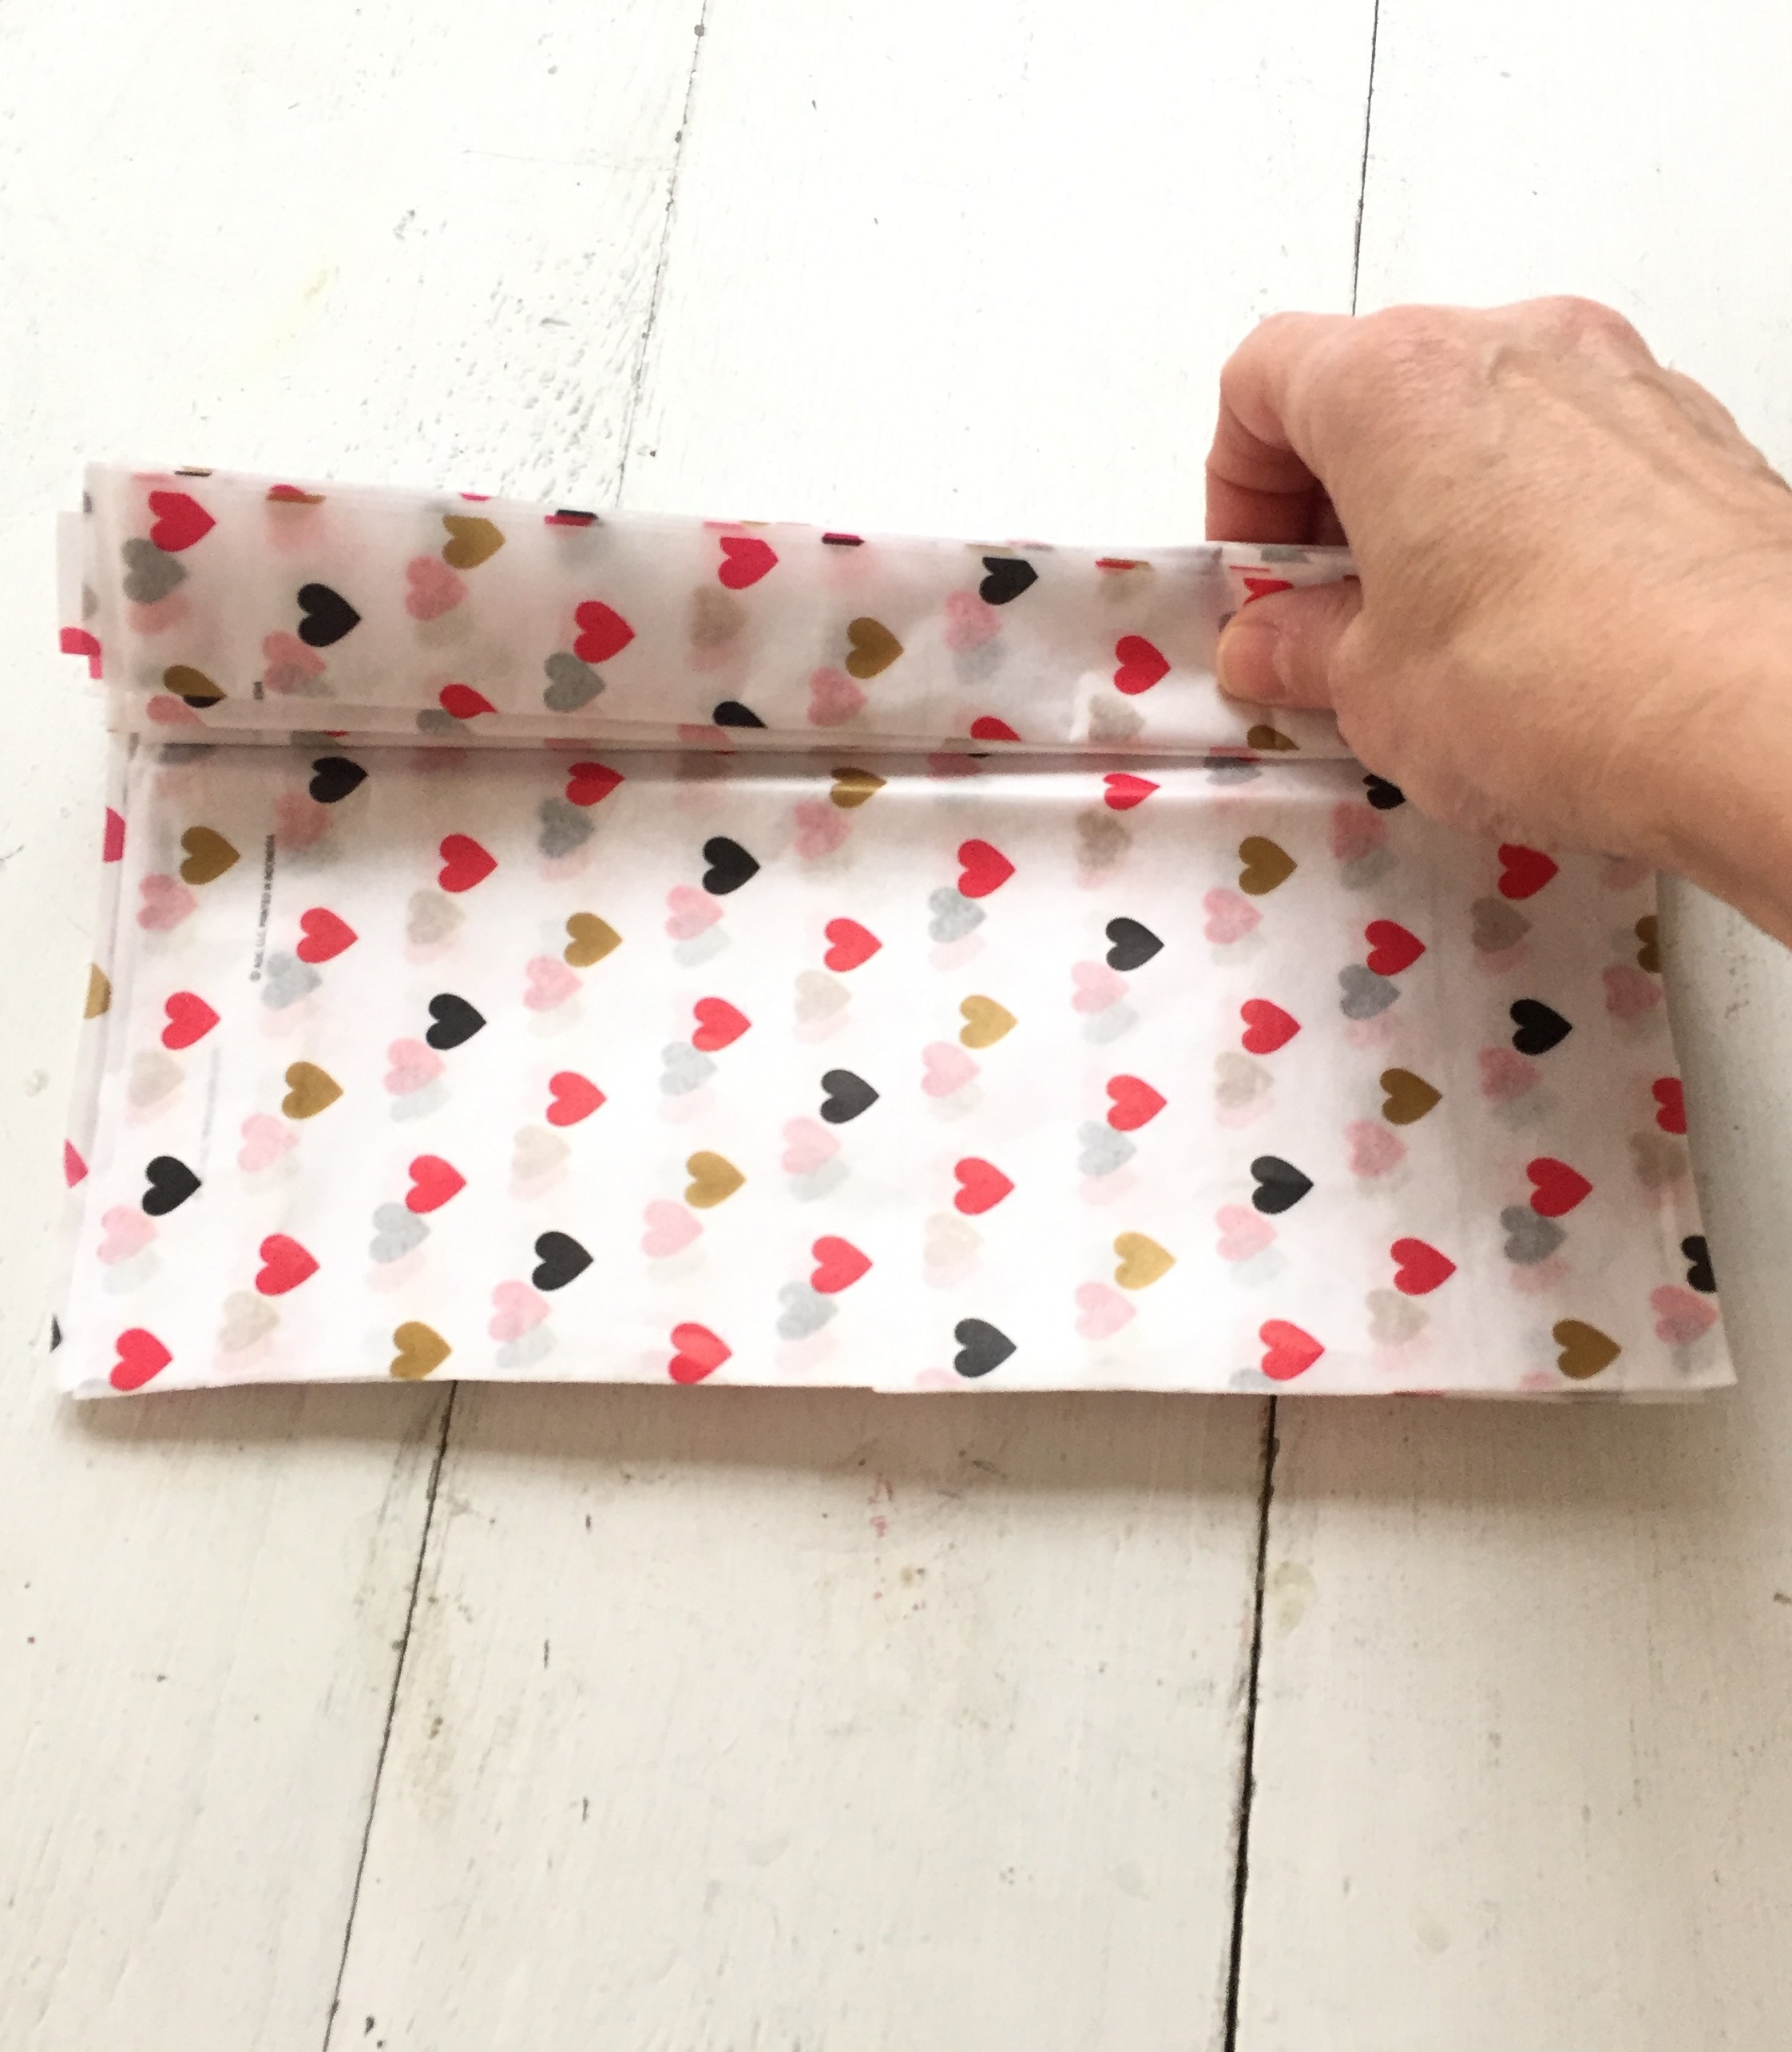
layer two quarters together (in this case each pom had 12 sheets per pom). if you’re using tissue with a one-sided pattern, lay one quarter pattern-side down on the bottom and the other pattern-side up on the top…(i’m showing the other gold paper here since it’s easier to see the backside)
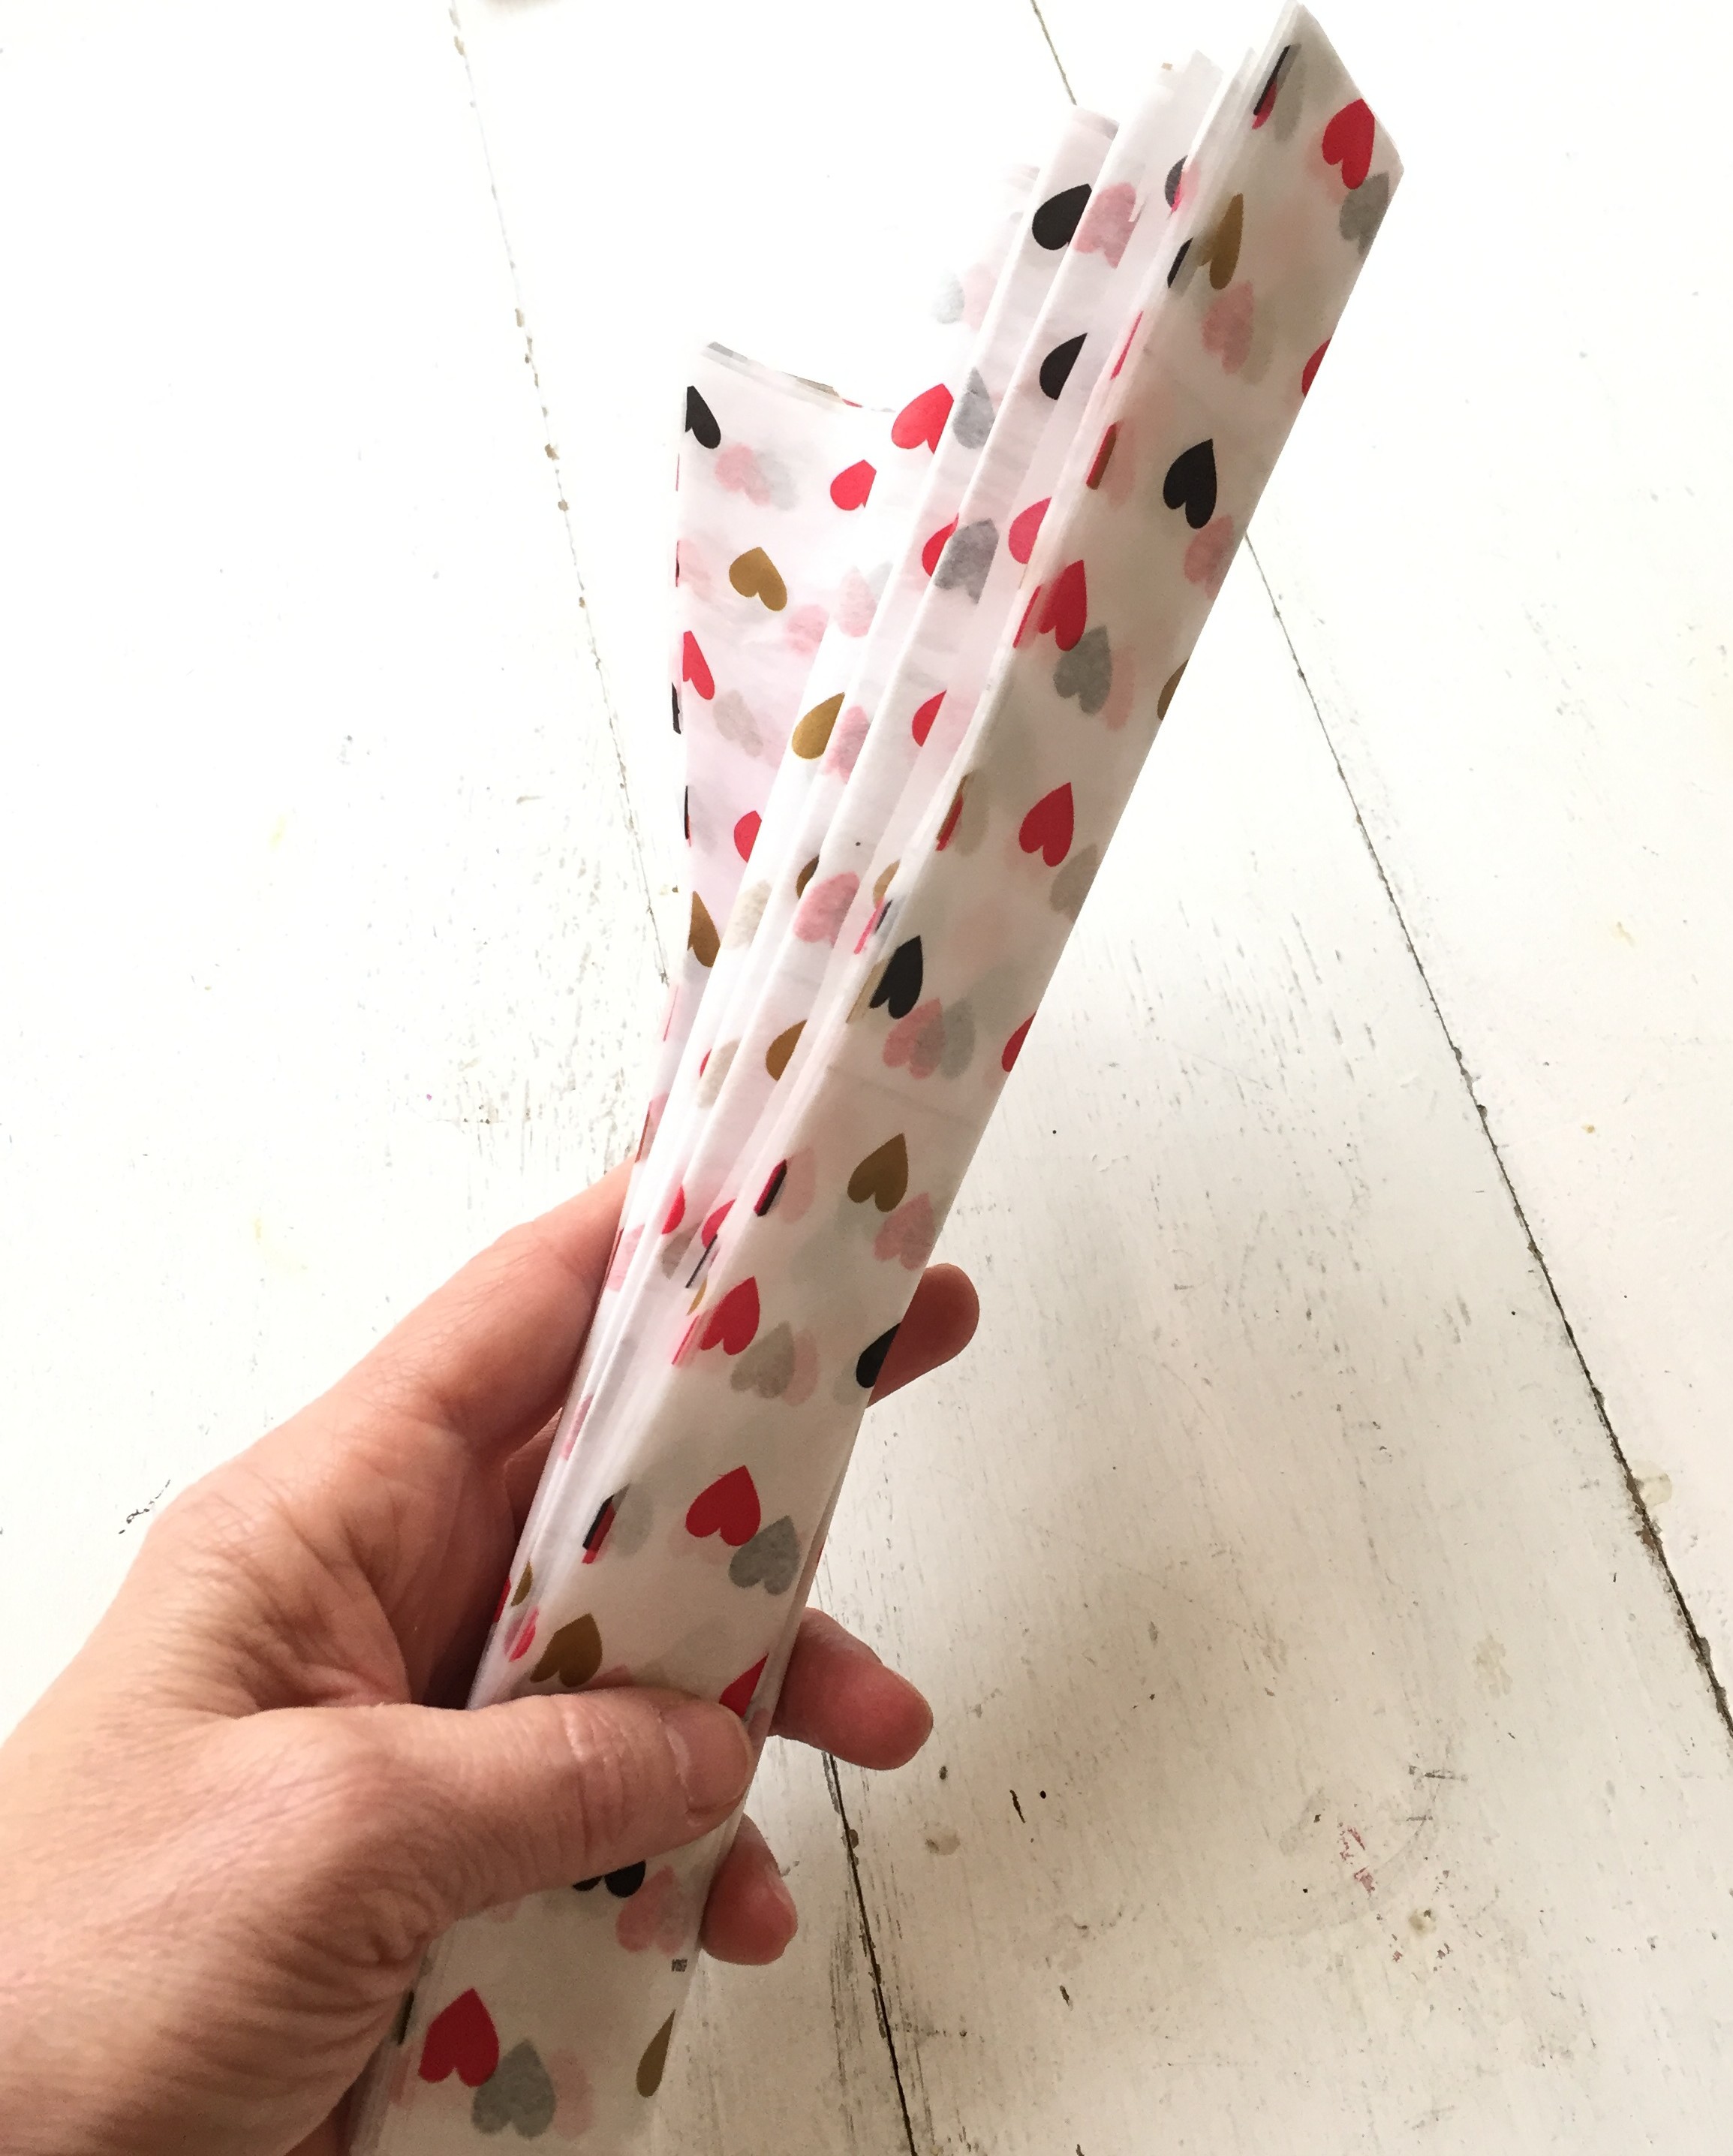
then fold your sheets just like a fan…
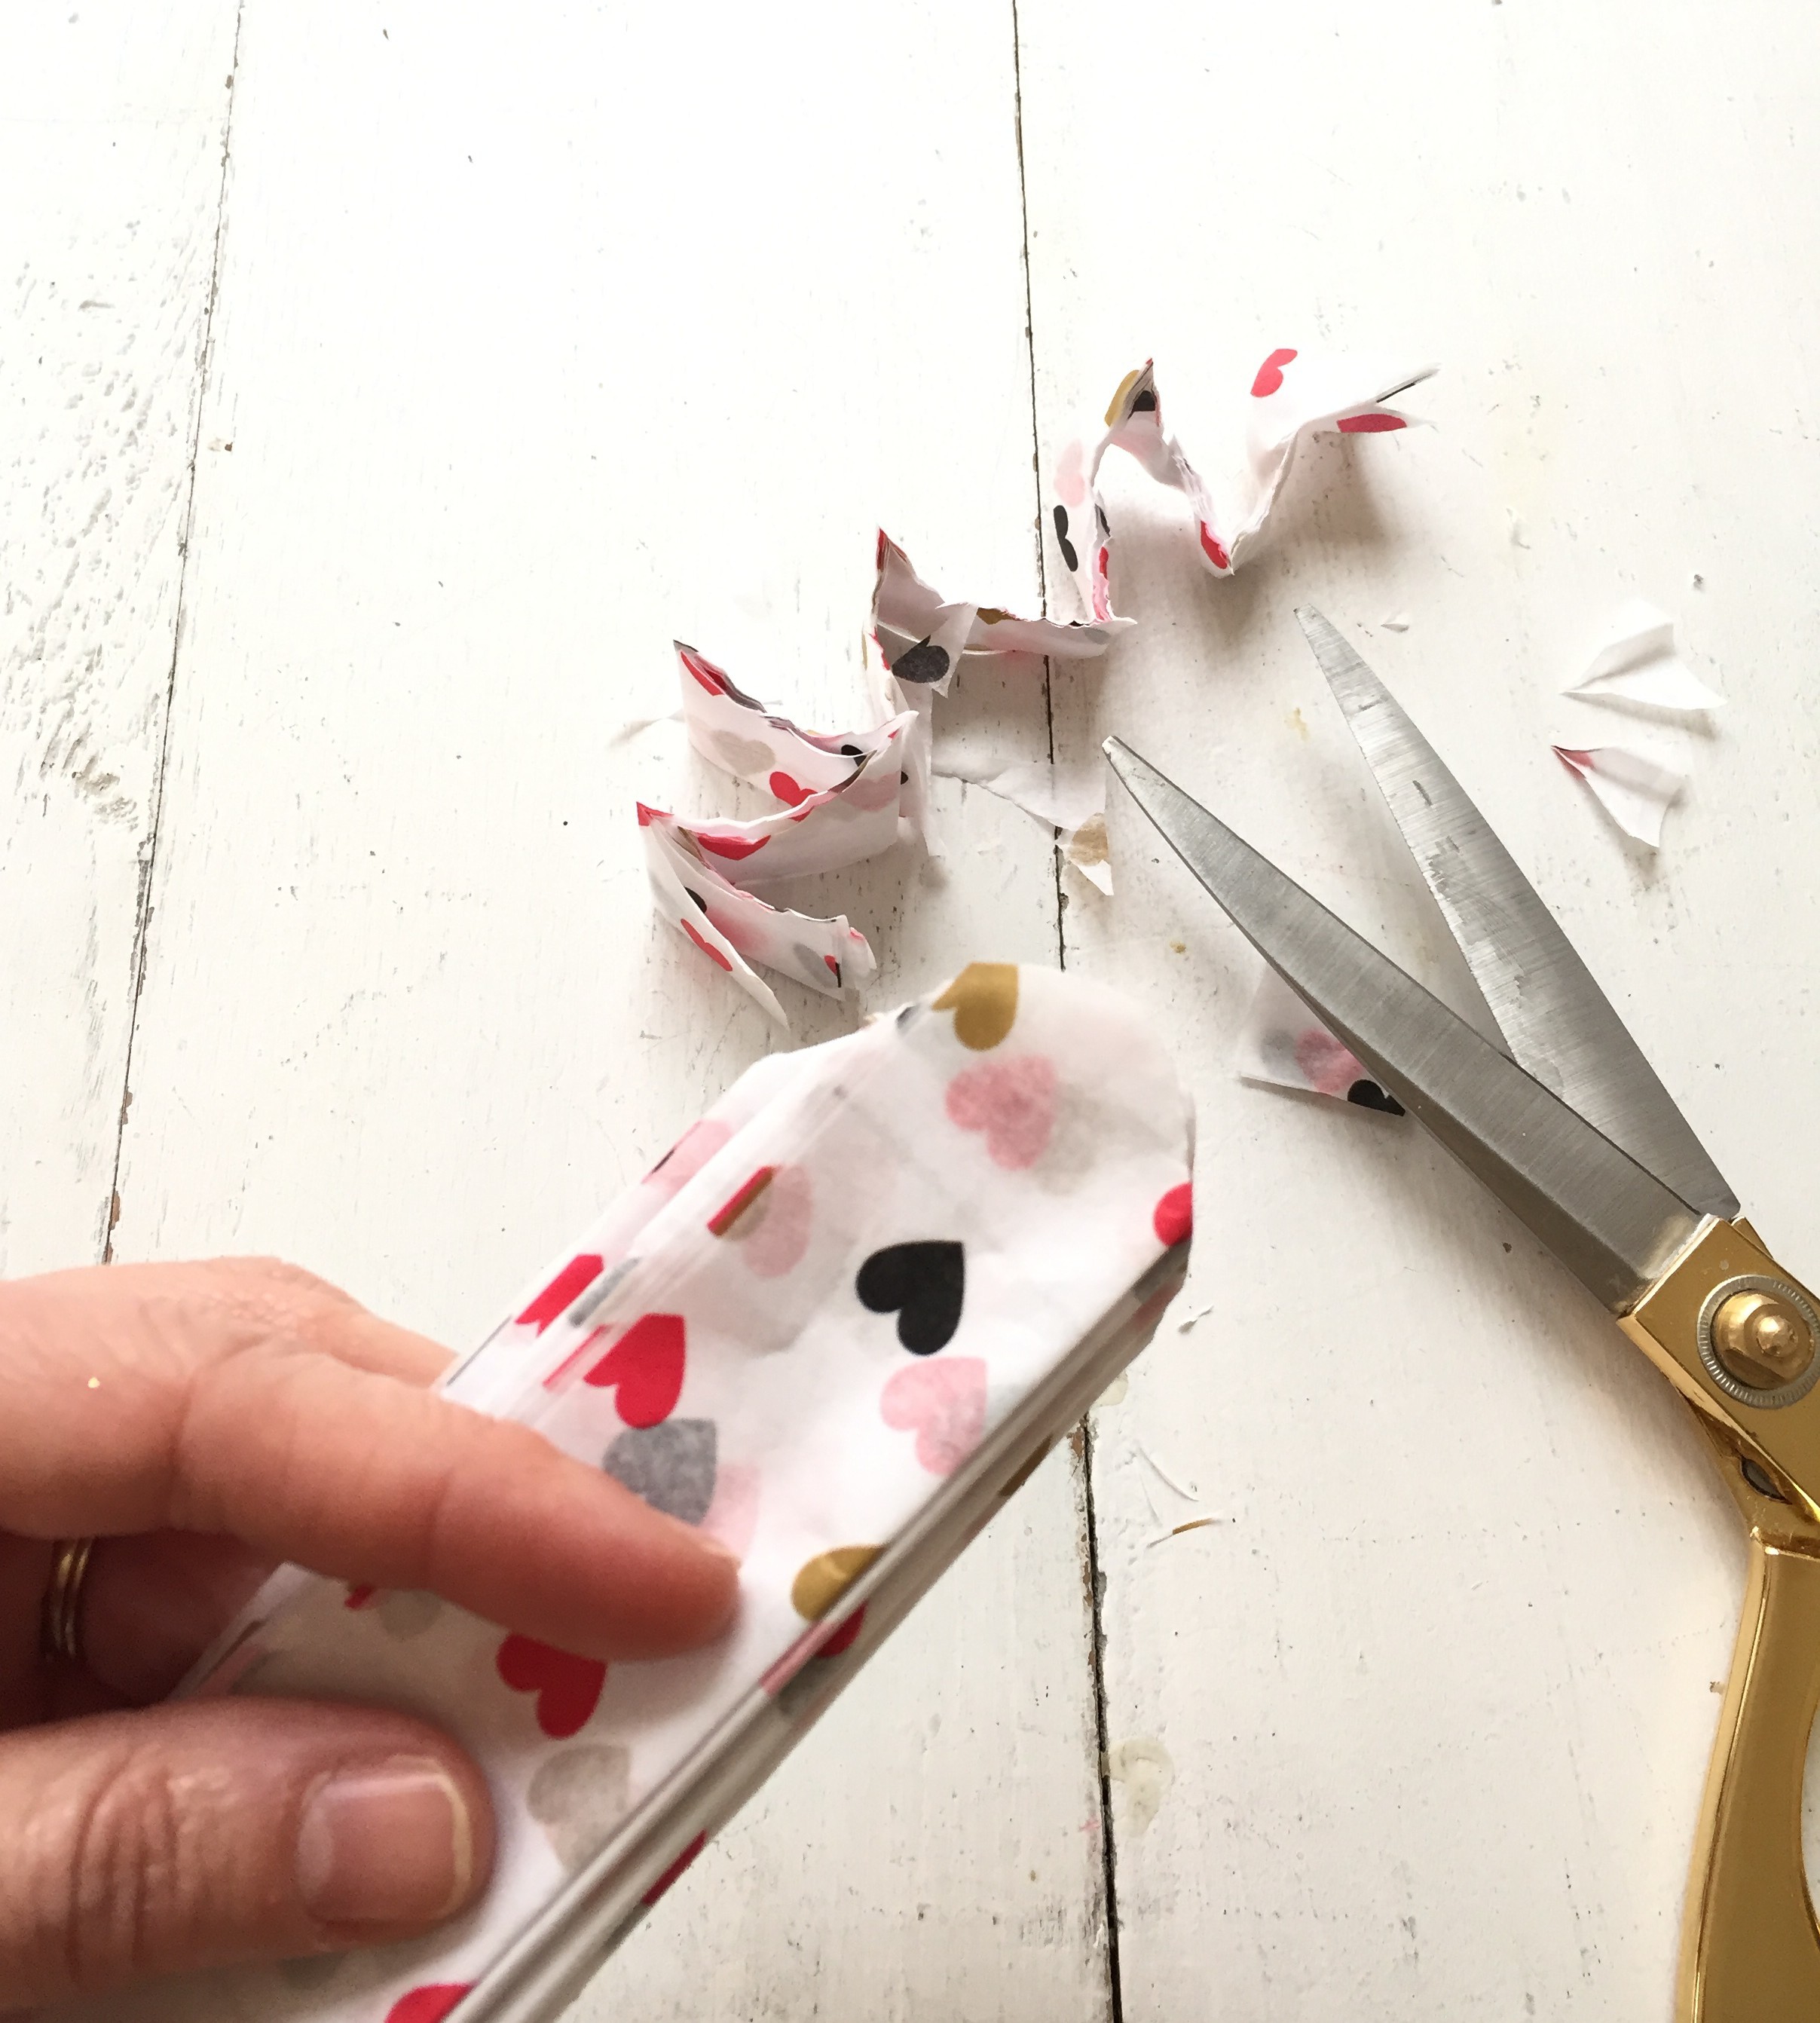
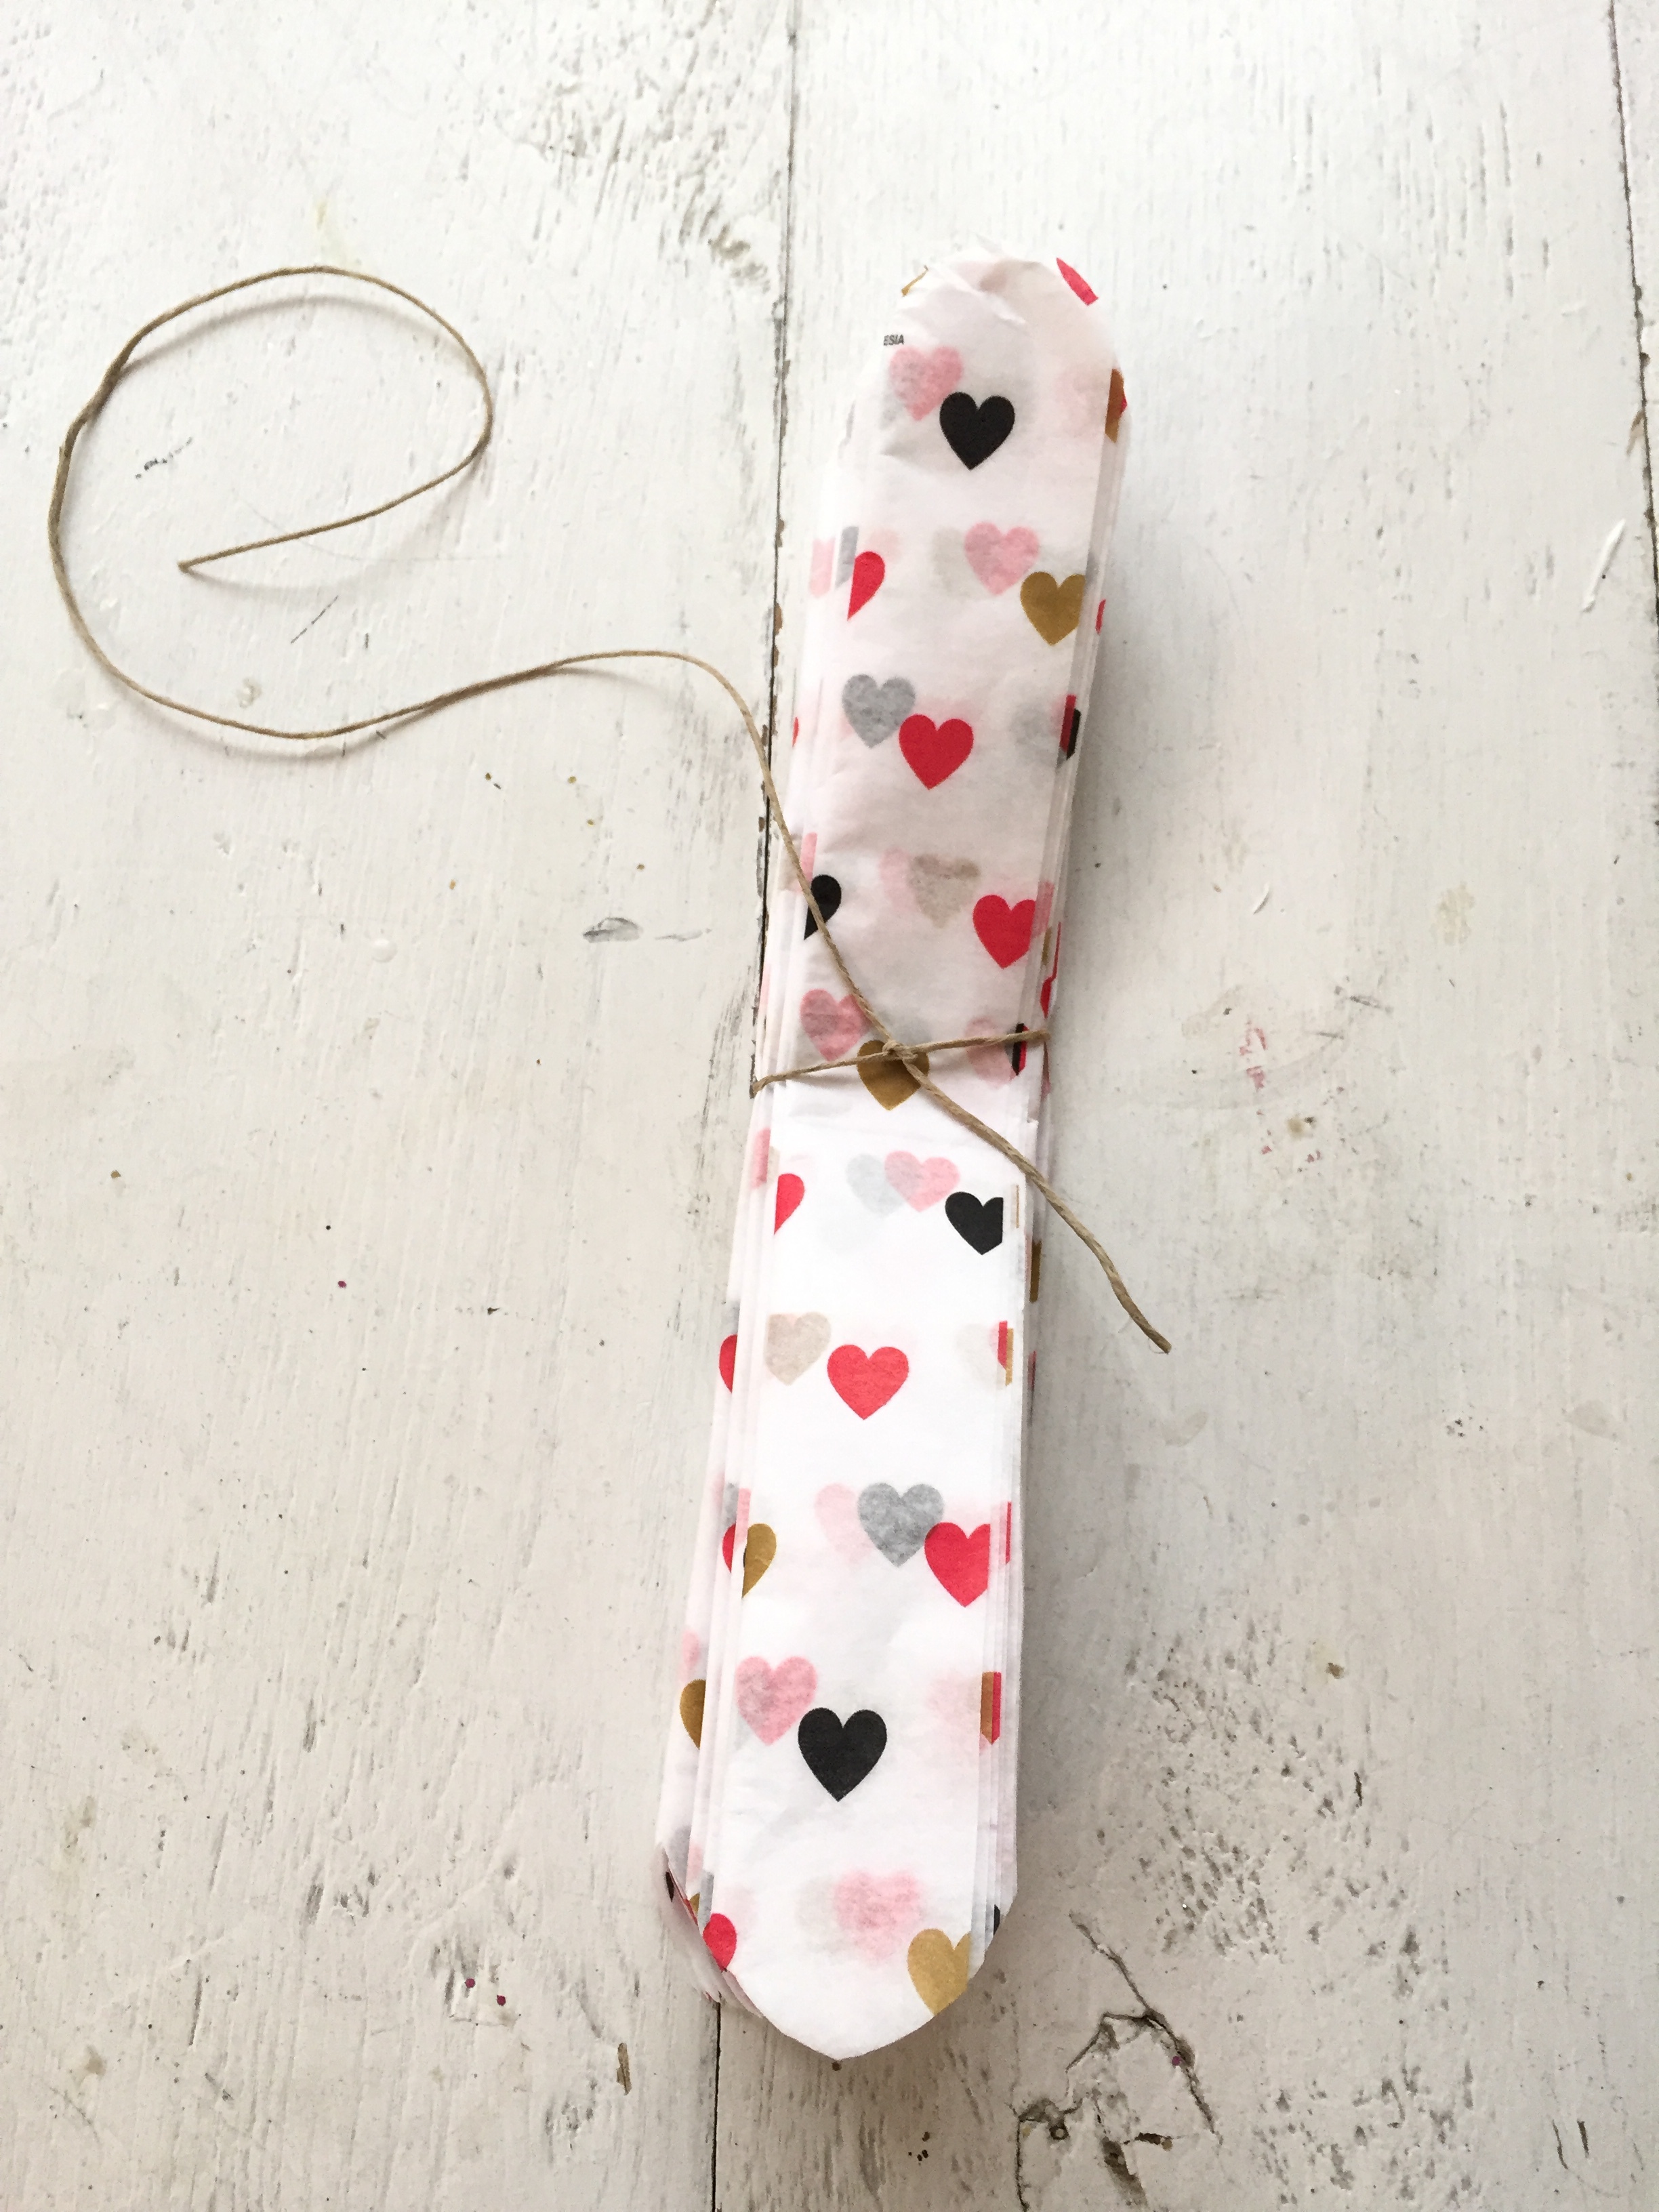
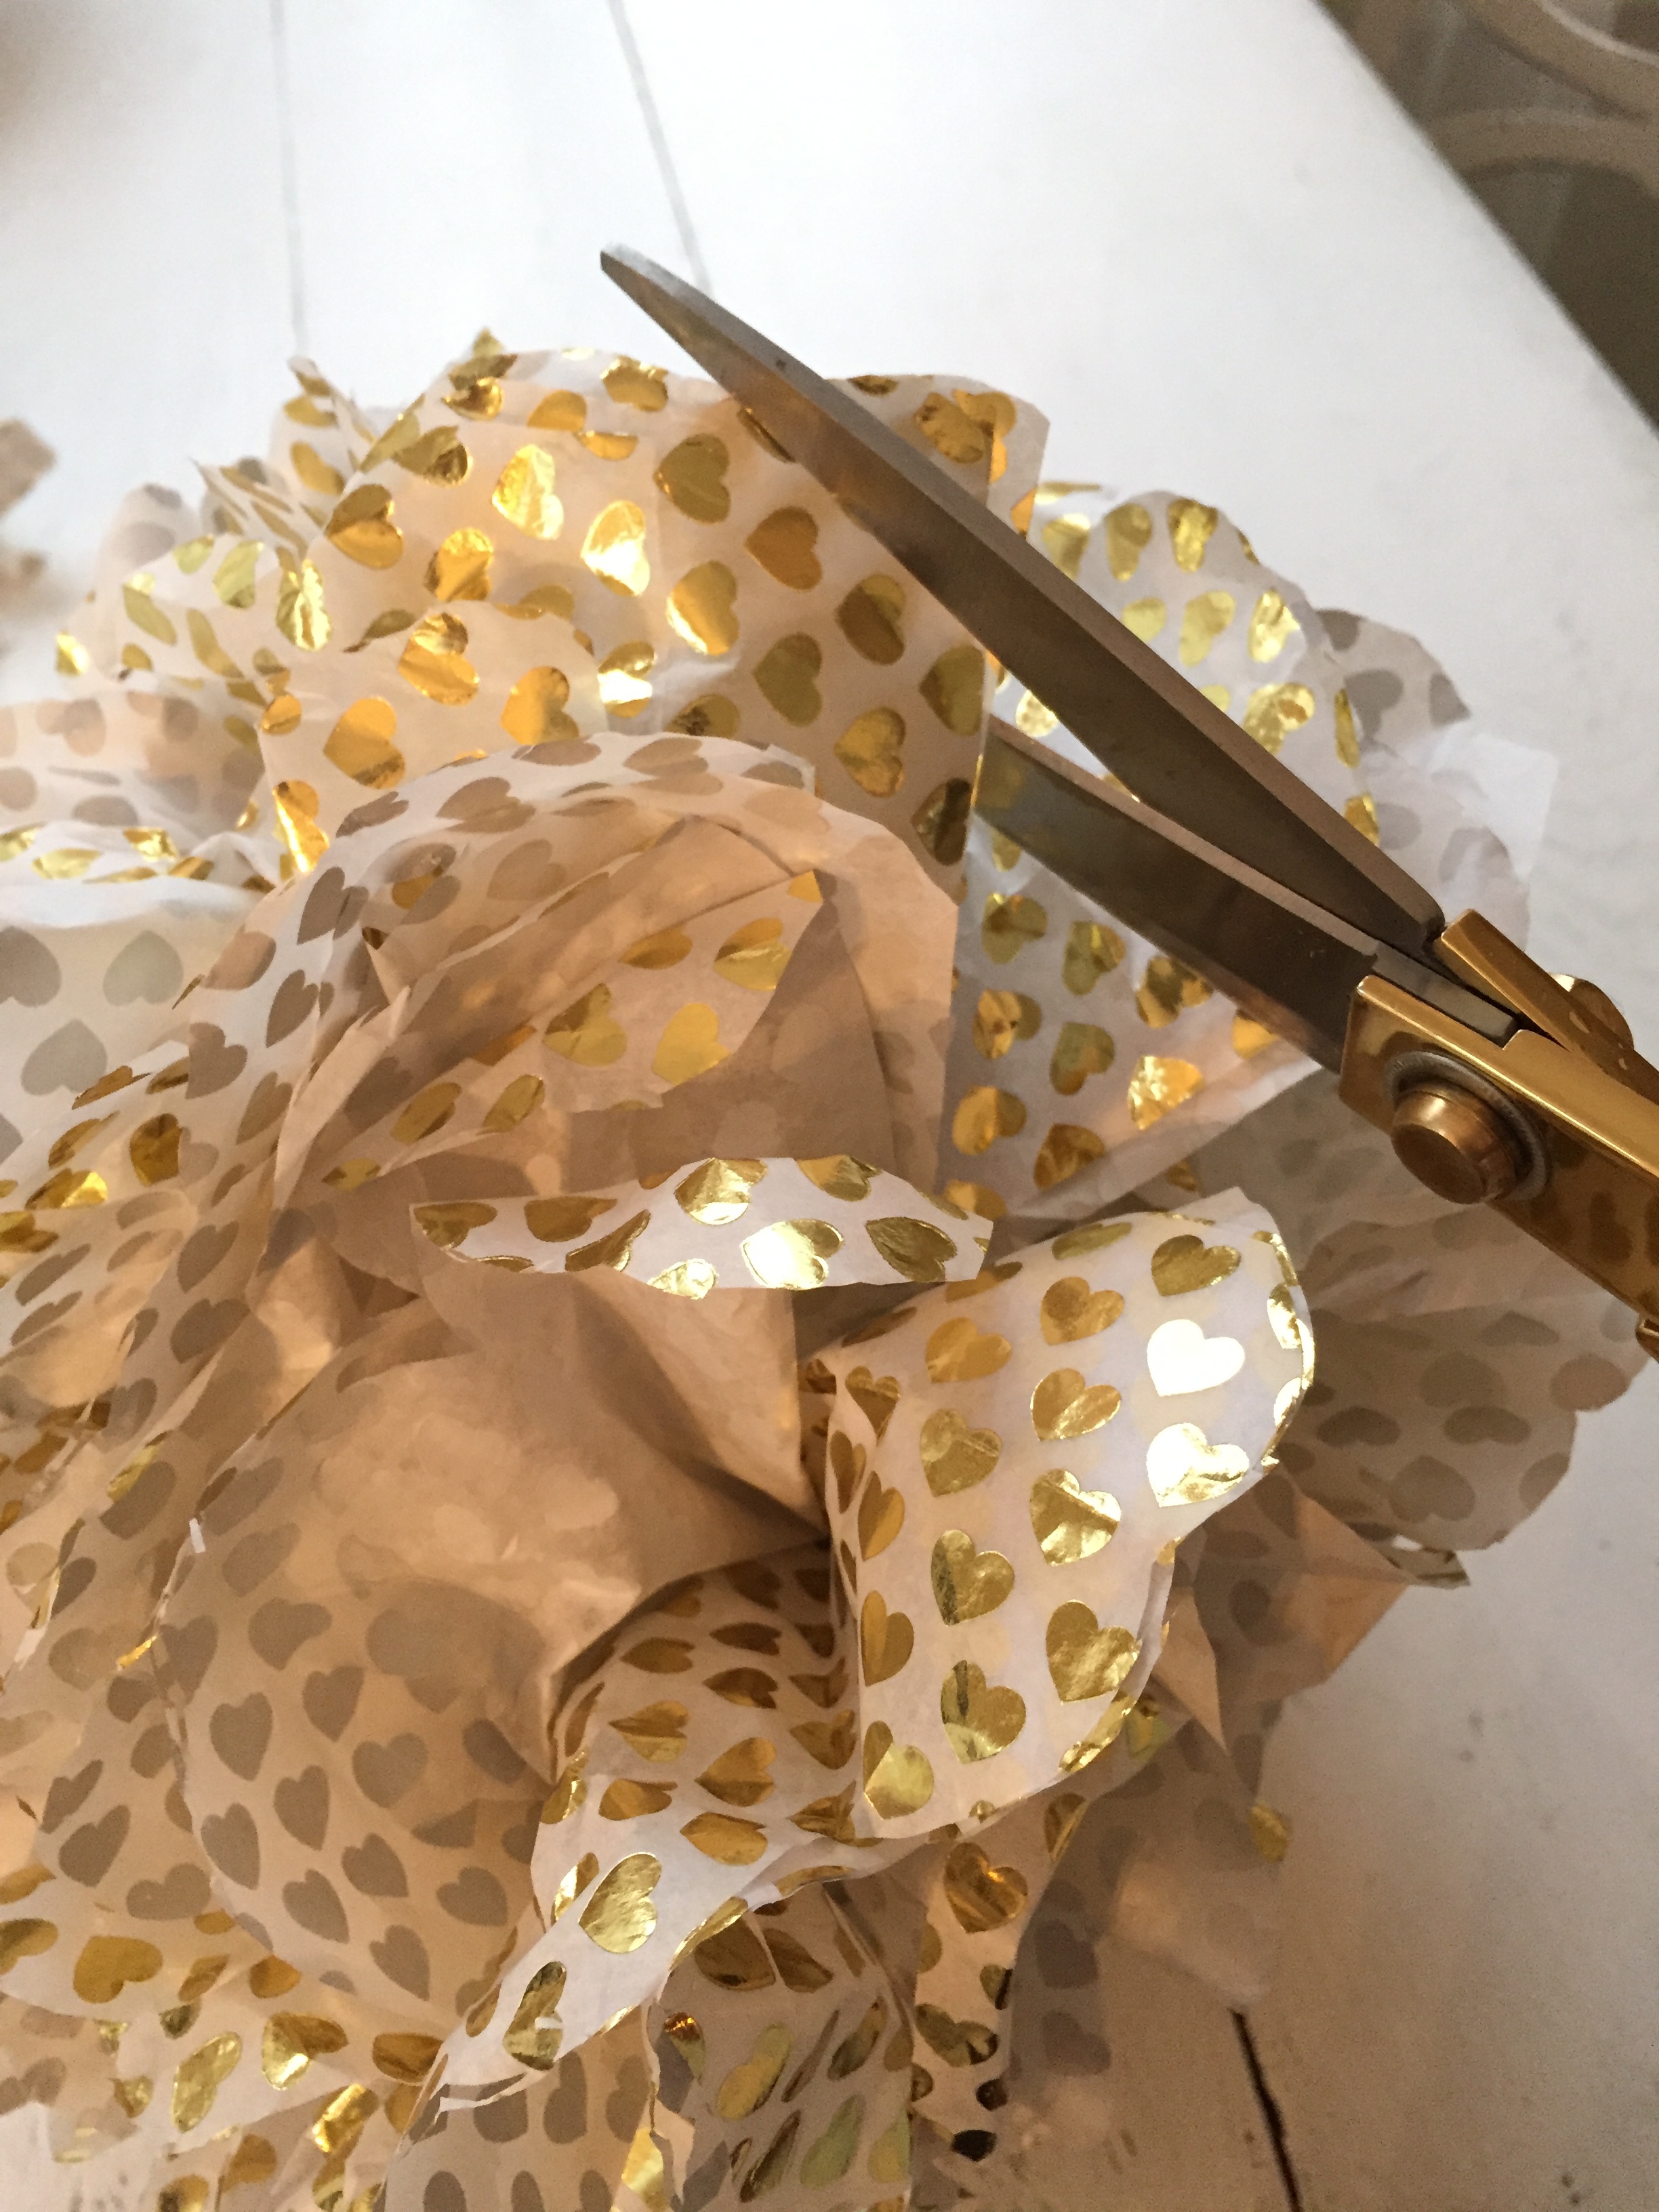
then with some sharp scissors you can trim the end into a rounded shape…remember it doesn’t have to be perfect!
take your twine or ribbon and tie it in the the center. remember if you’re going to be hanging these you may need a much longer piece of string than i’m showing…
you can now fan your tissue out a bit like a pinwheel
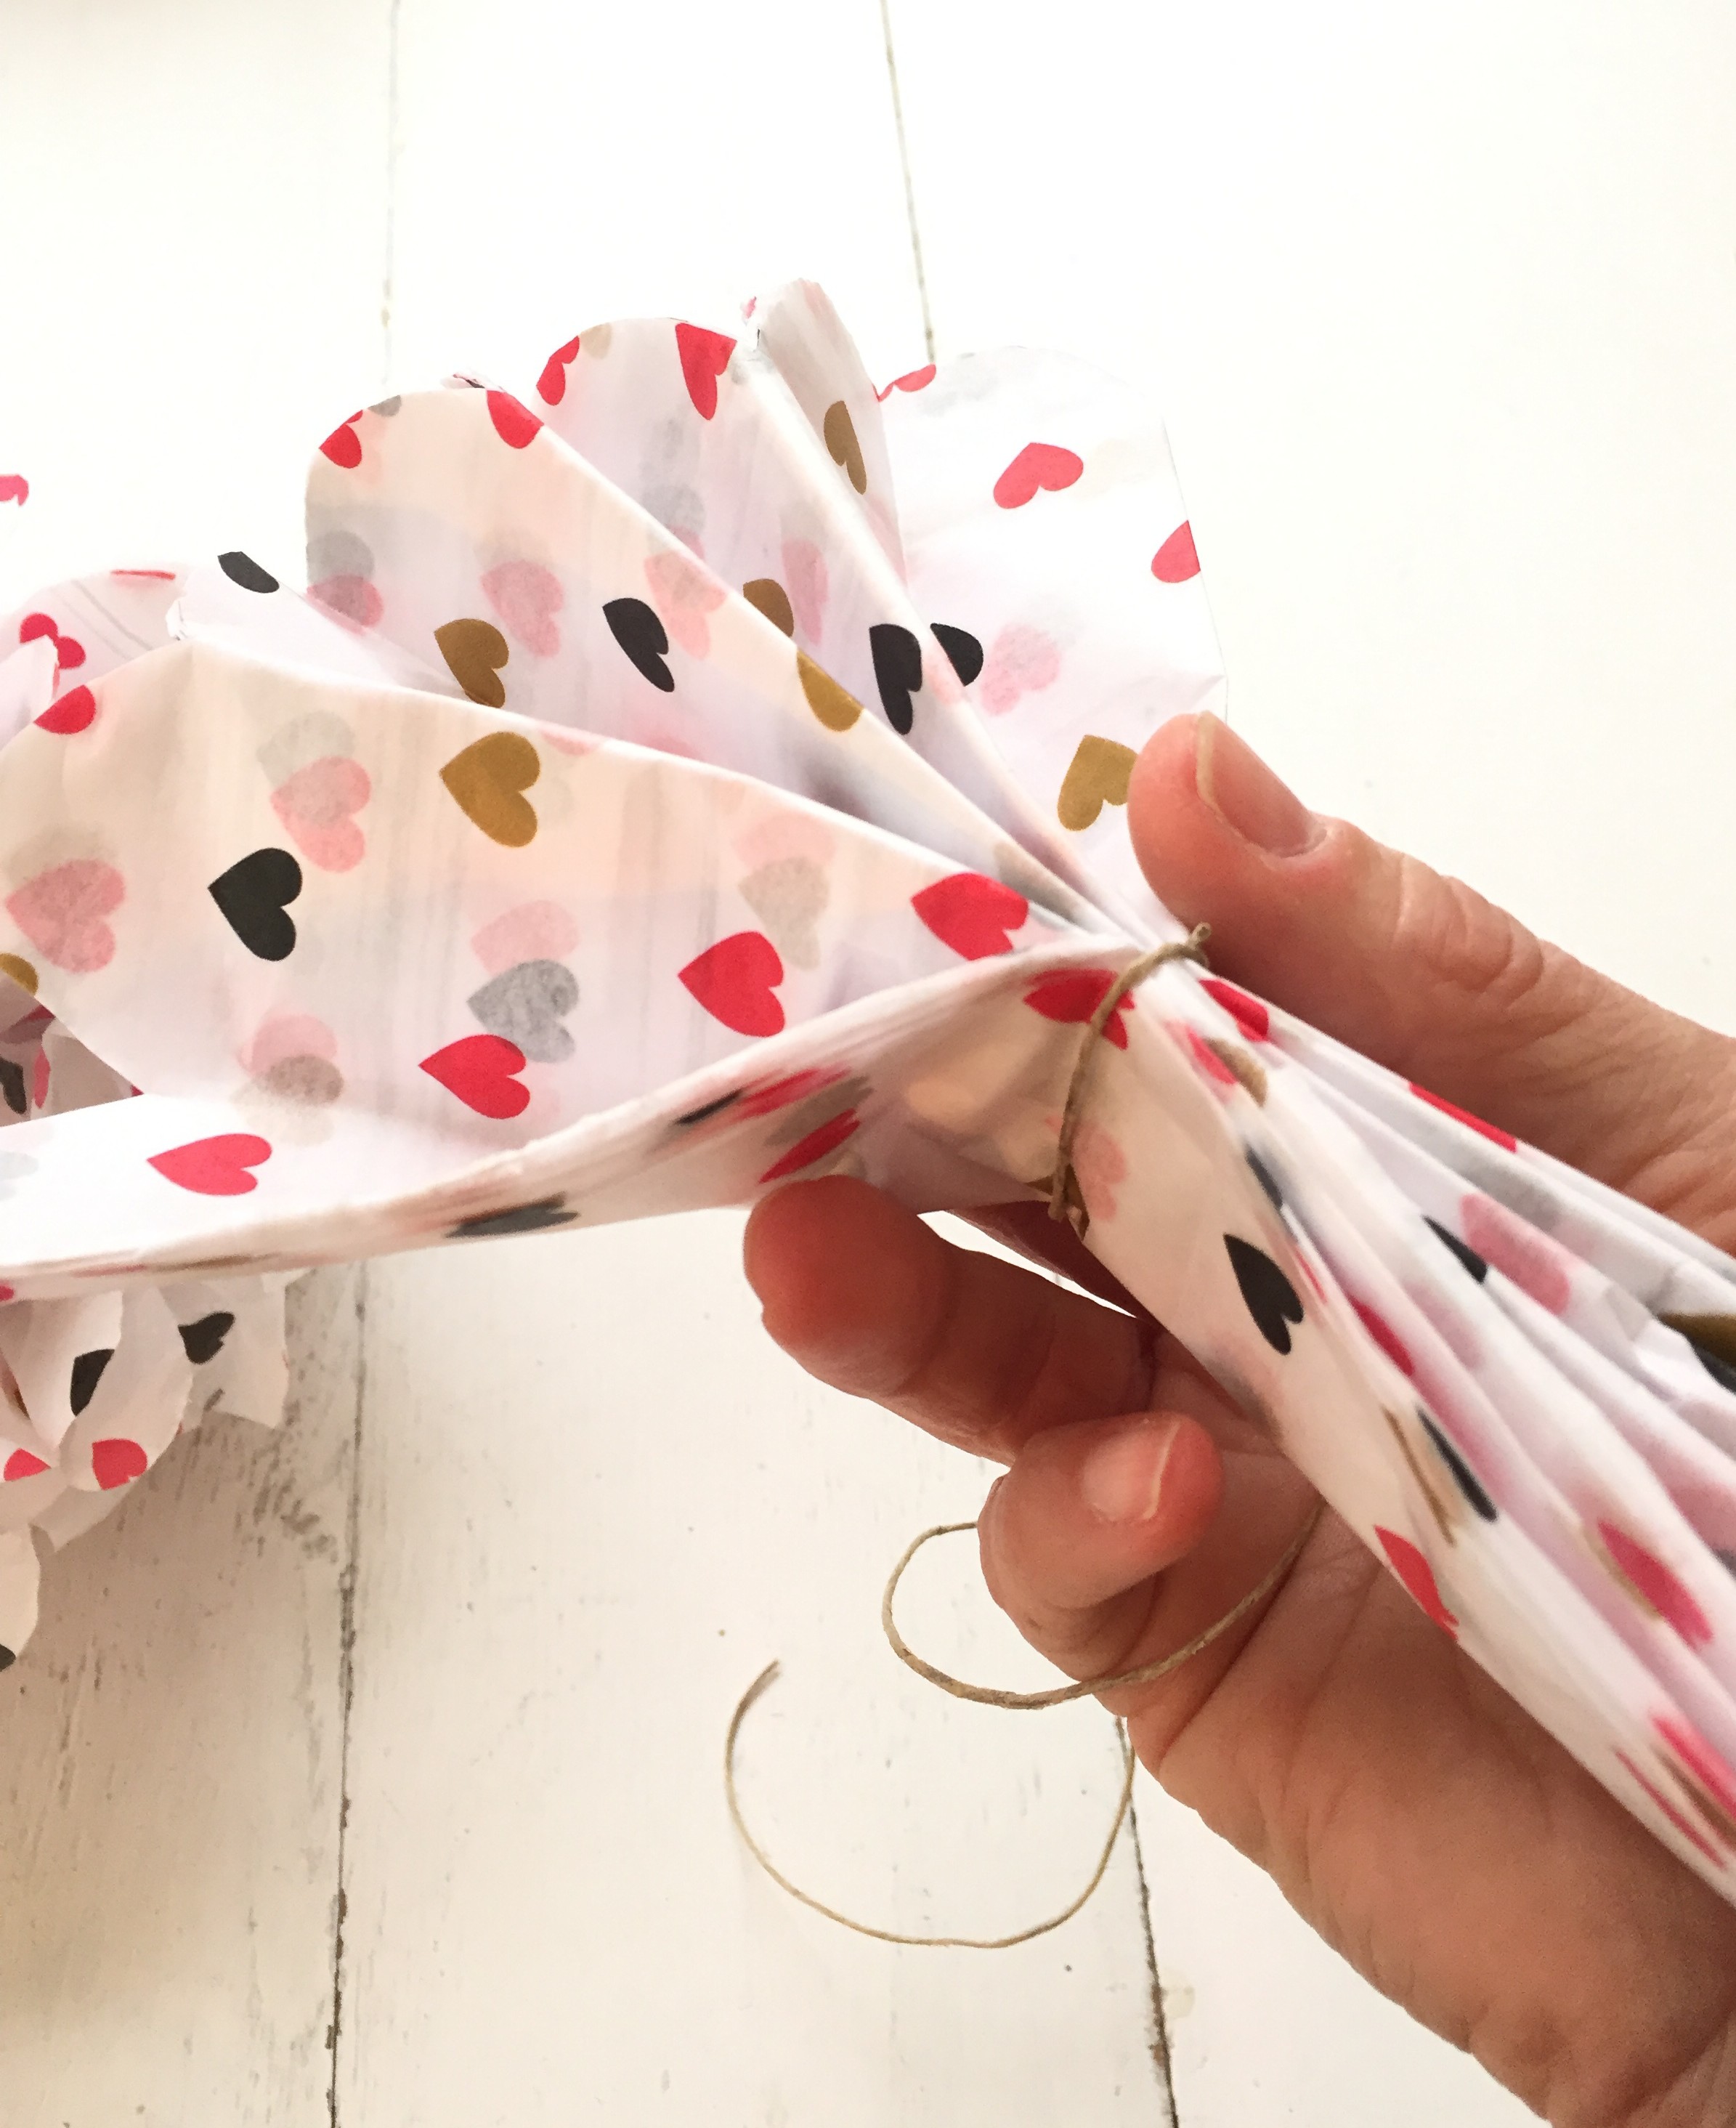
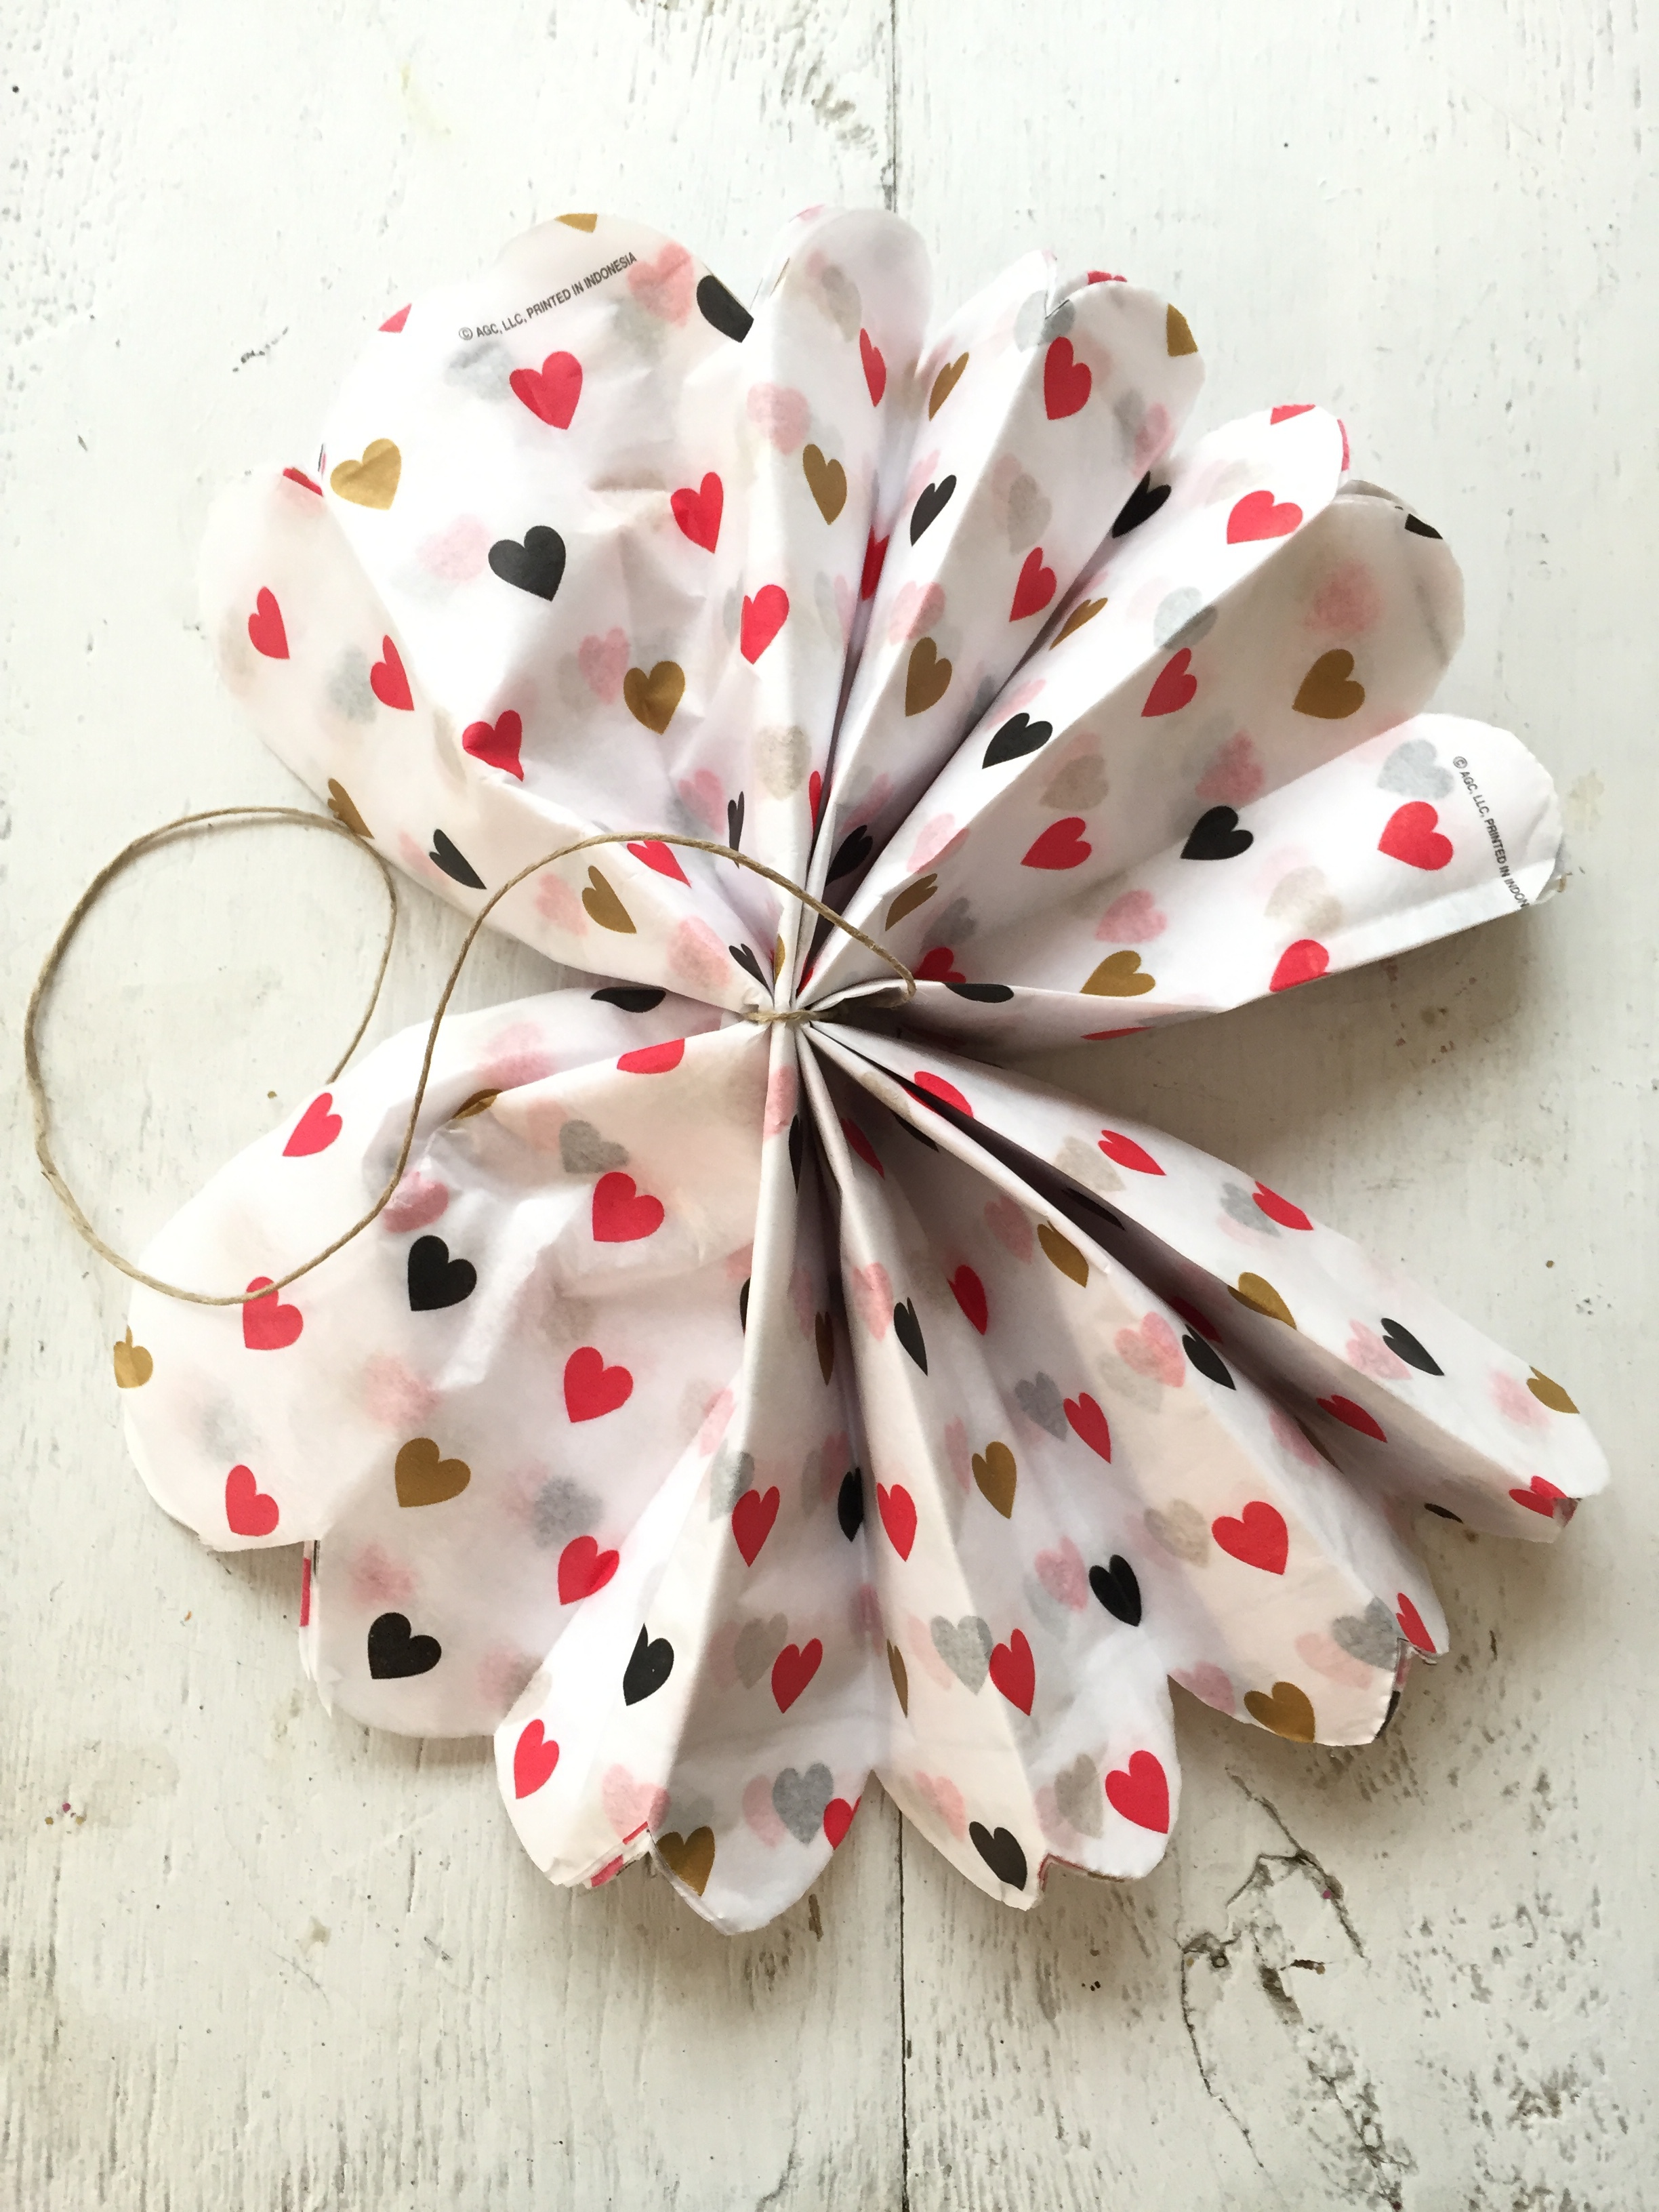
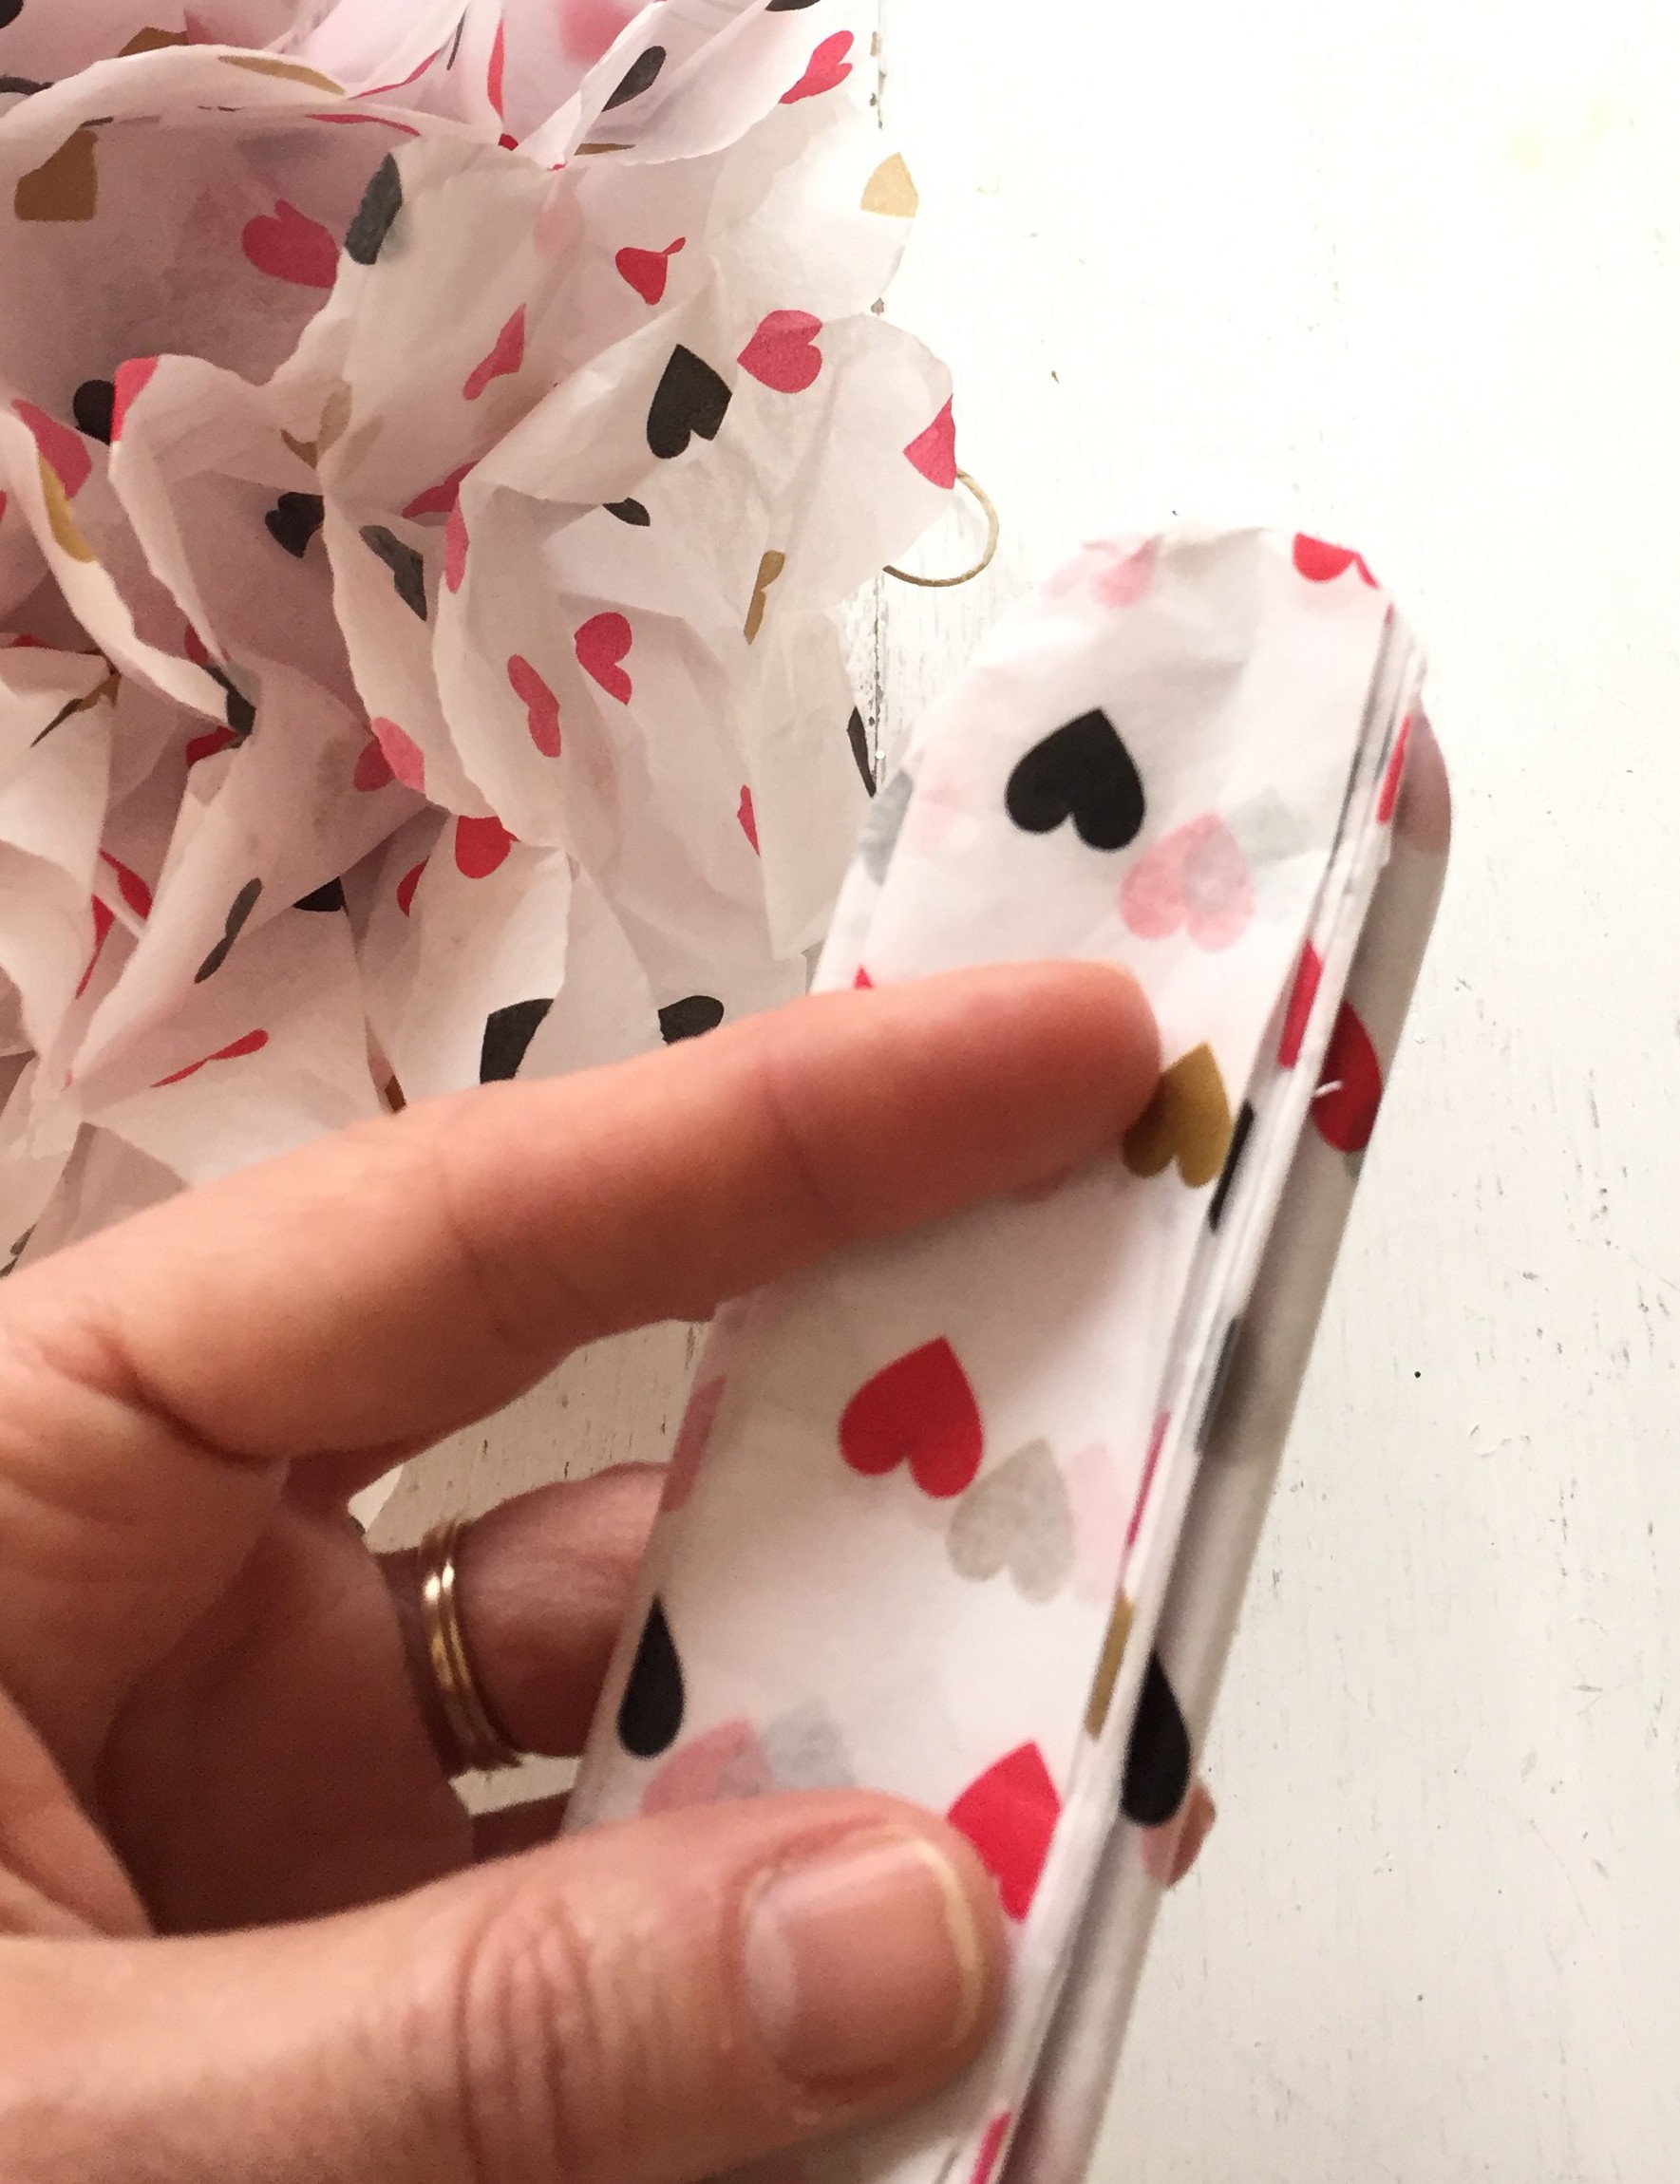
carefully separate the layers of tissue and peel them toward the center of the pinwheel. as you work outward you won’t be able to separate them as much as your pom gets fat!
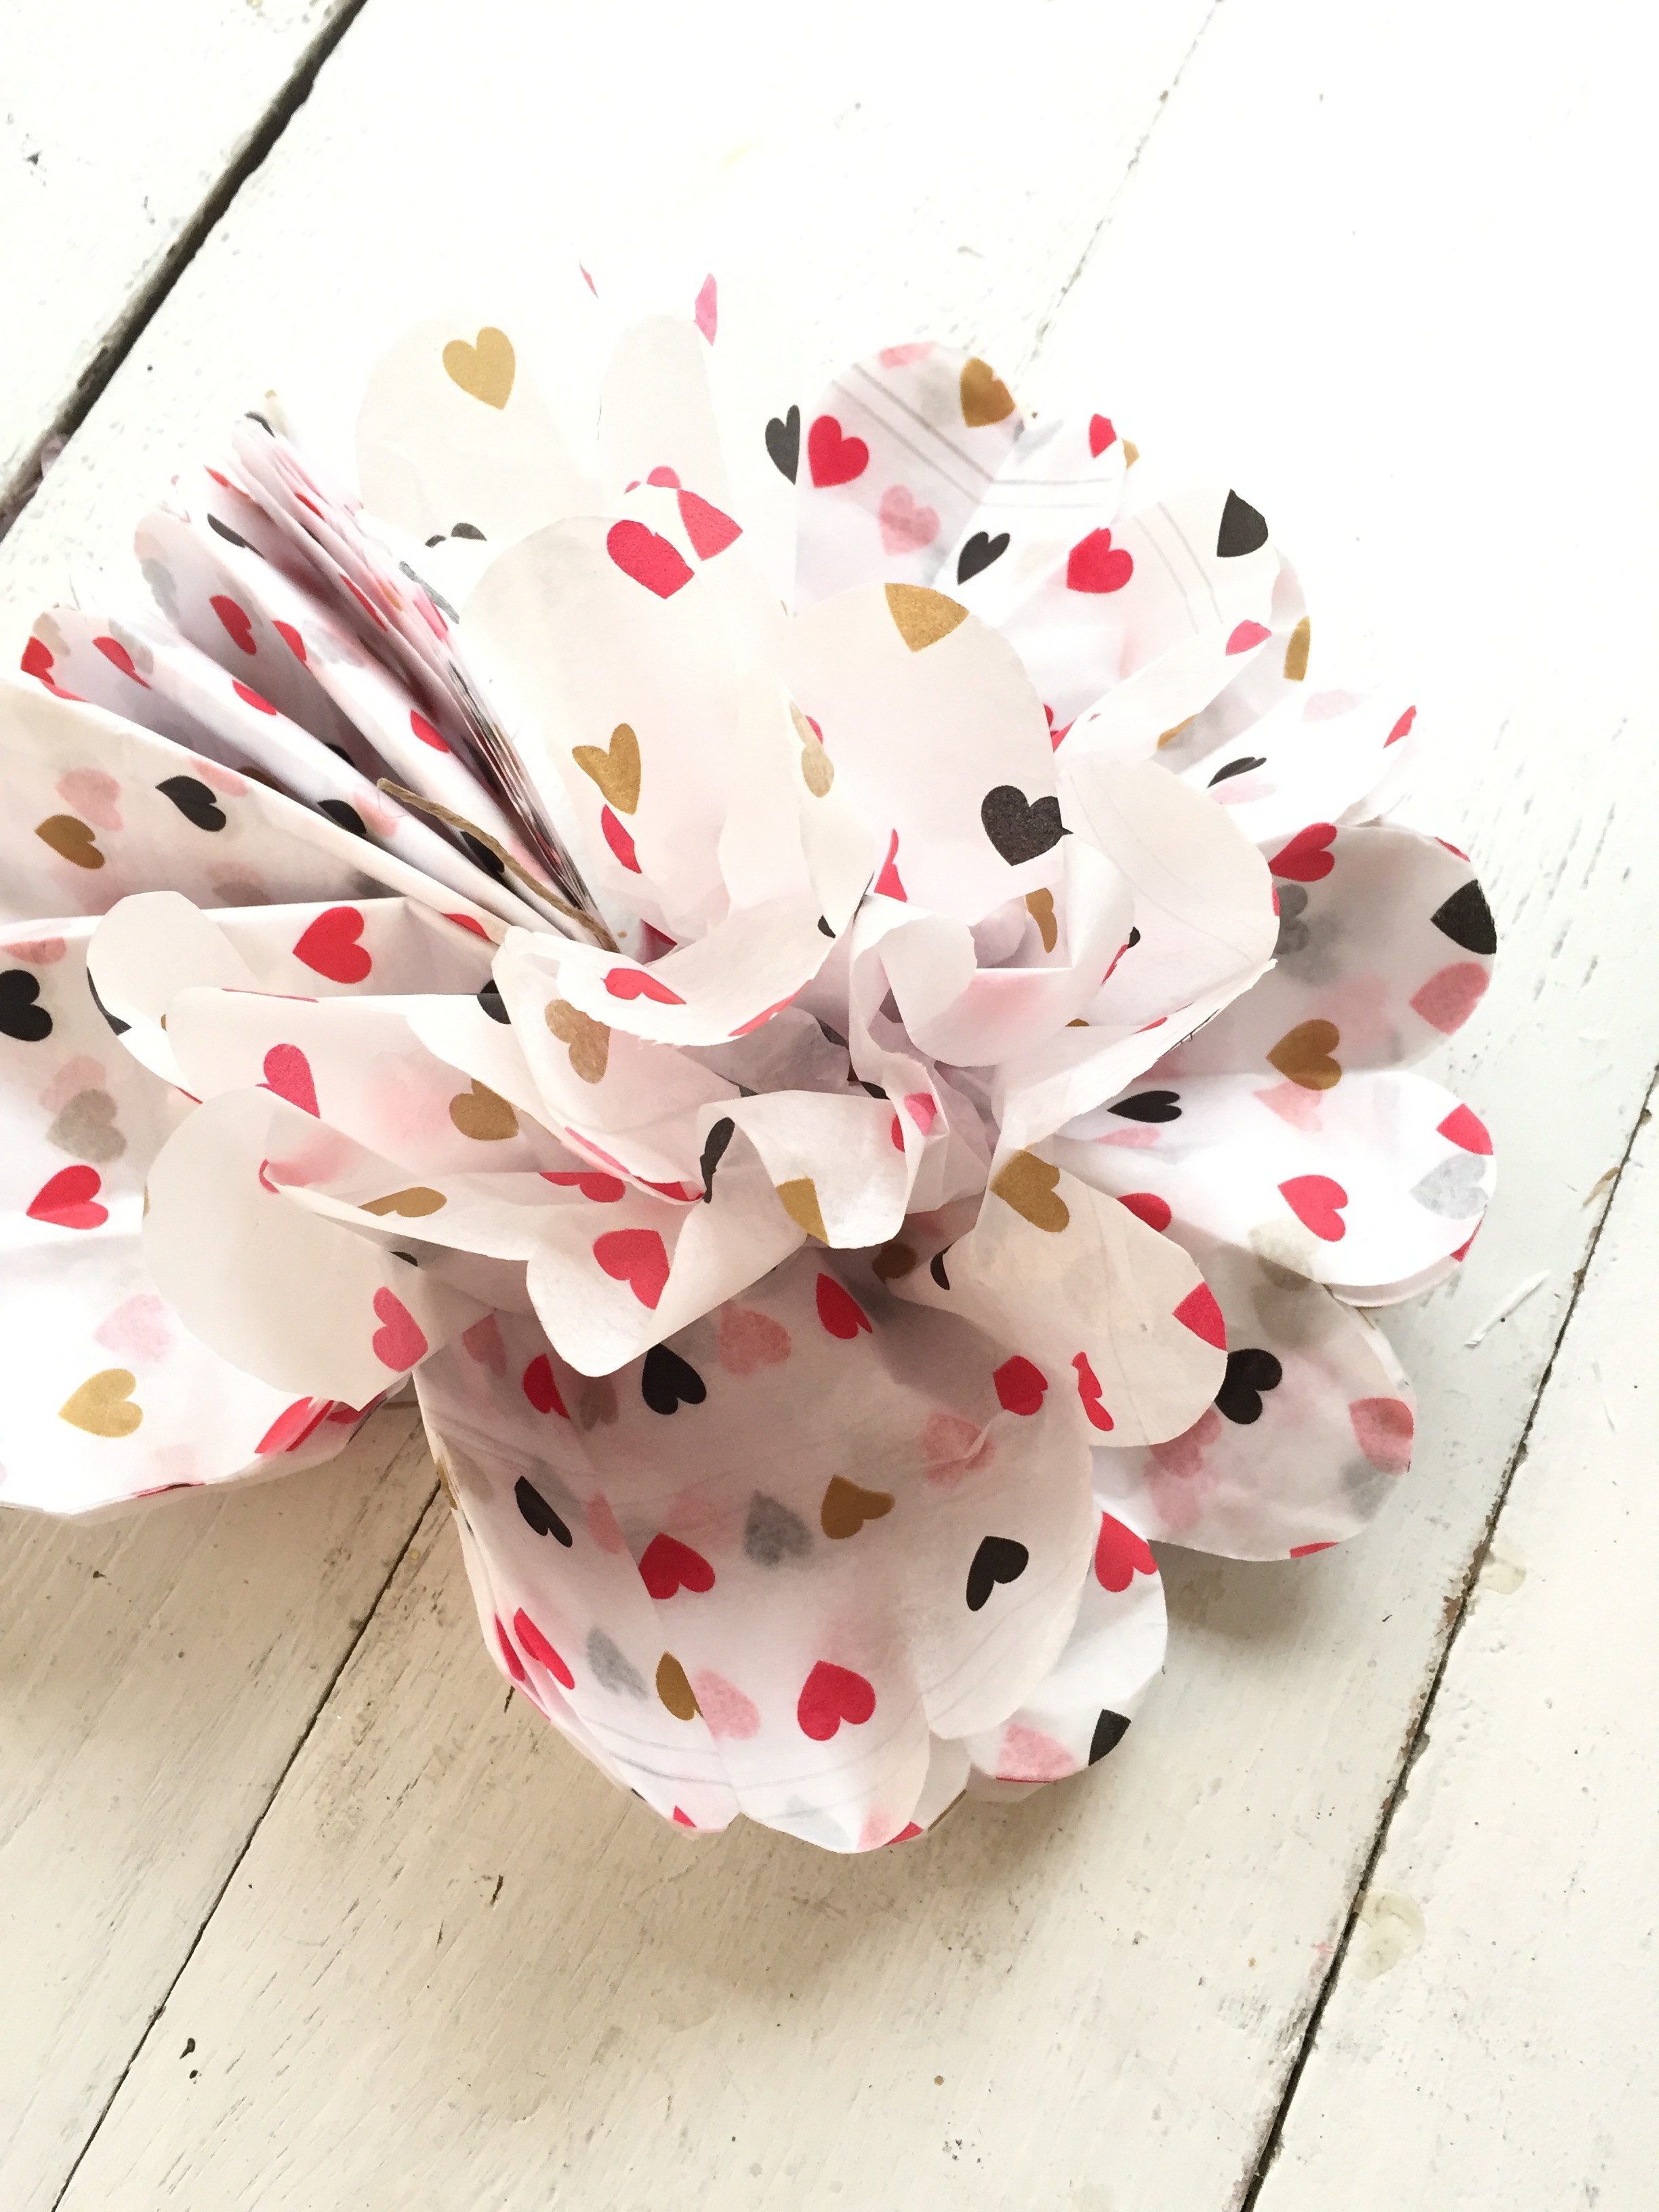
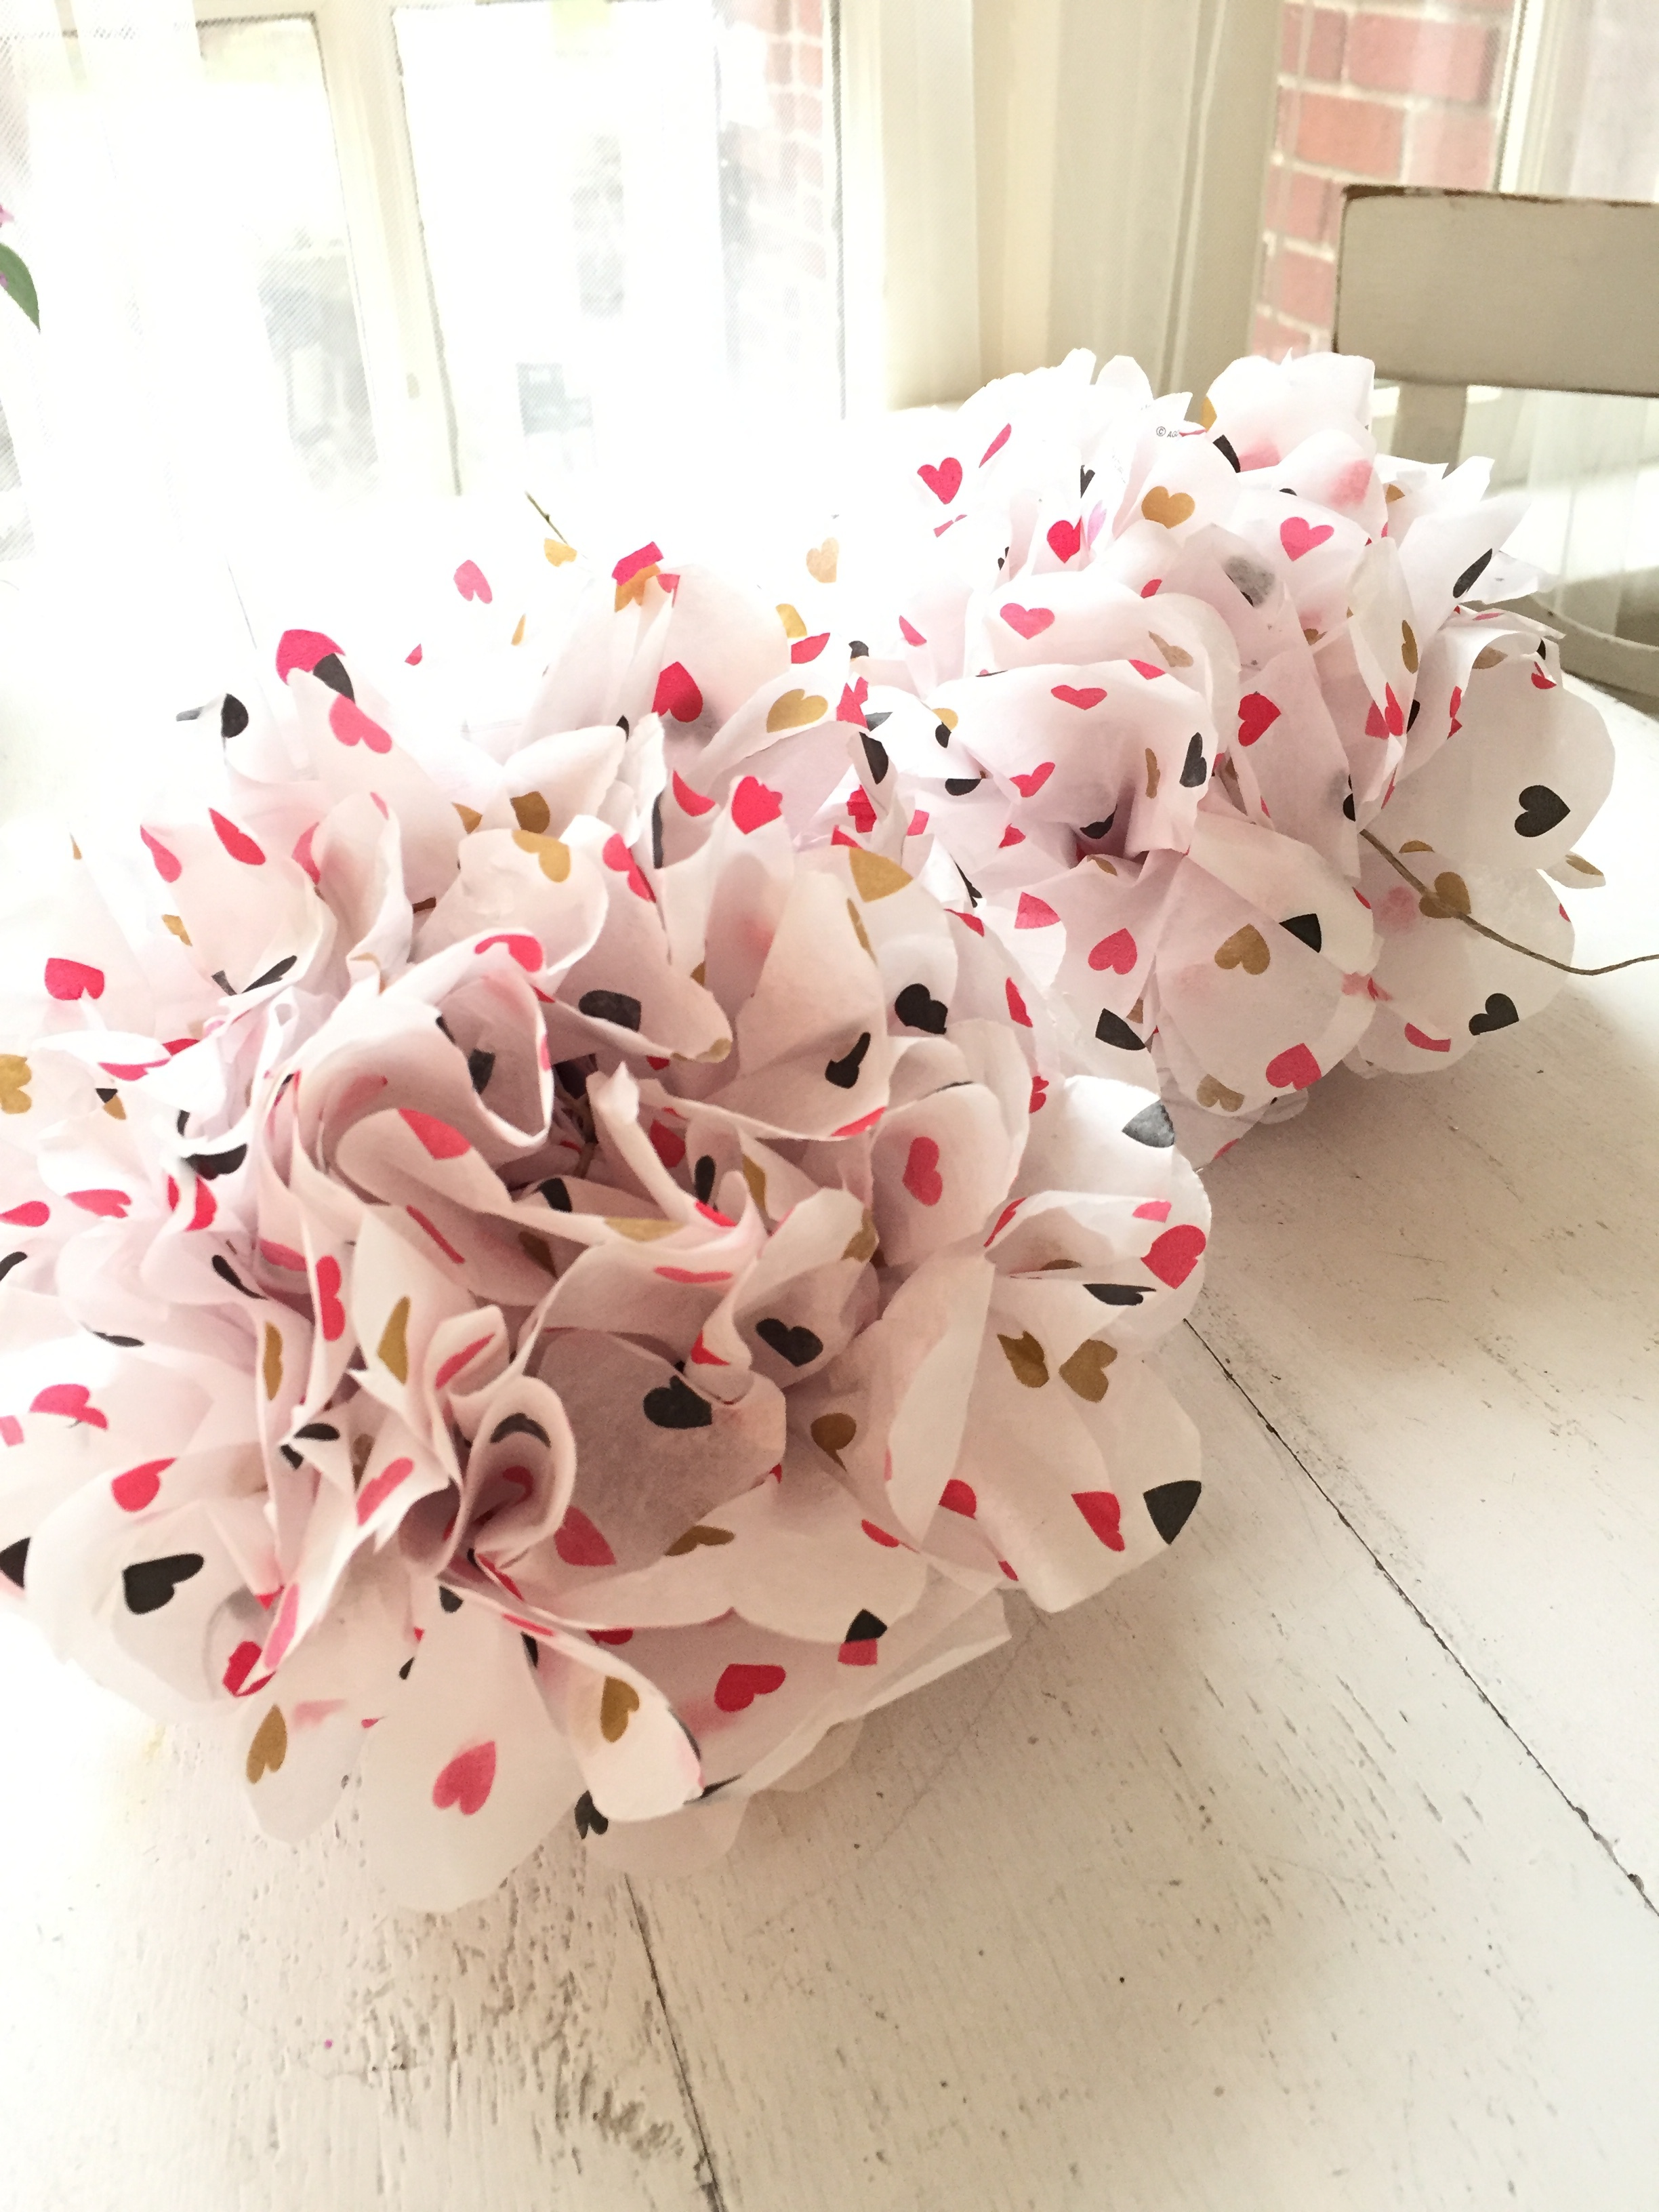
and once you get all layers apart you’ll have a puffy pom! don’t worry if you see some edges that aren’t rounded…you can always trim it up a bit if needed!
and if you get a pom that’s a little out of whack, just squish it around gently until it looks the way you like! once you get them in a cluster or garland they’ll look adorable…and minor imperfections will NEVER be noticed!
the poms above were made from two quarters of the tissue package…so i got two poms from one package of 6 sheets. i also made minis with a second package by cutting them in eighths. this is the size difference between the two…
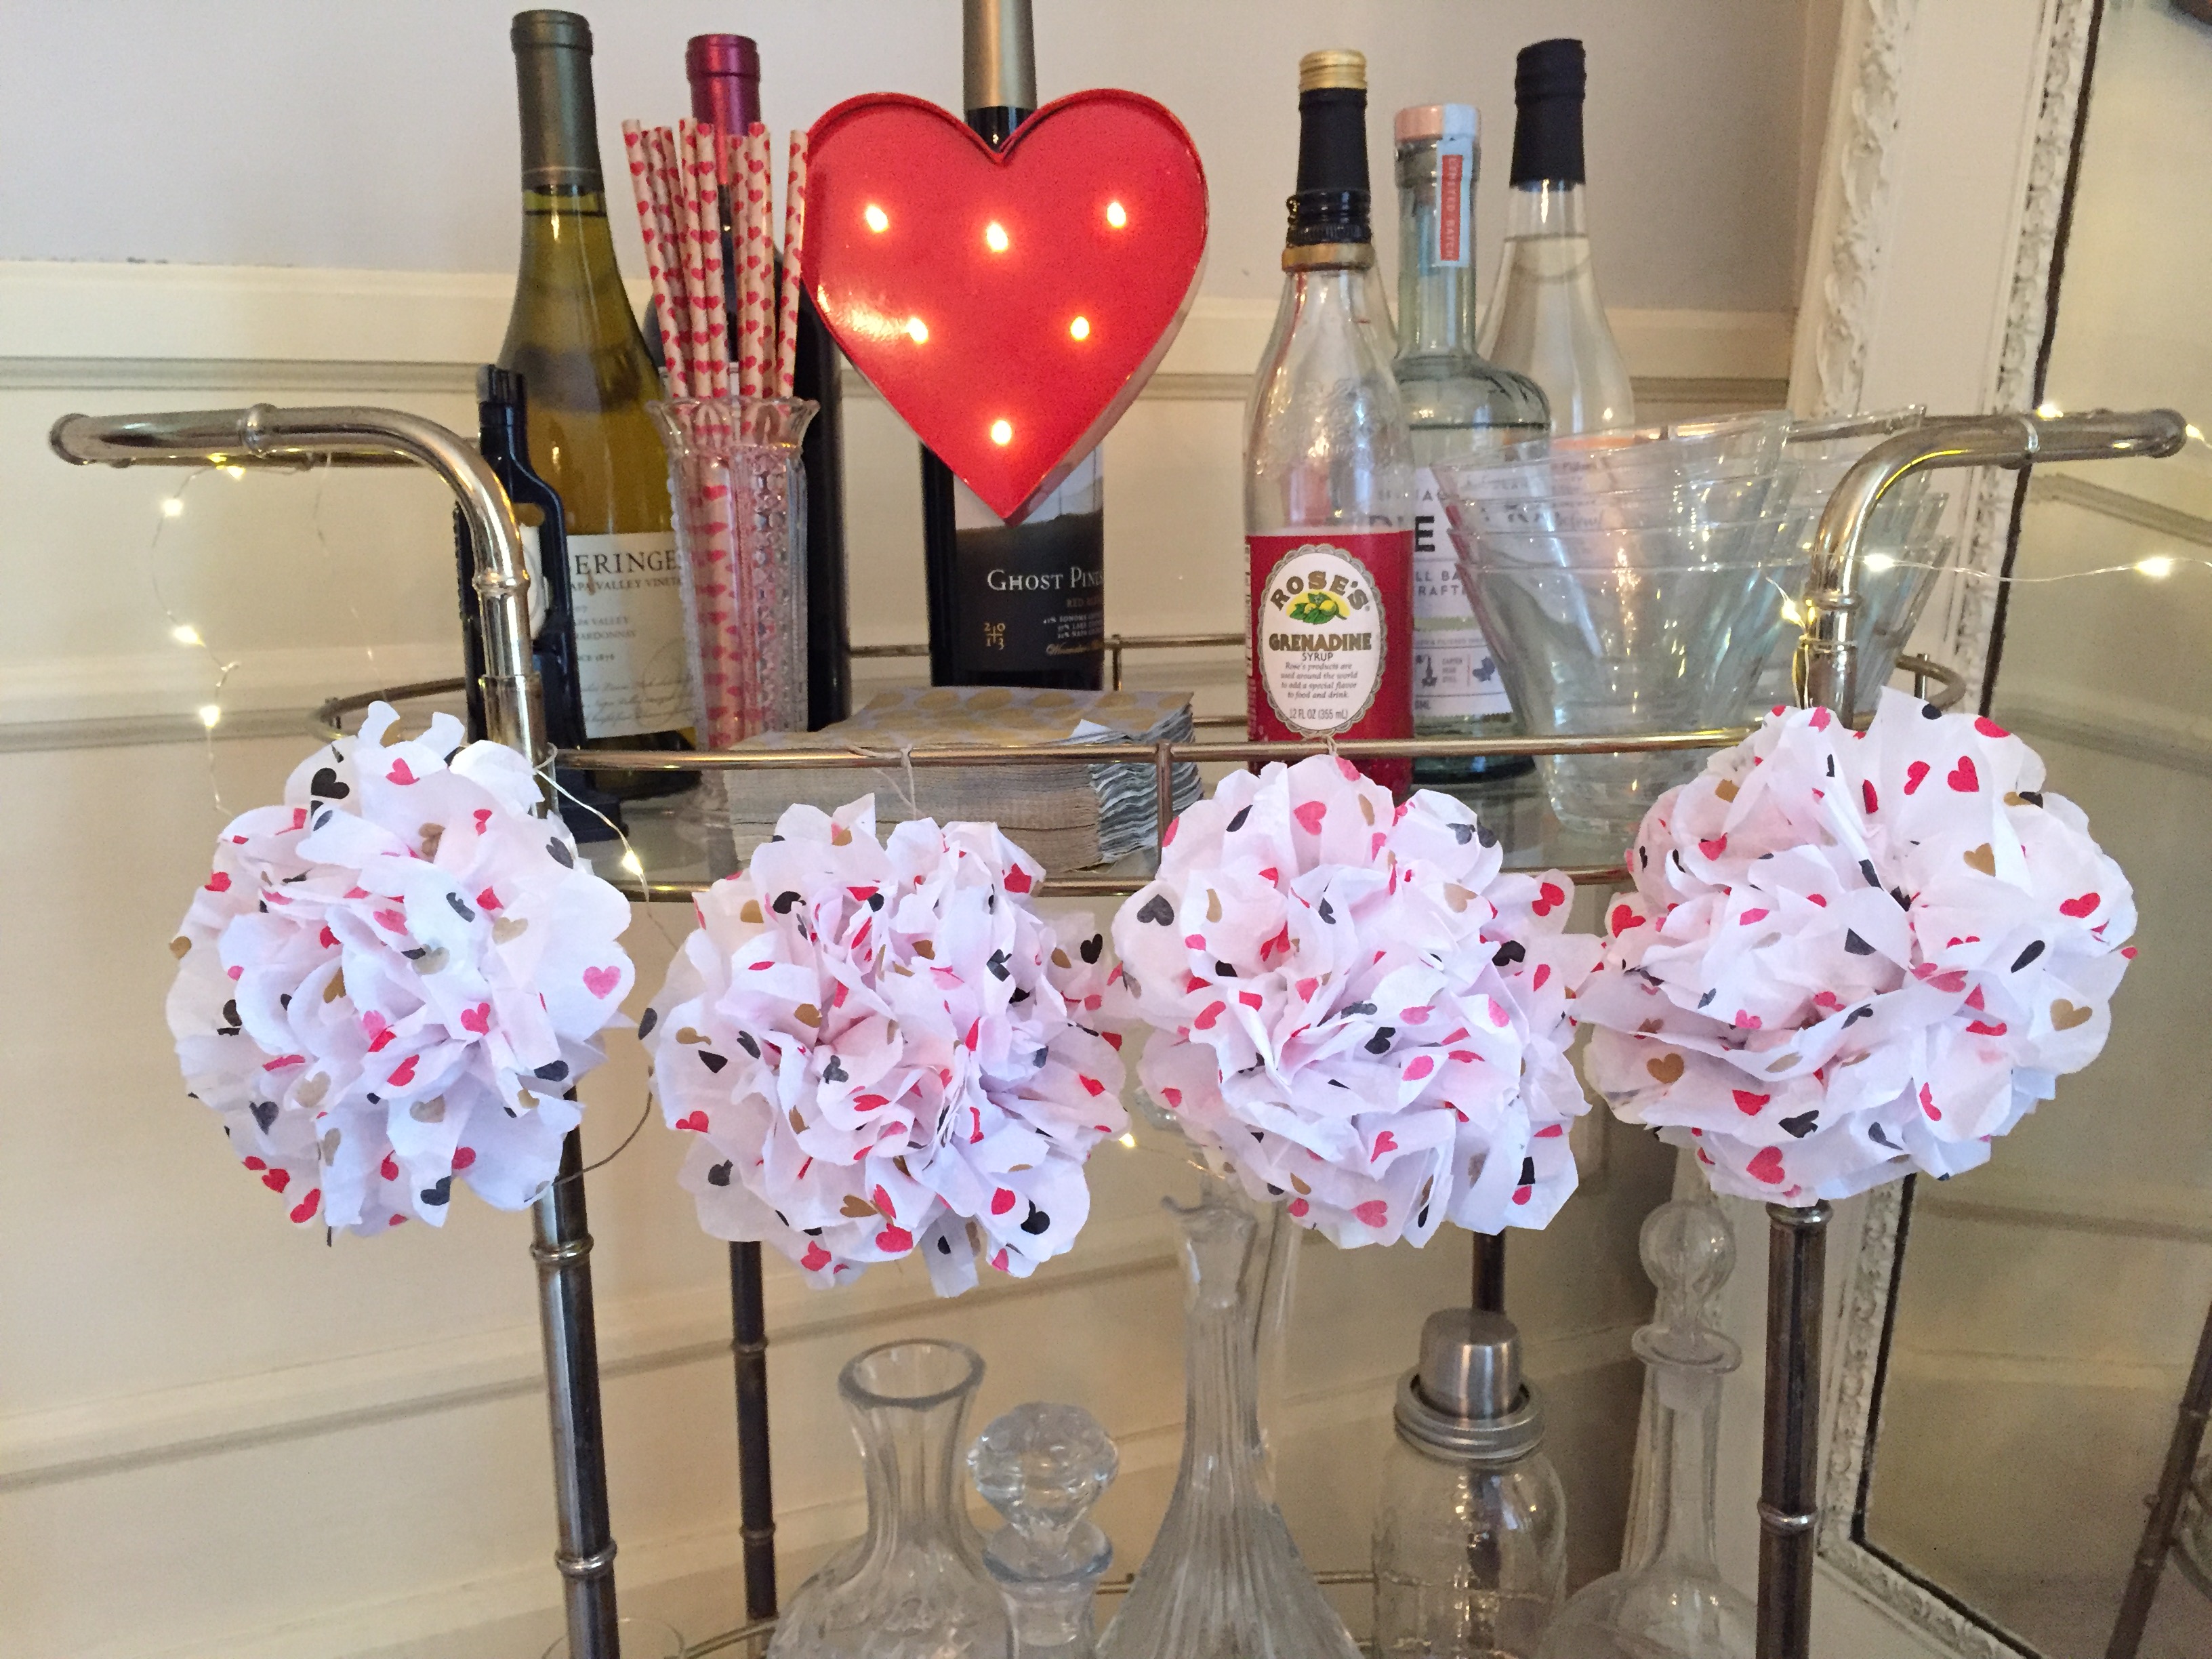
the minis make a cute garland on my bar cart…
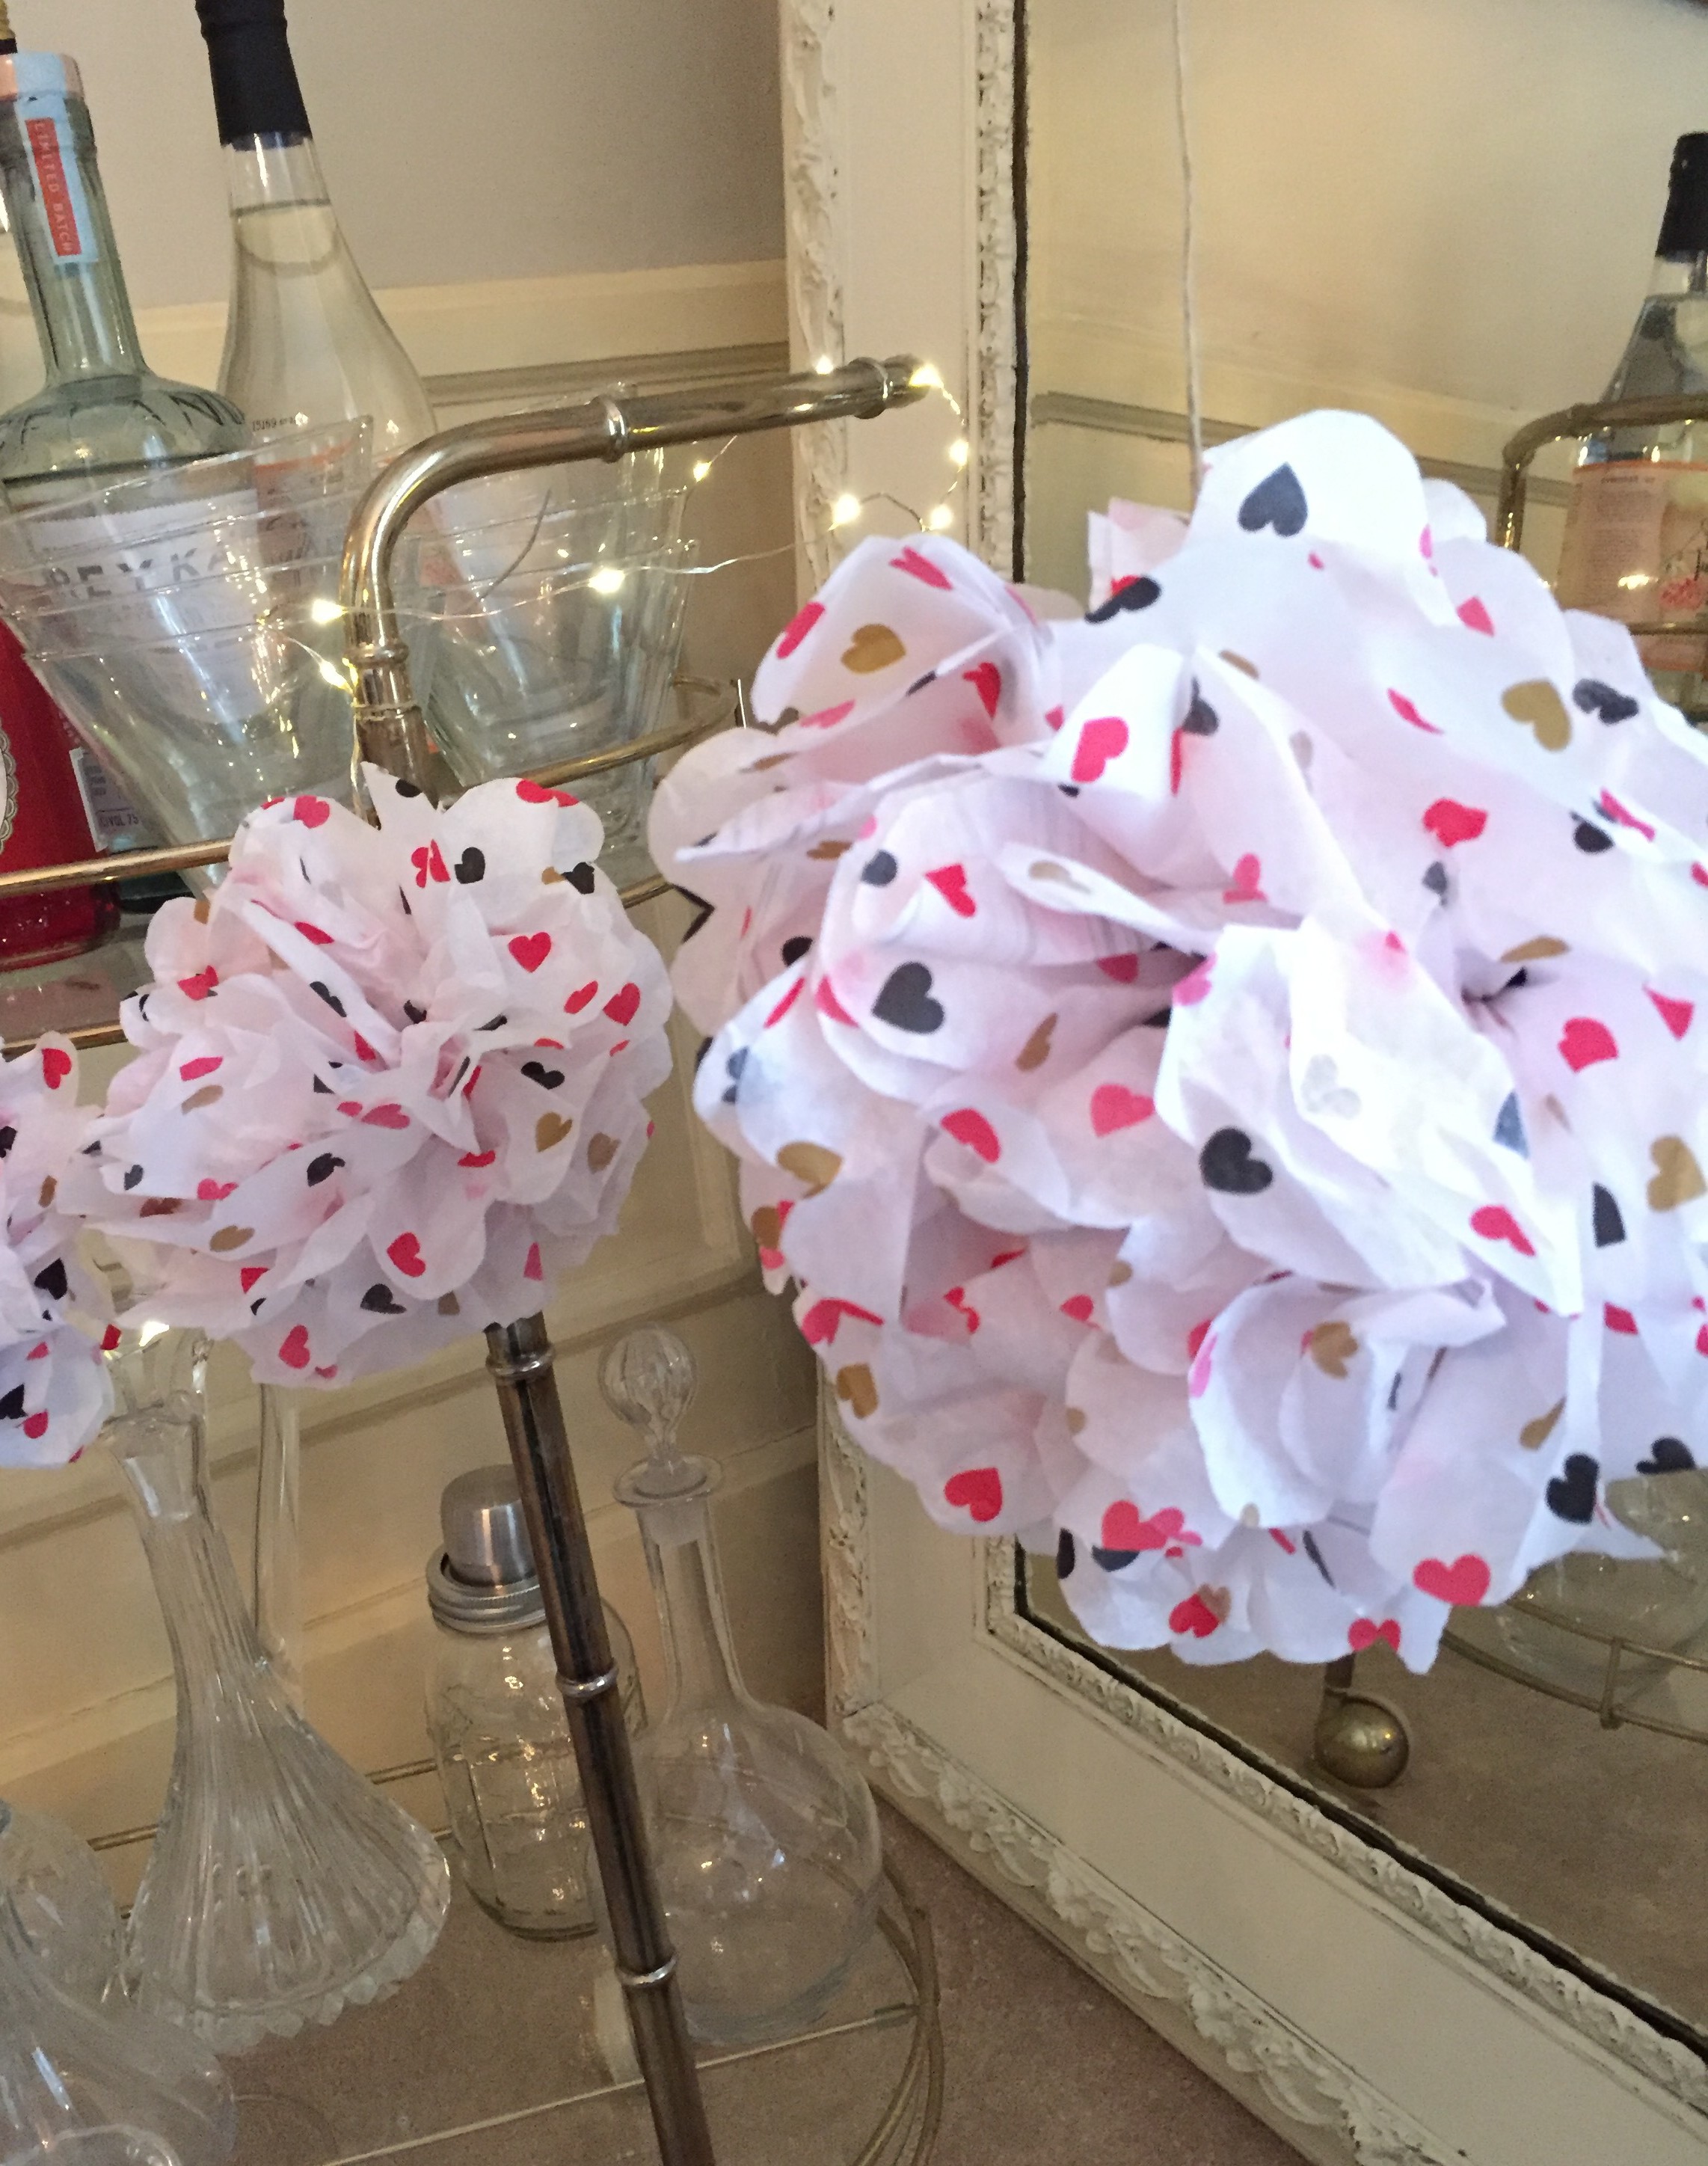
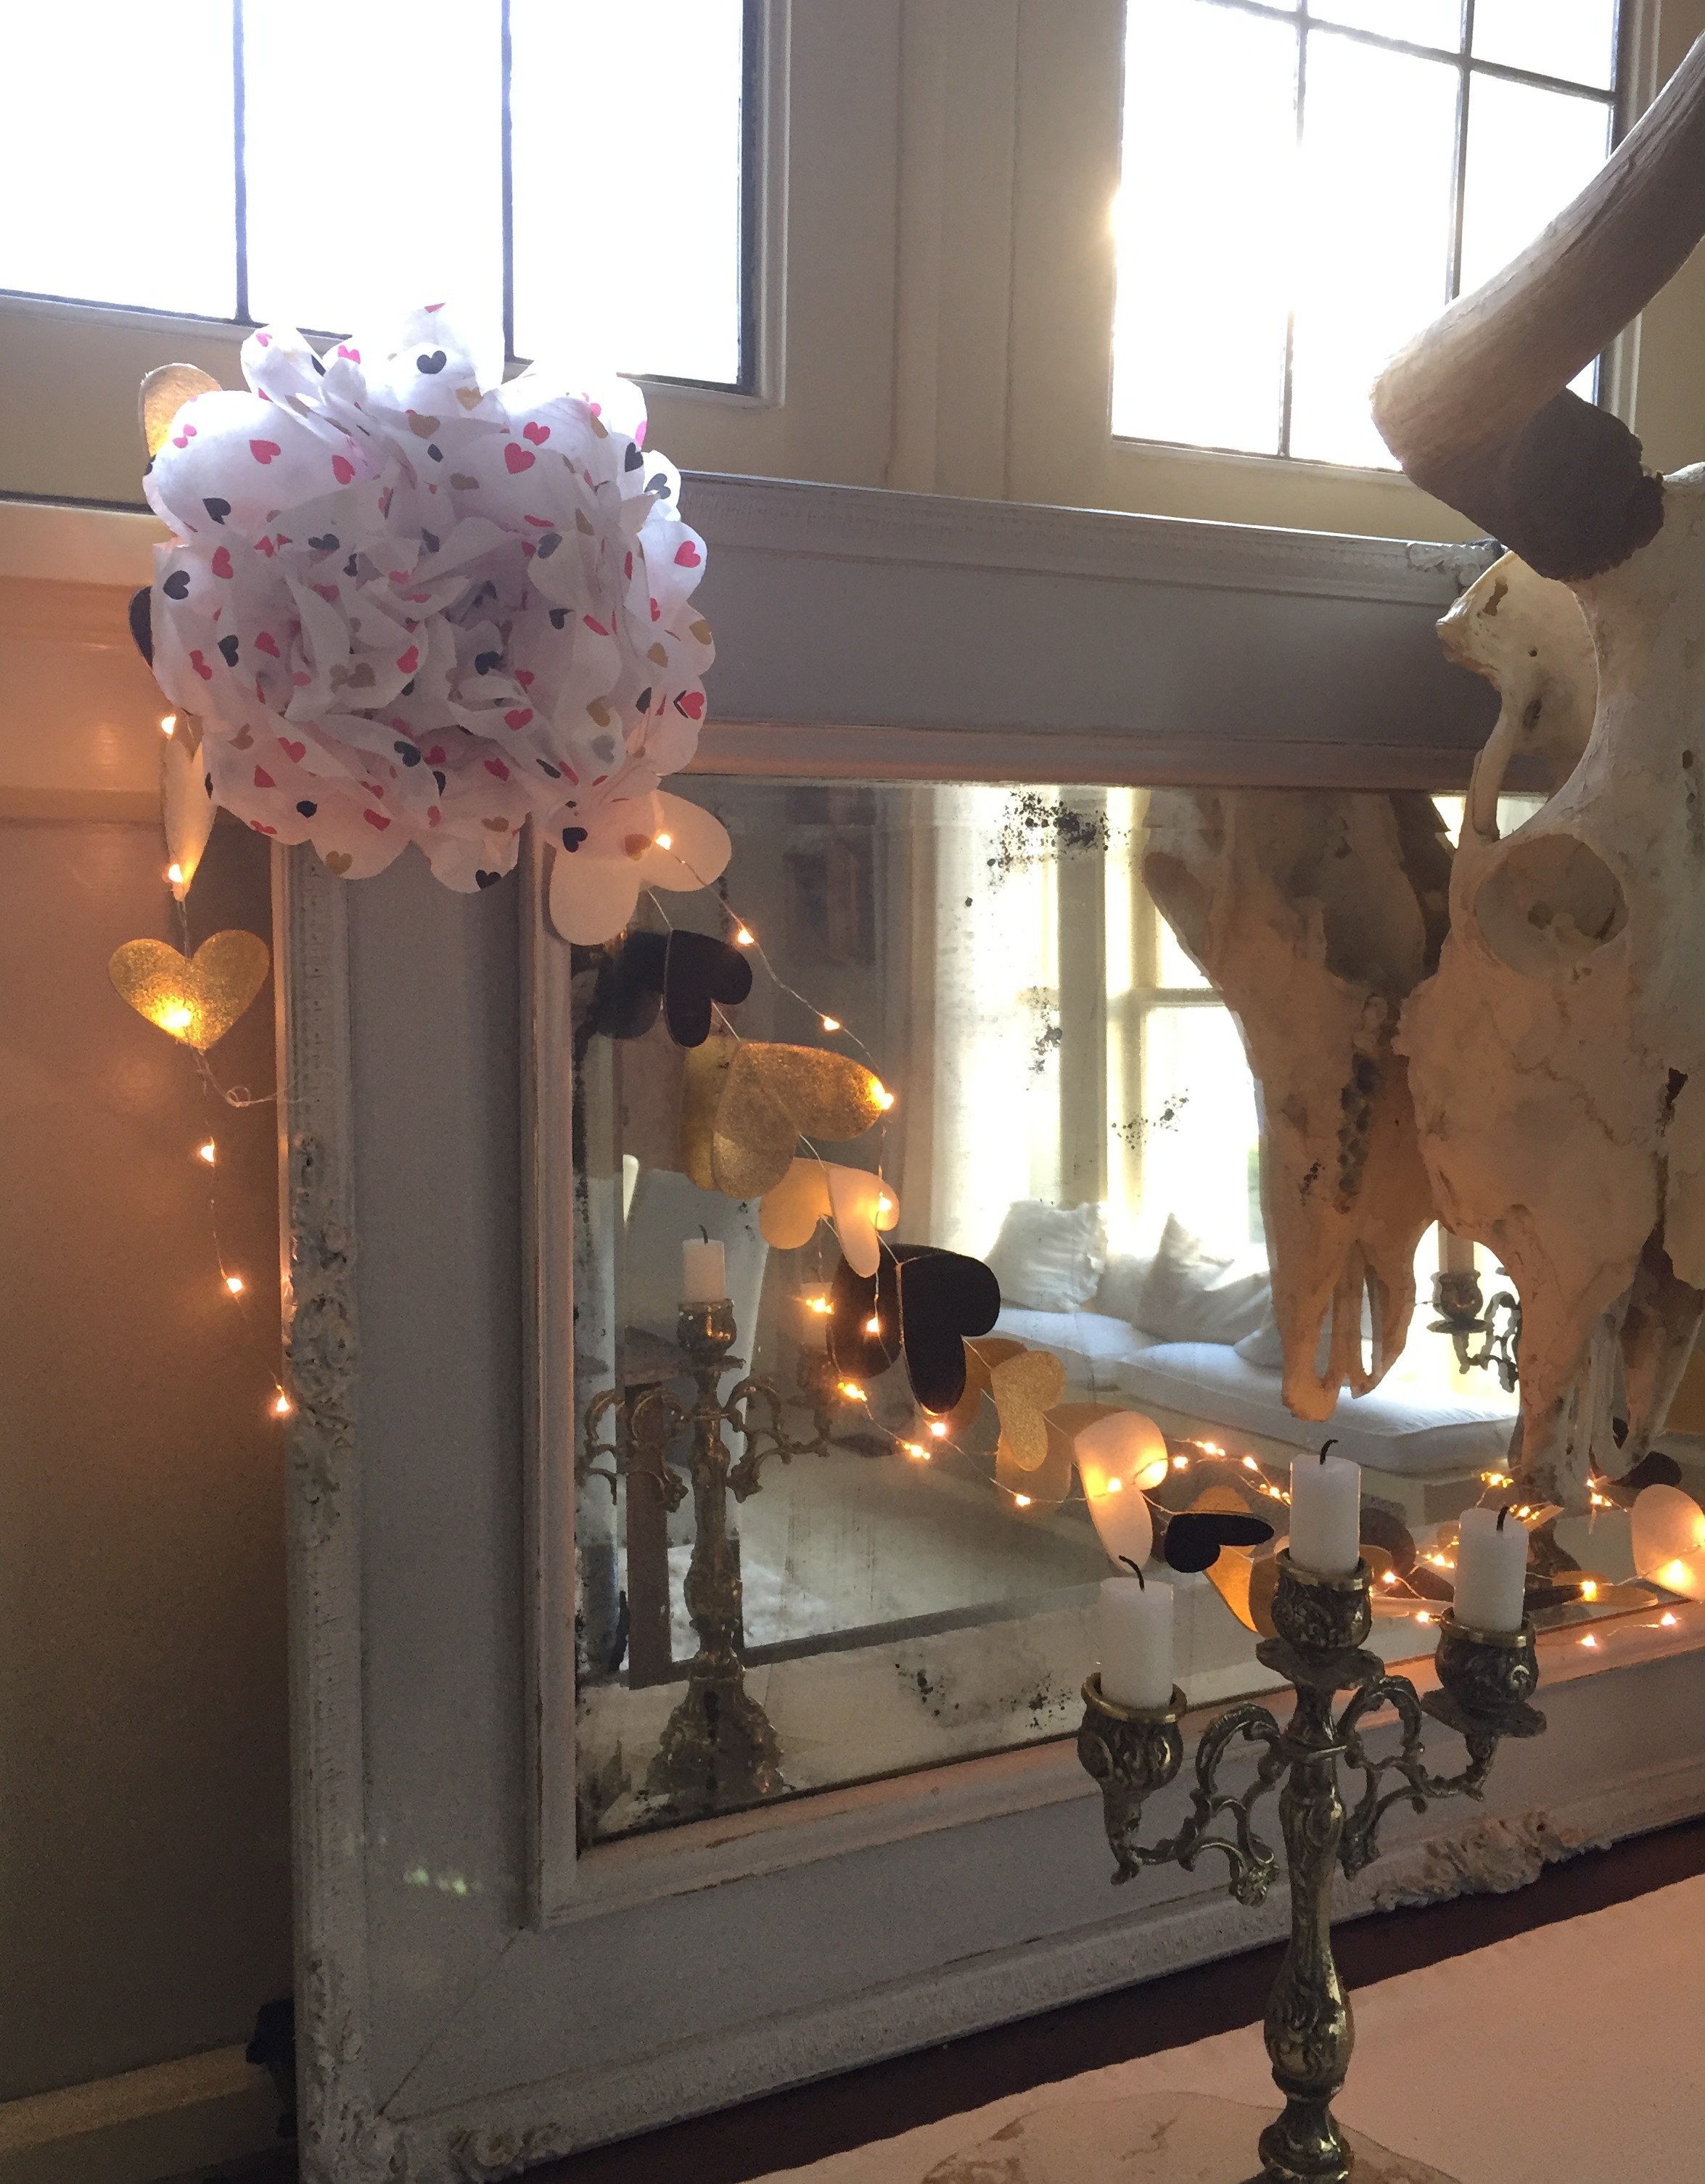
and the larger two flank my buffet mirror to tie them all together!
the big gold pom was made with one package of tissue cut in half. this package had 8 sheets of paper which is really more than i needed for one…but since i only wanted a single pom to hang from the chandelier i went ahead and made this guy extra fat with 16 sheets total! i would recommend using at least 5-6 sheets per half (total of 10-12) in each pom to make sure it’s nice and chubby! and if you’re only hanging one, the fatter the better!
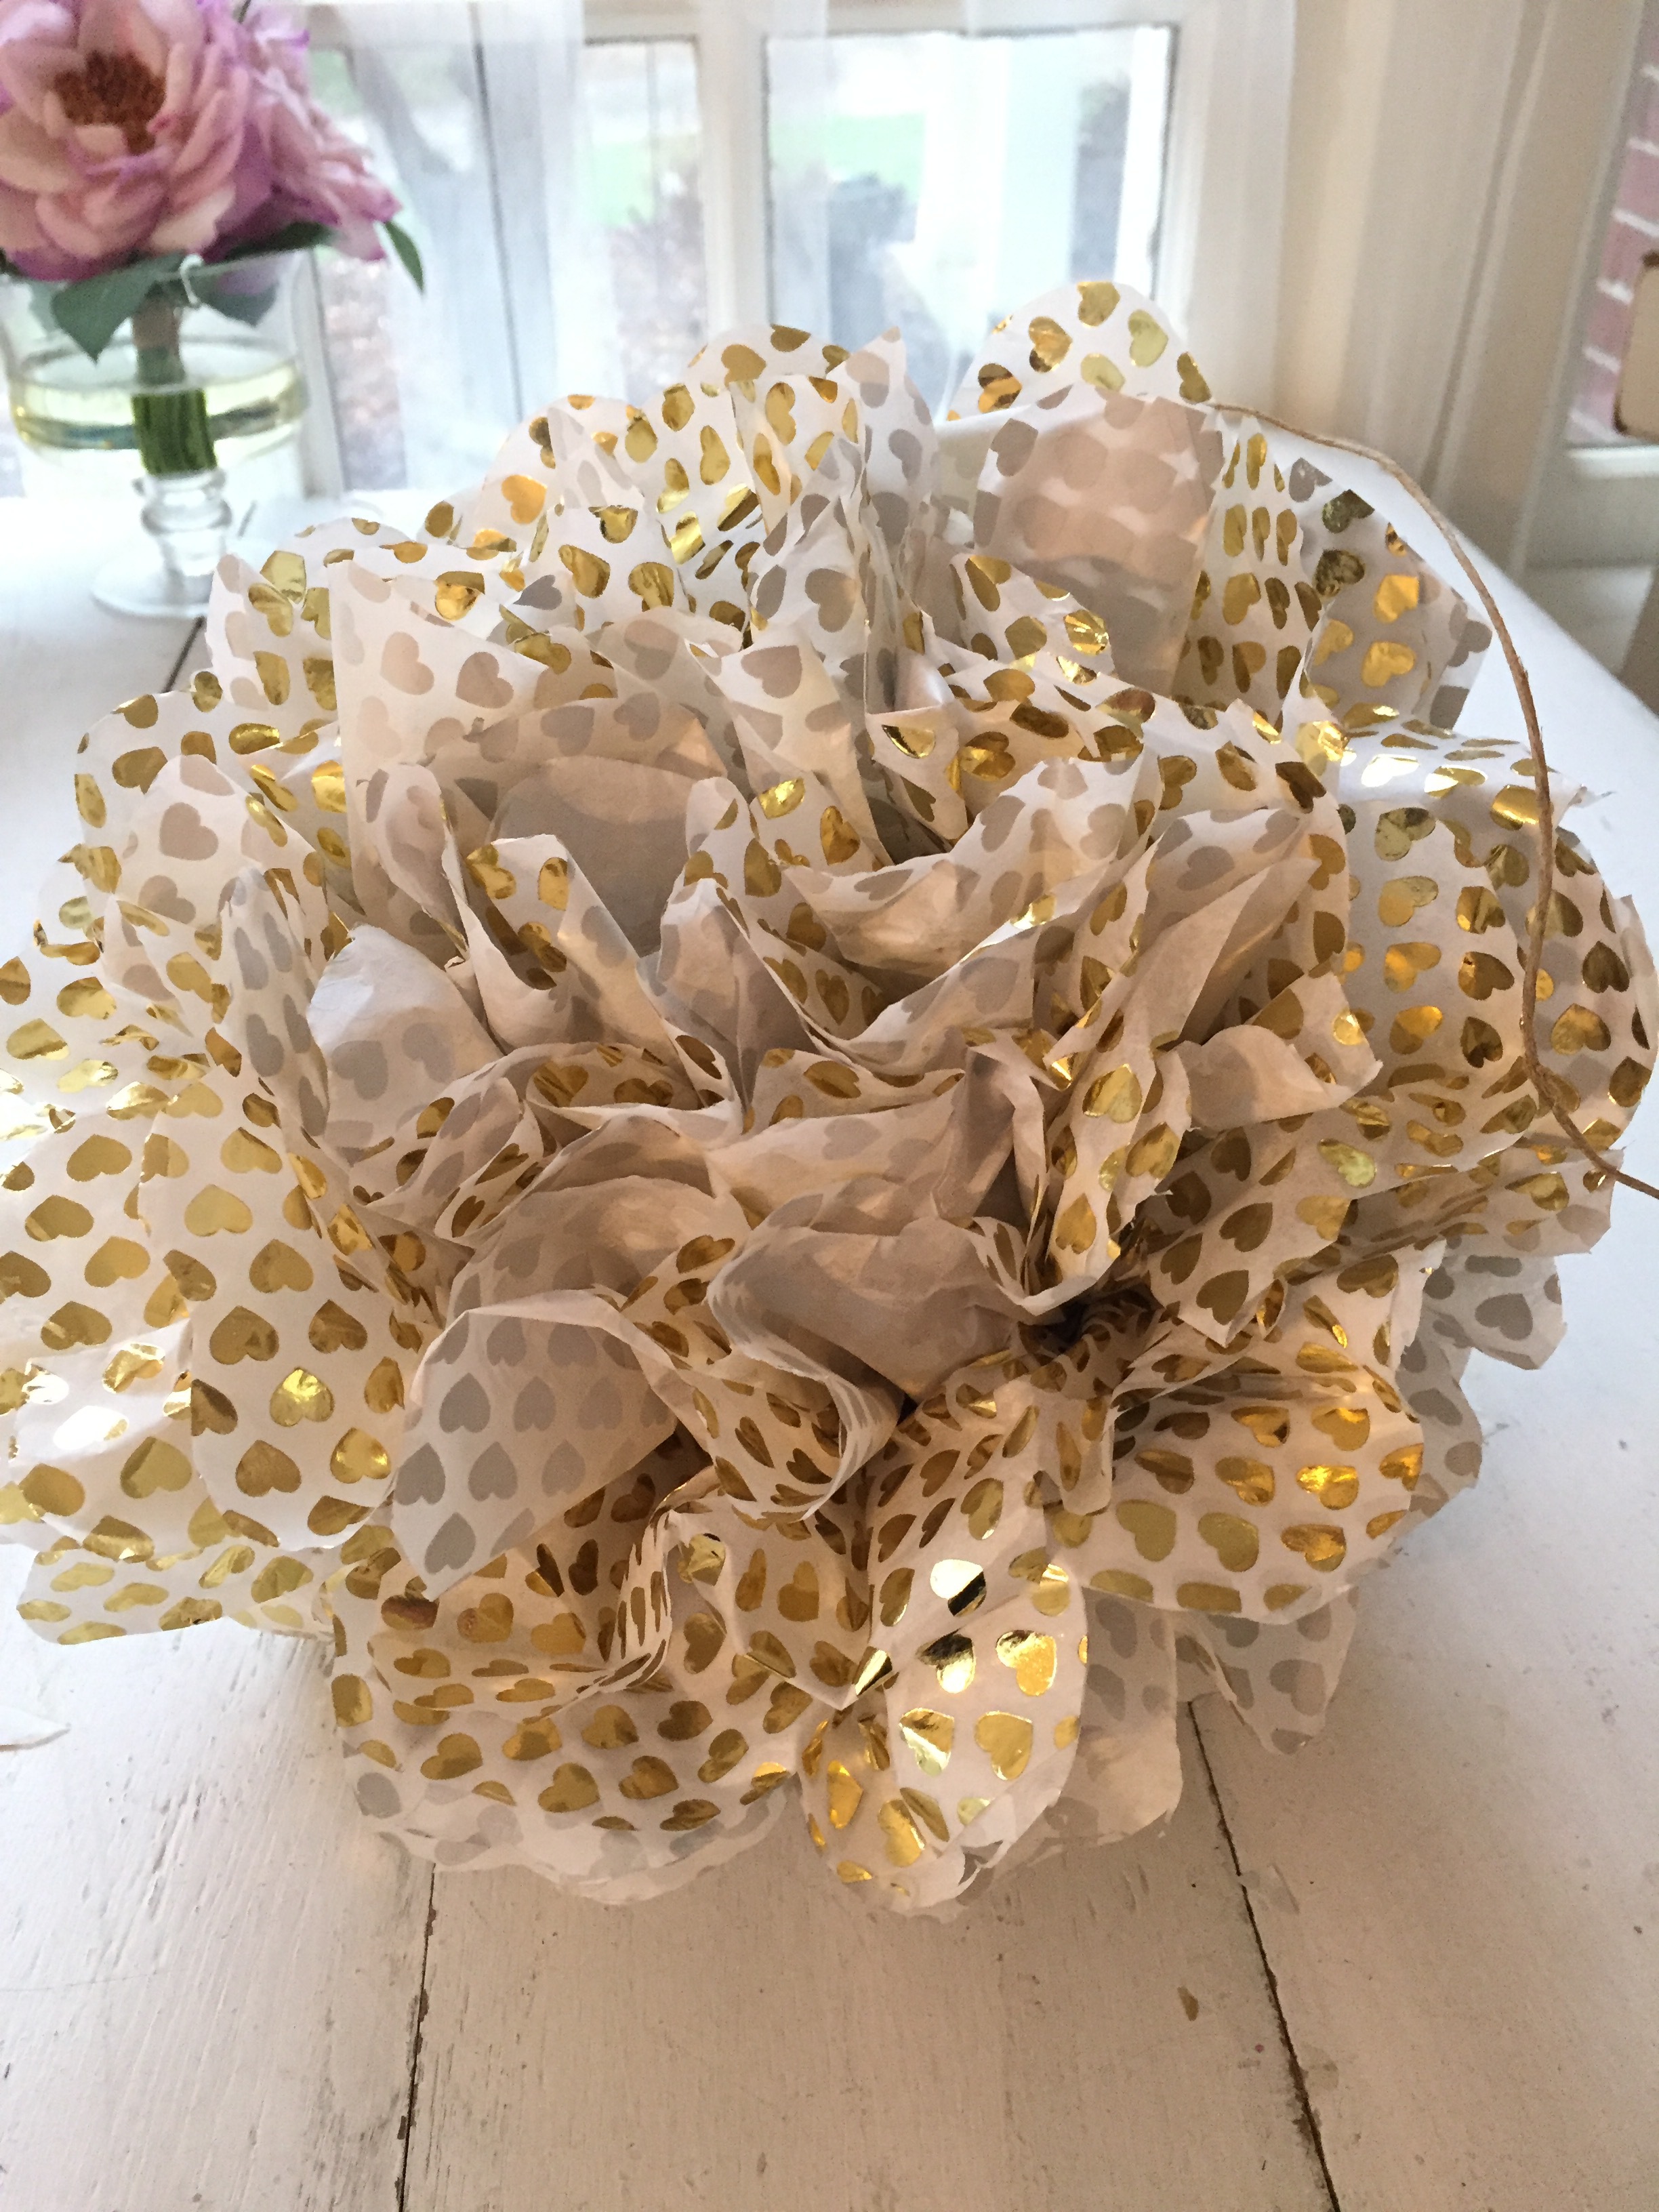
a puff ball of joy!

…a fun AND inexpensive way to add some festivity to your home or party!