

Fall is the perfect season for having guests in…and when they show up at your door you can set the mood with a DIY doormat you can stencil with a fun design! The entryway of your home is the first thing anyone sees when approaching or entering into your abode, so why not make it shine with your personality, whimsy and welcoming love! My friends at Simply Self Storage have some really fun ideas for creating these useful mats and are offering some downloadable stencils to make it even easier! I’m so happy to be able to share with you this DIY project that you could also make as gifts! The holidays are approaching fast and a handcrafted doormat would be a wonderful offering that could be personalized to fit the recipient! So check out the tutorial and be sure to look for the links to download the designs! Let’s get crafting so we can…
welcome our guests!
this post is brought to you courtesy of Simply Self Storage
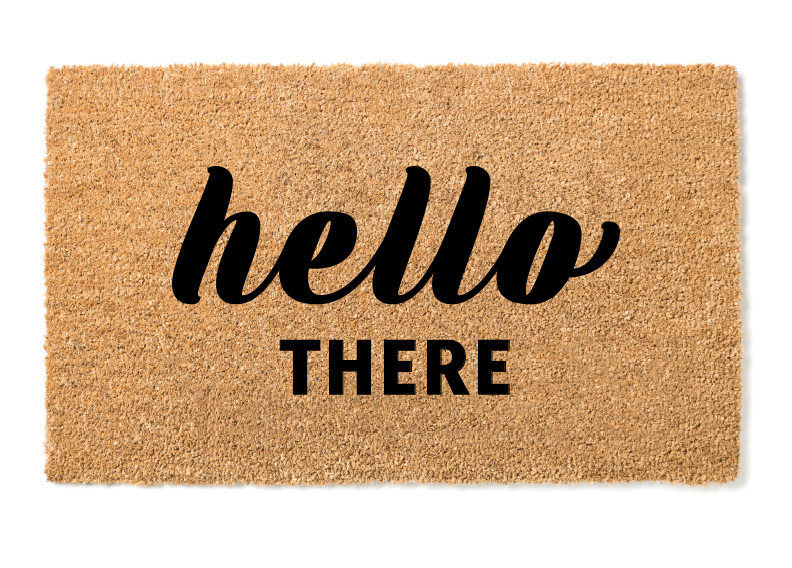
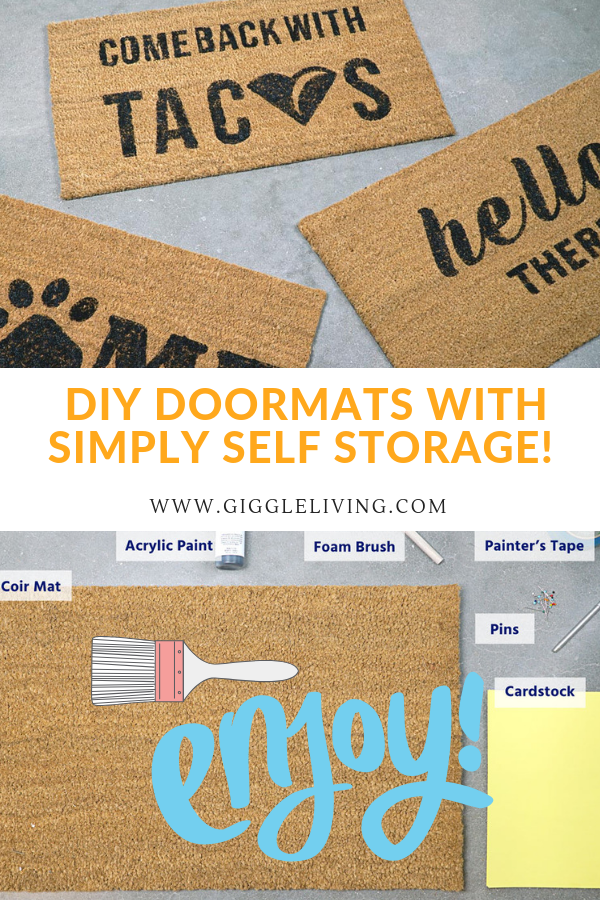
Whether you choose to go the witty route or prefer a more traditional welcome to your home, this DIY doormat can be crafted exactly to your specifications.
With a few inexpensive supplies, you can make your very own doormat in a few easy steps. All you need are a few supplies, most of which you can purchase from Amazon or at your local crafts store.
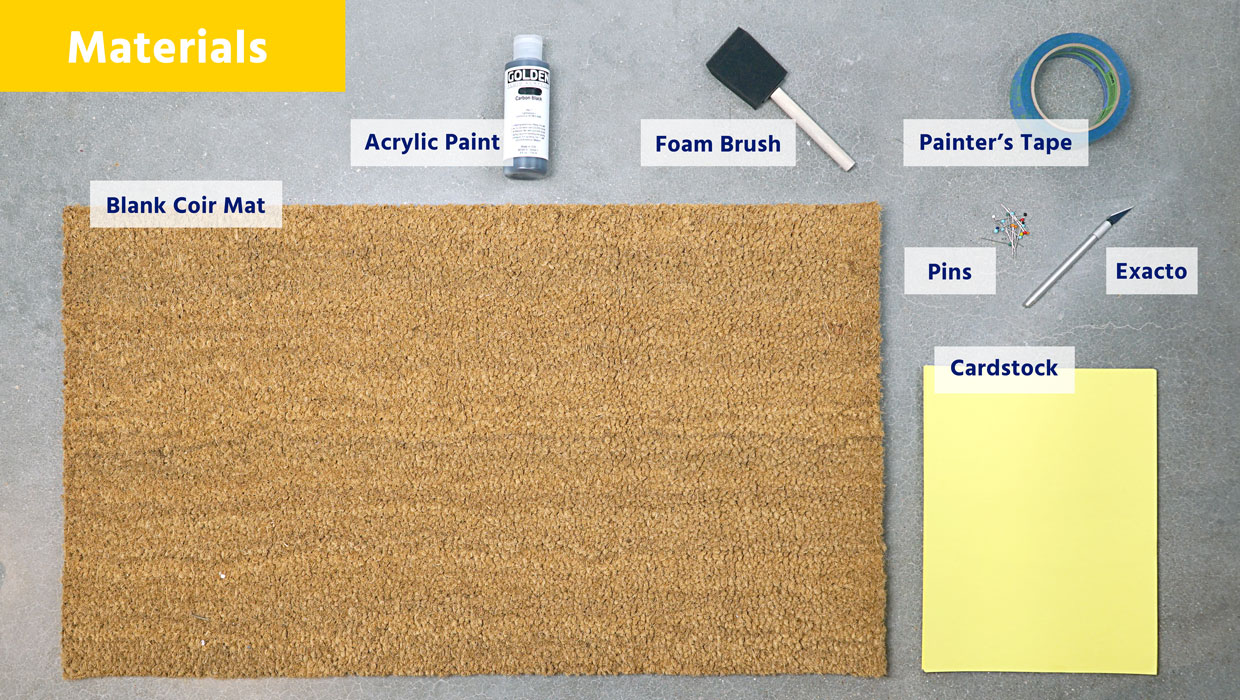
You will need:
- A blank coir mat
- Outdoor acrylic paint (we used black)
- Cardstock (kudos if it can run through an inkjet printer)
- Exacto knives
- Foam paint brushes
- A stencil
- Painter’s tape
- Pins
- Printer access
make sure to grab the downloadable stencil templates provided by Simply Self Storage at the end of the post!
1. Print Your Stencil
Once you choose and download your template, you will want to load your printer with printer-safe cardstock. The thickness of the cardstock will make it easier to cut the stencil out and will help it stay in place while you’re painting.
2. Secure Your Tape
Think about how you want your design to lay on your doormat. Our stencils are designed for an 18×30 inch standard doormat, although you can make them work with a slightly smaller or larger mat.
First, tape the area of the doormat that you want to decorate. Make sure that the tape is pressed firmly into the mat. You will want the edges of the tape to overlap and form a layer on top of your doormat. This will help prevent the paint from bleeding into unwanted areas. Press the tape down firmly one more time, just to ensure it’s sticking.
3. Place Your Stencil
After your tape is secured, it’s time to layer your stencils on top. Lay your design down on the mat exactly how you’d like it to appear when painted.
Secure the design to the mat using your pins. This will keep it in place while you are cutting out your stencil.
4. Cut Out Your Design
Once your stencil is in place you can begin using your exacto knife to carefully cut out the letters of your printed template. Be extra careful with letters that may have tight spots or designs that have thin fonts. Using a sharp, new blade is helpful here. Cut through the cardstock as well as the tape.
5. Paint Your Doormat
Once your entire design is cut out you can begin preparing to paint. It’s best to use an outdoor acrylic paint so that the design lasts longer in the elements. Put your paint onto a disposable plate and prepare your sponge brushes and paint!
Remember that a little bit goes a long way when it comes to these paints. You will want to lightly dab your ink throughout the template. The first coat of paint will look light, and you will want to give the mat about three coats to get the desired color. Resist the urge to press down harder with your sponge brush or risk the paint bleeding beyond your template.
Apply three or more coats until you reach the desired shade of black that you want. If you have a hair dryer handy, you can blow-dry the mat in between coats to help it dry faster.
6. Reveal Your Design
Once your paint has dried, you can remove the painters tape. Be sure to remove it carefully and slowly so that no paint peels off in the process. You will begin to be able to see the finished product after removing a few pieces.
After you’ve taken off the tape to reveal the design, you have the option to coat your doormat in UV resistant finishing spray. This will help your doormat last longer.
7. Enjoy Your DIY Doormat
Now you can enjoy the spoils of your labor… your DIY doormat is ready. You can place it at your front or back door. These also make great housewarming gifts. Enjoy!
check out the full post and grab your printables HERE!
i hope you enjoyed this fun project and video tutorial!
thank you to my friends at Simply Self Storage for sharing!
pin for later~
Misha
September 20
How cute!! I love the little videos!! 💕
Lori
September 20
Thanks! It was so fun that they would share this! I’m definitely making some for gifts this year!
Jackie
September 20
Love this idea! Now I’ll have to think about what would go on ours!
Jennifer ~BellaGrey Designs
September 20
Super cute! Love the videos! How did you make them?
Lori
September 21
Right?? I want to make one too…and some for gifts!! So fun to personalize them!
Lori
September 21
I didn’t! It was a blog share from Simply Self Storage! I thought it would be a fun DIY project idea to share with the holidays coming! I’m giggling a bit that you thought I made them…you know me better than that! ha ha!! xoxo
Carolina
September 21
I love love those videos!! You will need to share my dear!!
Susan
September 22
I’m so glad you shared this ! Been wanting to make a custom mat for a friend forever now!!!
Lori
September 23
You’re so sweet! But it’s a share…I wish I knew how to do those!! xoxo
Lori
September 23
It’s such a fun project right? I can’t wait to make some for gifts!
Holly
September 24
This post is perfect timing!! I bought a plain doormat from Ikea last year and still have yet to do anything with it!! This is some good inspiration!!
Brenda
September 25
LOVING these doormats – especially the one telling your guests to come back with tacos. Fun wording on doormats is so fun and a great way to get conversations started right away.
Lori
September 25
Oh I’m so glad! I’ve been wanting to try my hand too! Hope you share yours!
Lori
September 25
I thought so too! It’s just a fun way to welcome guests!
Nathalie - Press Print Party!
September 26
So cool! The use of a cutting machine would make the stencil making a bit faster. I need the taco one! 🙂
Lori
September 26
It was a fun project to share! I loved the taco one too! 🙂
halfpintpartydesign
September 28
This is the perfect house warming gift. Love the idea of these. It would be fun to make for Christmas.
Lori
September 28
I was thinking the same about Christmas gifts! I’d love to give some!!