
Mother’s Day will soon be here and today I’m teaming up once again with some of my Instagram friends to share DIY projects, celebration inspiration, and gift ideas for all the special moms in your life! I’ll be explaining the details at the end of the post, but you won’t want to miss all the fun from these talented ladies!
If you’re a mom you already know how special those kid-creations are! There aren’t many things more treasured than handcrafted gifts made with sweet, tiny hands! Nothing brings such joy as seeing those crooked vases and hand-print masterpieces that grace our mantles and walls giving us wonderful memories for years to come! But the appreciation for handmade treasure isn’t limited to gifts from tiny tots…anything created from the heart can be such a special way to show the people we love how much they mean to us! So with Mother’s Day coming soon, I’d like to share with you a pretty DIY gift idea for Mom or anyone you want to shower with some love! Bring smiles with gifts…
hand made by you!
most moms enjoy a piece of jewelry or two…so i’m going to show you how simple it is to make some decorative, tiny trays to hold all sorts of baubles! it’s really an easy thing to make, and the rustic-modern look gives you lots of leeway when creating it…non perfect edges are exactly what you’re going for! so never fear the DIY…let’s get started!
what you need…
self-drying clay
lace material, doilies or silk leaves to make a pattern
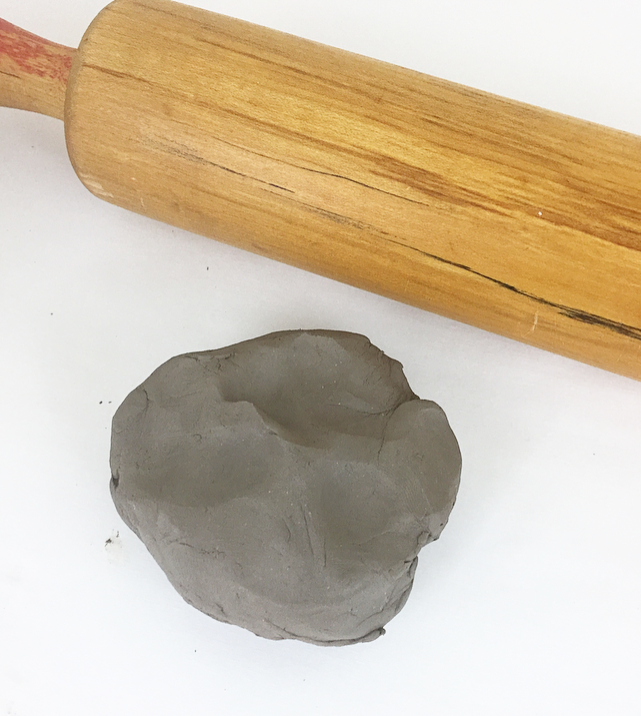
rolling pin
paint (spray or acrylic)
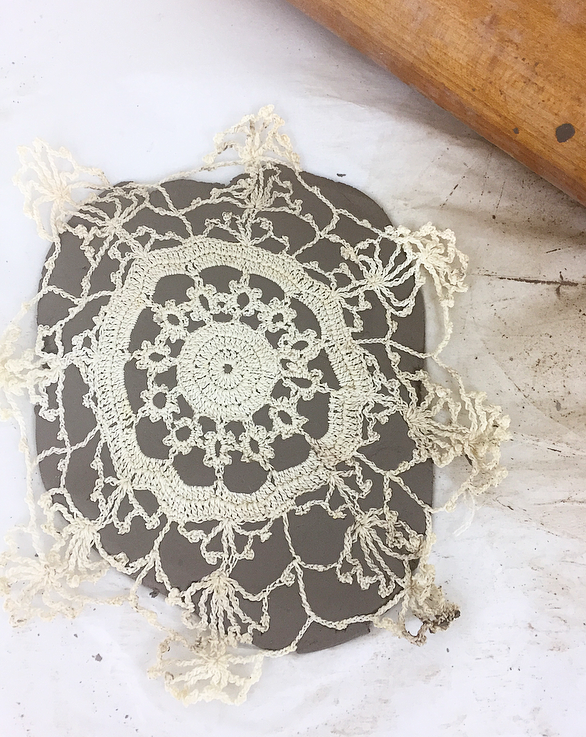
take a piece of clay that fits in the palm of your hand. slightly roll it into a ball and then gently press it down on a piece of parchment paper…
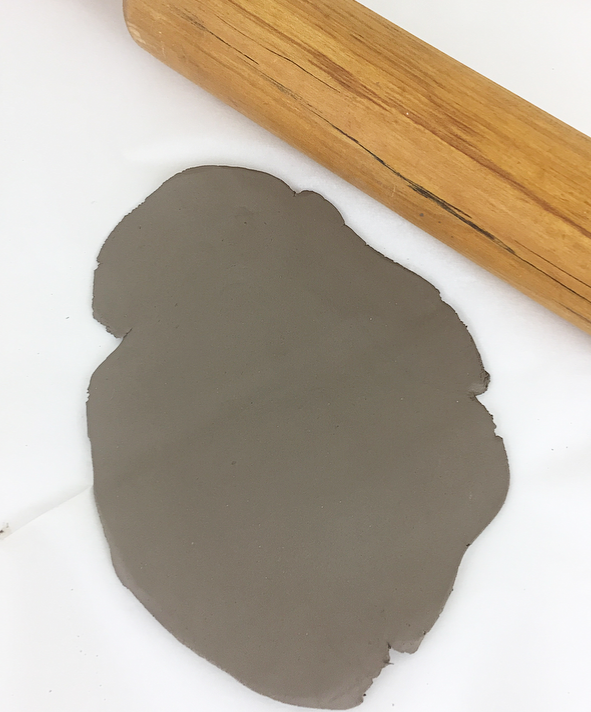
roll it out until i’t’s a little less than 1/4 inch thick…
i used a vintage, lace doily to make my pattern. you could also try silk leaves or anything that will leave an impression. i just gently pressed it into the clay with the rolling pin…
and then simply pulled it off! if you’re using a doily or material you want to save, just rinse it out after removing it.
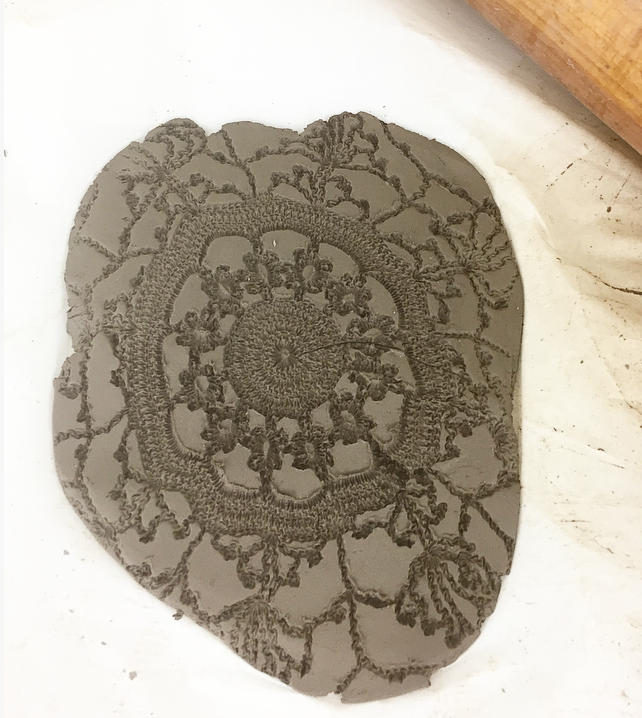
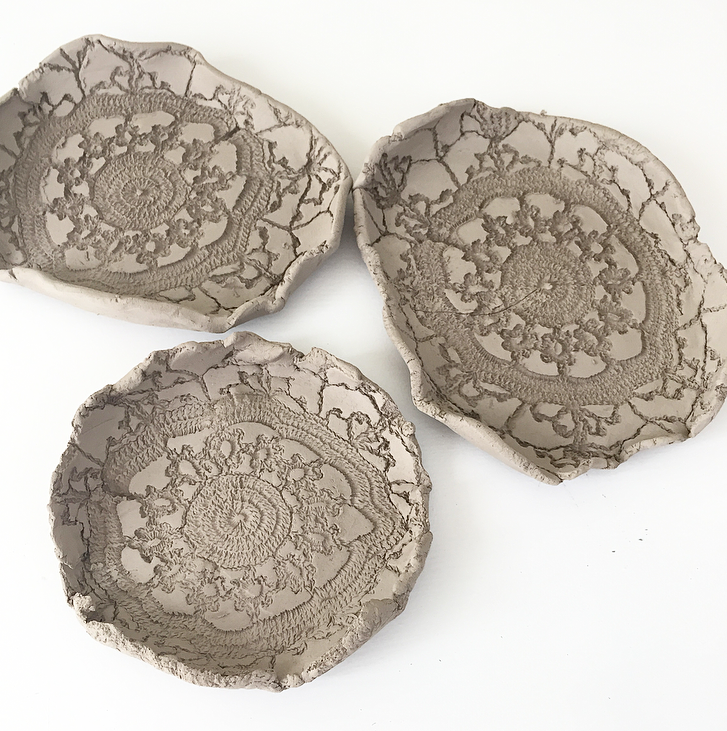
you can leave the shape as it is, or cut it into a circle…i tried a few different shapes. then just turn up the edges, pinching any folds together…
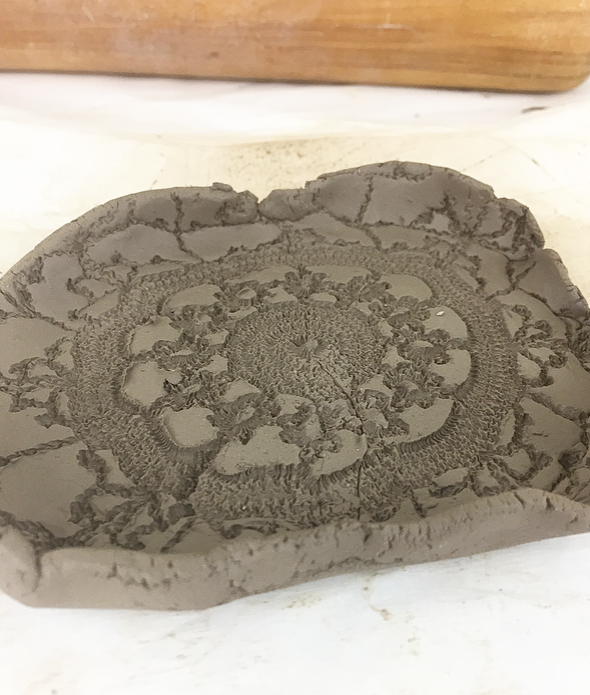
you just need enough of a ridge so that the jewelry won’t roll out of the dish.
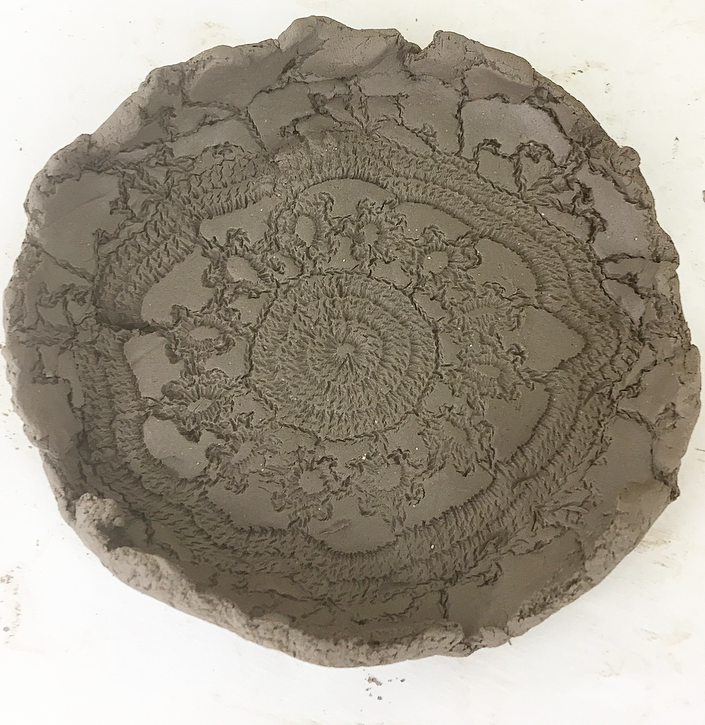
it’s best if you can put them on something that will let the air circulate while they dry…like a cooling rack.
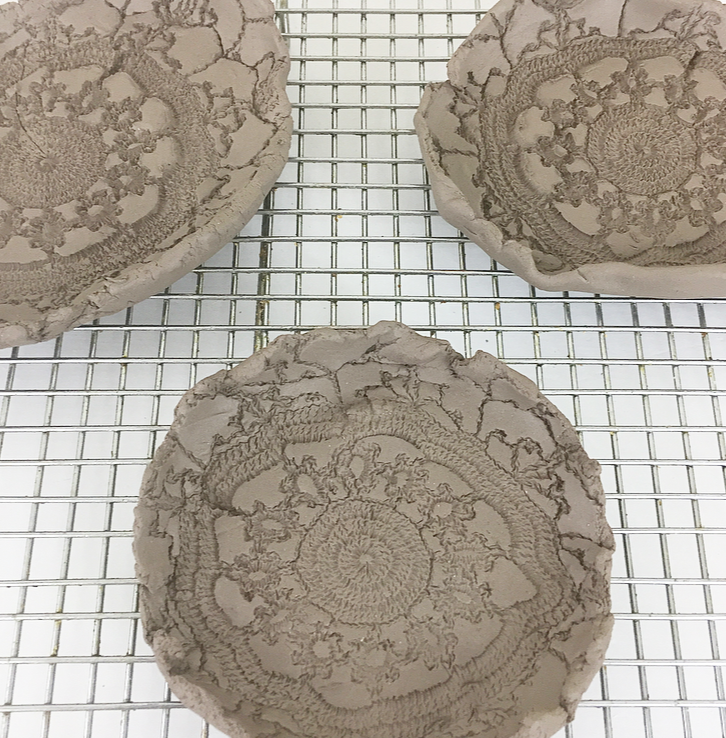
they’ll be a slightly lighter shade of gray when they’re completely dry…
now it’s time to paint!
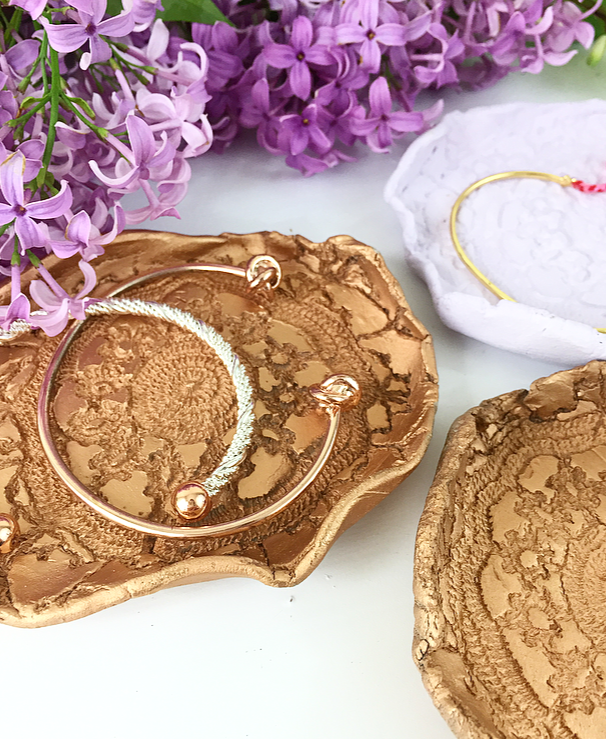
i chose pale lavender and copper paints but you can decorate them in whatever colors you desire! i will tell you that metallic spray paints cover extremely well on thier own, but if you choose a non-metallic finish i’d recommend using a primer first.
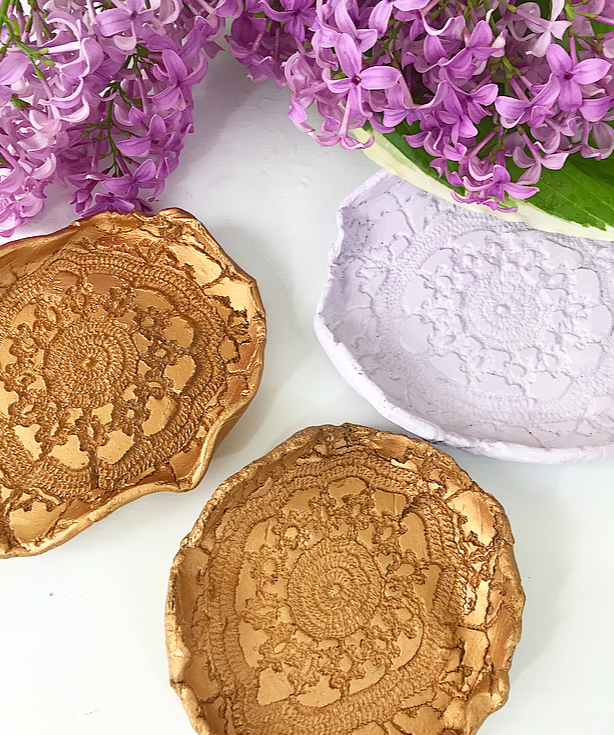
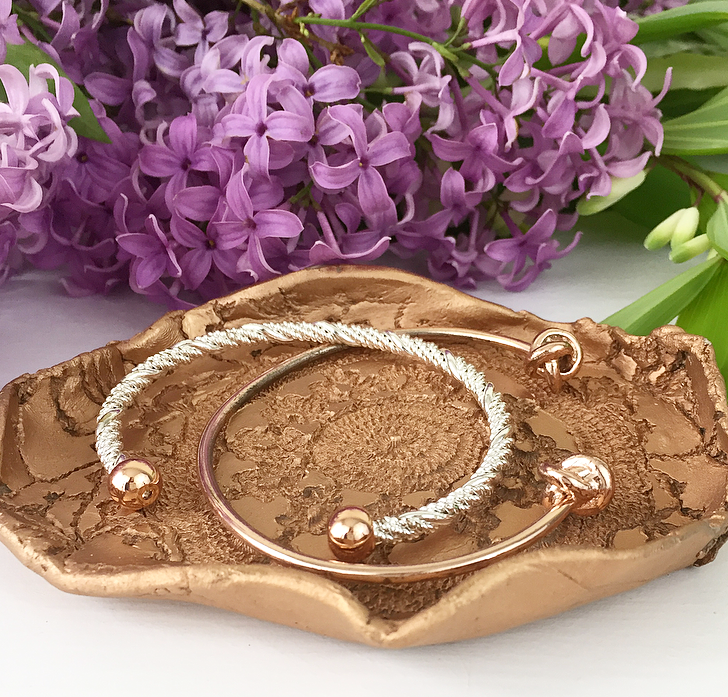
i think these make really lovely little dishes to hold rings & bracelets, or even loose change…

i’m glad i made some extras…one of them just might end up staying on my dresser!
you’ve still got plenty of time before Mother’s Day…so why not try something made with your own hands!
created with love!
you can check in tonight on Instagram at 8:30 pm EST to follow the loop of Mother’s Day ideas! 8 additional bloggers will also be sharing their expertise for creating wonderful gift ideas and celebrations just in time to shower your mom and all moms in your life with some love and appreciation! so pop over to my Instagram account this evening and you can see it all and grab the links to all the blogs too! if you can’t make it at 8:30 not to worry, that’s just when the loop goes live…you can check in anytime after! hope you find lots of inspiration!
Meghan (Elva M Design Studio)
May 5
Lori, this is so sweet! Love this DIY gift for Mom. It’s clearly made from the heart!
Lori
May 5
Thanks so Much Meghan! they were really fun AND easy! xoxo